
Raising Canes Bread
Oh my goodness, if you’ve ever been to Raising Cane’s, you know that while the chicken fingers and sauce are the stars, the unsung hero that ties it all together is their incredible Texas toast! That’s right, I’m talking about Raising Canes Bread. This isn’t just any garlic bread; it’s a perfectly grilled, buttery, garlicky, thick slice of heaven that somehow tastes even better because it comes from Cane’s. For the longest time, I dreamed of recreating that exact flavor and texture at home, and now, I’m thrilled to share how you can too!
What makes this recipe so special is its simplicity combined with an explosion of flavor. It’s that perfectly golden, crispy-edged, yet wonderfully soft in the middle bread that soaks up all the goodness of a simple garlic-butter spread. Readers will absolutely love this because it brings that nostalgic, comforting taste of a Raising Cane’s meal right into your kitchen. Imagine having that authentic, crave-worthy side dish ready whenever you want, without even leaving the house! It’s not just for pairing with chicken, either; it’s fantastic with just about any meal that needs a savory, satisfying bread.
In a nutshell, this dish involves thick-cut slices of bread, generously coated with a rich, aromatic blend of butter and garlic, then expertly grilled or pan-fried until each side is beautifully golden brown and irresistibly fragrant. It’s a quick and easy way to elevate any meal and guarantee smiles all around. Get ready to experience pure toast perfection!
Welcome, fellow food lovers! Today, we’re diving into a recipe that brings a taste of that famous chicken joint right into your kitchen: Raising Cane’s Bread. Now, when people talk about Cane’s bread, they often mean their delicious Texas Toast. But before it gets all toasty and garlic-buttery, it starts as a simple, thick-sliced, wonderfully soft white bread. This recipe isn’t just about recreating their Texas Toast; it’s about baking the foundational, slightly sweet, incredibly soft loaf that you can then transform into the iconic grilled version, or enjoy simply buttered, just like the ungrilled bread sometimes offered.
I’ve worked to perfect this recipe to get that signature soft crumb, light sweetness, and perfect texture that holds up to thick slicing. It’s a labor of love, but oh-so-rewarding when you pull that golden loaf from the oven. Let’s get baking!
Ingredient Notes
To achieve that distinctive Raising Cane’s-style bread, the choice and quality of your ingredients really matter. Here’s what we’ll need and why:
- Warm Whole Milk: About 2 ½ cups (around 105-115°F or 40-46°C). Milk is crucial here, not just for activating our yeast, but for adding richness and tenderness to the crumb of our bread. The fats and sugars in whole milk contribute to a softer texture and a more golden crust.
- Substitution: If you’re dairy-free, you can use a plain, unsweetened non-dairy milk alternative like almond or soy milk. Just be aware the final texture might be slightly less rich, but it will still be delicious!
- Active Dry Yeast: 1 tablespoon. This is our leavening agent, responsible for making our bread rise and giving it that light, airy texture. Make sure your yeast isn’t expired; a good way to check is to make sure it foams up nicely when activated.
- Substitution: If you’re using instant yeast, you can use the same amount. You typically don’t need to proof instant yeast separately, but I still like to add it with the warm milk and sugar to ensure it’s active.
- Granulated Sugar: ¼ cup. Sugar doesn’t just add a touch of sweetness that’s characteristic of Cane’s bread; it also feeds the yeast, helping it activate and produce carbon dioxide more effectively. Furthermore, sugar contributes to browning the crust beautifully.
- Salt: 1 teaspoon. Salt is absolutely essential in bread making. It enhances the flavor, balances the sweetness, and helps control the yeast’s activity, preventing it from rising too quickly. Don’t skip it!
- All-Purpose Flour: 5-6 cups, divided. For this particular bread, all-purpose flour works wonderfully, providing a soft and tender crumb that we’re aiming for. You want to add just enough flour for the dough to come together without being too stiff or dry.
- Tip: Always measure your flour by spooning it into your measuring cup and then leveling it off. Scooping directly from the bag can compact the flour, leading to too much flour and a dry, dense bread.
- Unsalted Butter: ½ cup (1 stick), softened. Butter is the secret to a rich, moist, and incredibly soft bread. It adds flavor and tenderness that water or oil alone can’t replicate. Make sure it’s softened to room temperature so it incorporates easily into the dough.
- Substitution: For a dairy-free option, a good quality plant-based butter alternative can be used.
Step-by-Step Instructions
Baking bread from scratch might seem intimidating, but I promise you, with these steps, you’ll be pulling a beautiful loaf from your oven in no time!
- Activate the Yeast: In a large mixing bowl (or the bowl of a stand mixer), pour in your warm whole milk. Sprinkle the granulated sugar and active dry yeast over the milk. Give it a gentle stir. Let this mixture sit for 5-10 minutes. You should see it become foamy and bubbly, which is a sign that your yeast is alive and ready to work!
- Combine Wet and Dry: Once your yeast is active, add the salt and about 3 cups of the all-purpose flour to the bowl. Cut your softened butter into smaller pieces and add them to the mixture. Using a sturdy spoon or the dough hook attachment of your stand mixer, mix until these ingredients are just combined.
- Add Remaining Flour and Knead: Gradually add the remaining flour, ½ cup at a time, mixing after each addition, until a soft, shaggy dough forms. You might not need all 6 cups, or you might need a tiny bit more – the goal is a dough that pulls away from the sides of the bowl but is still slightly tacky to the touch.
- Kneading (Stand Mixer): If using a stand mixer, switch to the dough hook and knead on medium-low speed for 8-10 minutes. The dough should become smooth, elastic, and pass the “windowpane test” (meaning you can stretch a small piece thin enough to see light through it without tearing).
- Kneading (By Hand): If kneading by hand, turn the dough out onto a lightly floured surface. Knead vigorously for 10-15 minutes, pushing the dough away from you with the heels of your hands, folding it over, and repeating. The dough will become less sticky and more elastic as you knead.
- First Rise: Lightly grease a clean large bowl with a little oil or cooking spray. Place the kneaded dough in the bowl, turning it once to coat the top. Cover the bowl with plastic wrap or a clean kitchen towel. Place it in a warm, draft-free spot (like a slightly warmed oven that’s turned off, or near a sunny window) for 1 to 1 ½ hours, or until the dough has doubled in size.
- Shape the Loaf: Once doubled, gently punch down the dough to release the air. Turn it out onto a lightly floured surface. Gently shape the dough into a rectangular loaf that will fit snugly into a lightly greased 9×5-inch loaf pan.
- Second Rise: Place the shaped dough into the prepared loaf pan. Cover the pan loosely with plastic wrap or a kitchen towel. Let it rise again in a warm, draft-free spot for another 30-45 minutes, or until the dough has nearly doubled in size and looks puffy.
- Preheat Oven: While your dough is on its second rise, preheat your oven to 375°F (190°C).
- Bake: Once the second rise is complete, place the loaf pan in the preheated oven. Bake for 30-35 minutes, or until the top is golden brown and the internal temperature of the bread reaches 200-210°F (93-99°C) when checked with an instant-read thermometer.
- Cool: Immediately remove the bread from the loaf pan and place it on a wire rack to cool completely. This is a crucial step! Slicing warm bread can make it gummy, and cooling on a rack prevents the bottom from getting soggy.
- Slice Thickly: Once completely cooled, use a serrated knife to slice your bread into generous, thick slices, about 1-inch thick, just like they do at Raising Cane’s!
Tips & Suggestions
To ensure your homemade Raising Cane’s Bread turns out perfectly every time, I’ve got a few extra insights for you:
- Yeast Temperature is Key: Make sure your milk is not too hot (it will kill the yeast) or too cold (it won’t activate it). The ideal range is 105-115°F (40-46°C). If you don’t have a thermometer, it should feel comfortably warm to the touch, like a baby’s bathwater.
- Don’t Over-Flour: The biggest mistake new bakers make is adding too much flour. A slightly tacky dough is a happy dough. Resist the urge to keep adding flour during kneading if it feels sticky; knead it for a few more minutes first, as the gluten development will make it less sticky.
- The Windowpane Test: This is a great way to check if your dough is sufficiently kneaded. Pinch off a small piece of dough (about a golf ball size) and gently stretch it with your fingers. If you can stretch it thin enough to see light through it without it tearing, your gluten is well developed, and your dough is ready for its first rise.
- Warm Proofing Environment: For successful rising, aim for a warm, draft-free spot. My go-to is often turning my oven on for a minute or two, then turning it off and letting the bowl sit inside with the door slightly ajar. You can also place the bowl in a larger bowl of warm water.
- For an Extra Soft Crust: Right after taking the bread out of the oven, you can brush the top with a little melted butter. This not only adds flavor but keeps the crust incredibly soft as it cools.
- Achieving that Thick Slice: Once your bread is completely cool, use a good serrated bread knife. Take your time and aim for slices that are about 1-inch thick. This substantial thickness is what makes it “Texas Toast” style and perfect for absorbing butter.
- Serving It Up Cane’s Style:
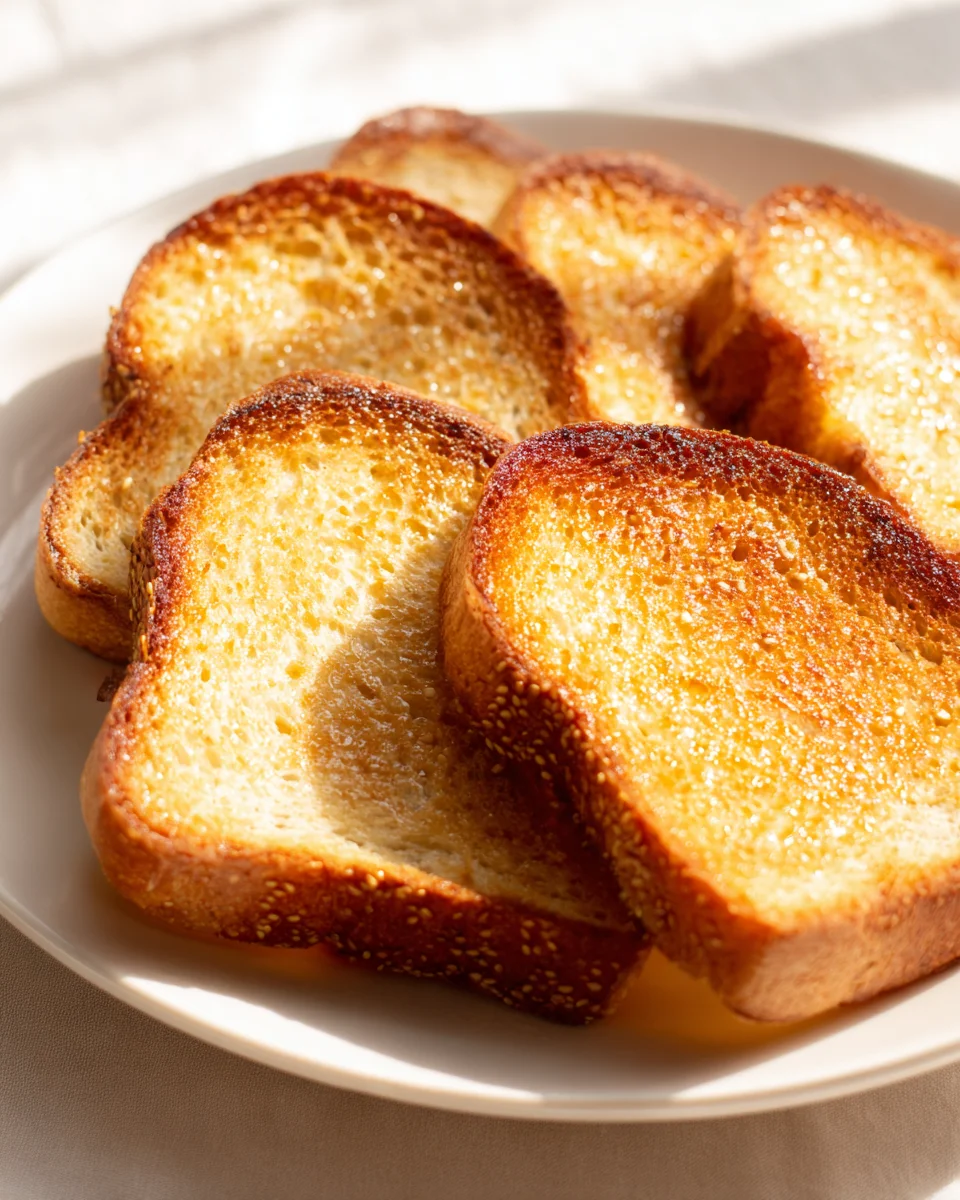
- Ungrelled Bread: For true “Raising Cane’s Bread” (ungrilled version), simply spread a generous amount of softened butter on your thick slices.
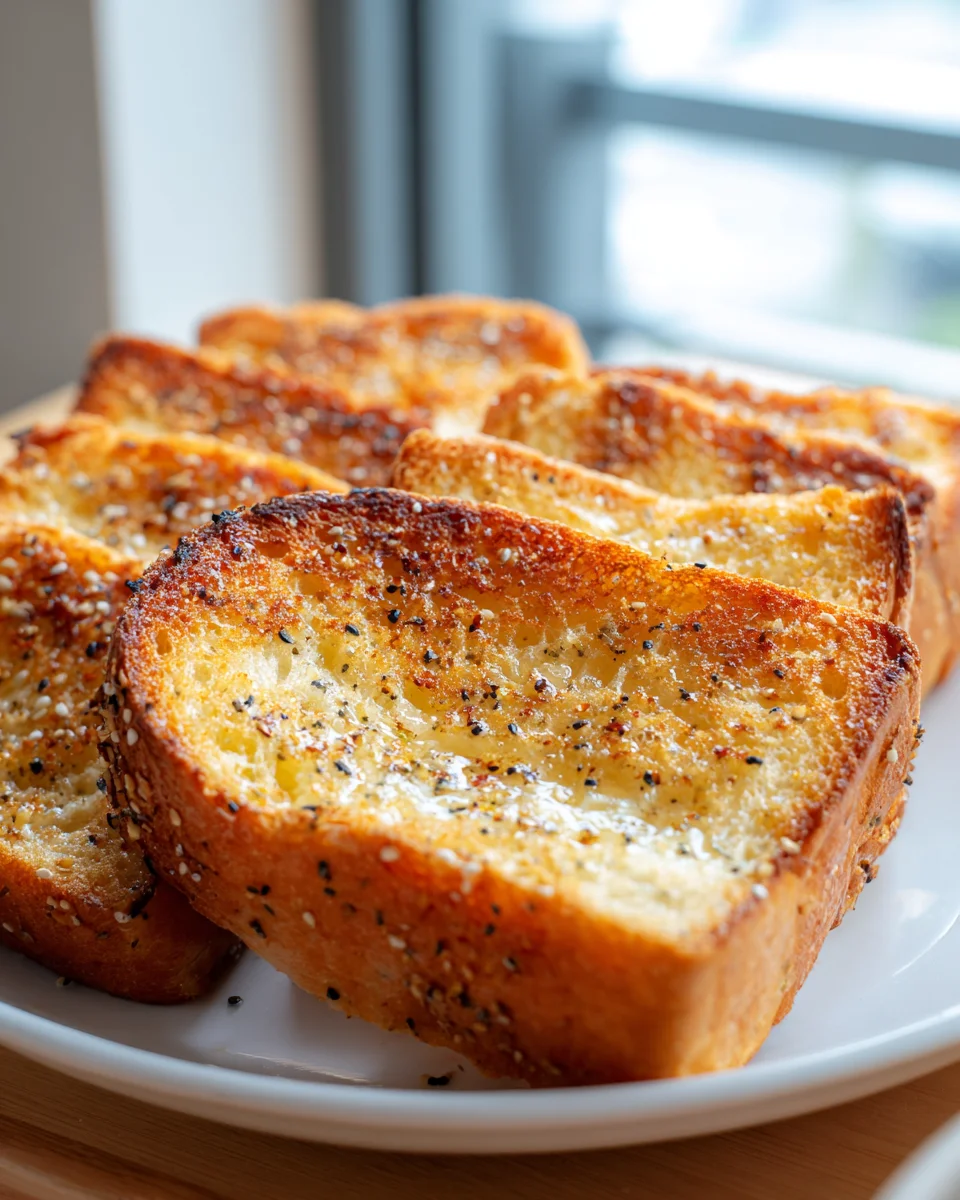
- Texas Toast: To make Raising Cane’s famous Texas Toast, take those thick slices and generously spread softened butter on both sides. Sprinkle lightly with garlic powder (optional, but highly recommended!). Grill them in a hot skillet, on a griddle, or under a broiler until golden brown and crispy on both sides.
Storage
Once you’ve gone to the effort of baking this delicious bread, you’ll want to make sure it stays fresh for as long as possible!
- Room Temperature: Your homemade Raising Cane’s Bread is best enjoyed within 2-3 days. Store the cooled loaf or sliced bread in an airtight container or a large zip-top bag at room temperature. Avoid refrigerating it, as this can actually make bread go stale faster.
- Freezing for Longer Storage: This bread freezes wonderfully! If you won’t be eating the whole loaf within a few days, I highly recommend freezing it.
- Whole Loaf: Wrap the completely cooled loaf tightly in plastic wrap, then again in aluminum foil. It can be frozen for up to 2-3 months. Thaw at room temperature, then refresh in a warm oven for a few minutes before slicing.
- Sliced Bread: For convenience, you can slice the cooled bread first, then stack the slices and wrap them tightly in plastic wrap, followed by foil or a freezer-safe bag. This allows you to pull out just a few slices at a time. Individual slices can be toasted directly from frozen.
- Reheating: To refresh day-old bread, you can lightly dampen the loaf with water (a quick pass under the tap) and then warm it in a 350°F (175°C) oven for about 10-15 minutes until it’s soft and warm again. Slices can be quickly toasted or warmed in a skillet.
Final Thoughts
Well, there you have it! Mastering this recipe for Raising Canes Bread at home is truly a game-changer. I honestly believe that once you try it, you’ll understand why it’s so much more than just a side dish. The simple act of baking this delightful bread fills your kitchen with such a comforting aroma, promising the deliciousness that’s about to come.
This Raising Canes Bread recipe is an absolute must-try because it perfectly captures that beloved restaurant experience right in your own kitchen. It’s the ideal companion for so many meals, offering that soft, slightly sweet, and utterly satisfying bite that you just can’t get enough of. Trust me, once you pull a fresh batch of this Raising Canes Bread from the oven, you’ll be so glad you took the time to create something truly special. Enjoy every delicious crumb!
Homemade Raising Canes Bread: The Secret Copycat Recipe!

Recreate the iconic Raising Cane’s Bread at home with this simple and delicious recipe. Enjoy the soft, slightly sweet, and buttery bread that perfectly complements any meal.
- Prep Time: 15 mins
- Cook Time: 30-35 mins
- Total Time: 37 minute
- Yield: 1 loaf 1x
- Category: Side Dish
- Method: Baking
- Cuisine: American
Ingredients
- 2 ½ cups Warm Whole Milk (around 105-115°F or 40-46°C)
- 1 tablespoon Active Dry Yeast
- ¼ cup Granulated Sugar
- 1 teaspoon Salt
- 5–6 cups All-Purpose Flour, divided
- ½ cup Unsalted Butter (1 stick), softened
Instructions
- In a large mixing bowl (or the bowl of a stand mixer), pour in your warm whole milk. Sprinkle the granulated sugar and active dry yeast over the milk. Give it a gentle stir. Let this mixture sit for 5-10 minutes until foamy and bubbly.
- Once your yeast is active, add the salt and about 3 cups of the all-purpose flour to the bowl. Cut your softened butter into smaller pieces and add them to the mixture. Mix until these ingredients are just combined.
- Gradually add the remaining flour, ½ cup at a time, mixing after each addition, until a soft, shaggy dough forms. The goal is a dough that pulls away from the sides of the bowl but is still slightly tacky to the touch.
- Lightly grease a clean large bowl with a little oil or cooking spray. Place the kneaded dough in the bowl, turning it once to coat the top. Cover the bowl with plastic wrap or a clean kitchen towel. Place it in a warm, draft-free spot for 1 to 1 ½ hours, or until the dough has doubled in size.
- Once doubled, gently punch down the dough to release the air. Turn it out onto a lightly floured surface. Gently shape the dough into a rectangular loaf that will fit snugly into a lightly greased 9×5-inch loaf pan.
- Place the shaped dough into the prepared loaf pan. Cover the pan loosely with plastic wrap or a kitchen towel. Let it rise again in a warm, draft-free spot for another 30-45 minutes, or until the dough has nearly doubled in size.
- While your dough is on its second rise, preheat your oven to 375°F (190°C).
- Once the second rise is complete, place the loaf pan in the preheated oven. Bake for 30-35 minutes, or until the top is golden brown and the internal temperature of the bread reaches 200-210°F (93-99°C).
- Immediately remove the bread from the loaf pan and place it on a wire rack to cool completely.
- Once completely cooled, use a serrated knife to slice your bread into generous, thick slices, about 1-inch thick.
Nutrition
- Serving Size: 1 slice
- Calories: 150
- Sugar: 3 g
- Sodium: 200 mg
- Fat: 6 g
- Saturated Fat: 4 g
- Unsaturated Fat: 2 g
- Trans Fat: 0 g
- Carbohydrates: 20 g
- Fiber: 1 g
- Protein: 4 g
- Cholesterol: 15 mg
Keywords: Ensure your milk is at the right temperature to activate the yeast. Avoid over-flouring the dough, and for an extra soft crust, brush the top with melted butter after baking.
Leave a Comment