
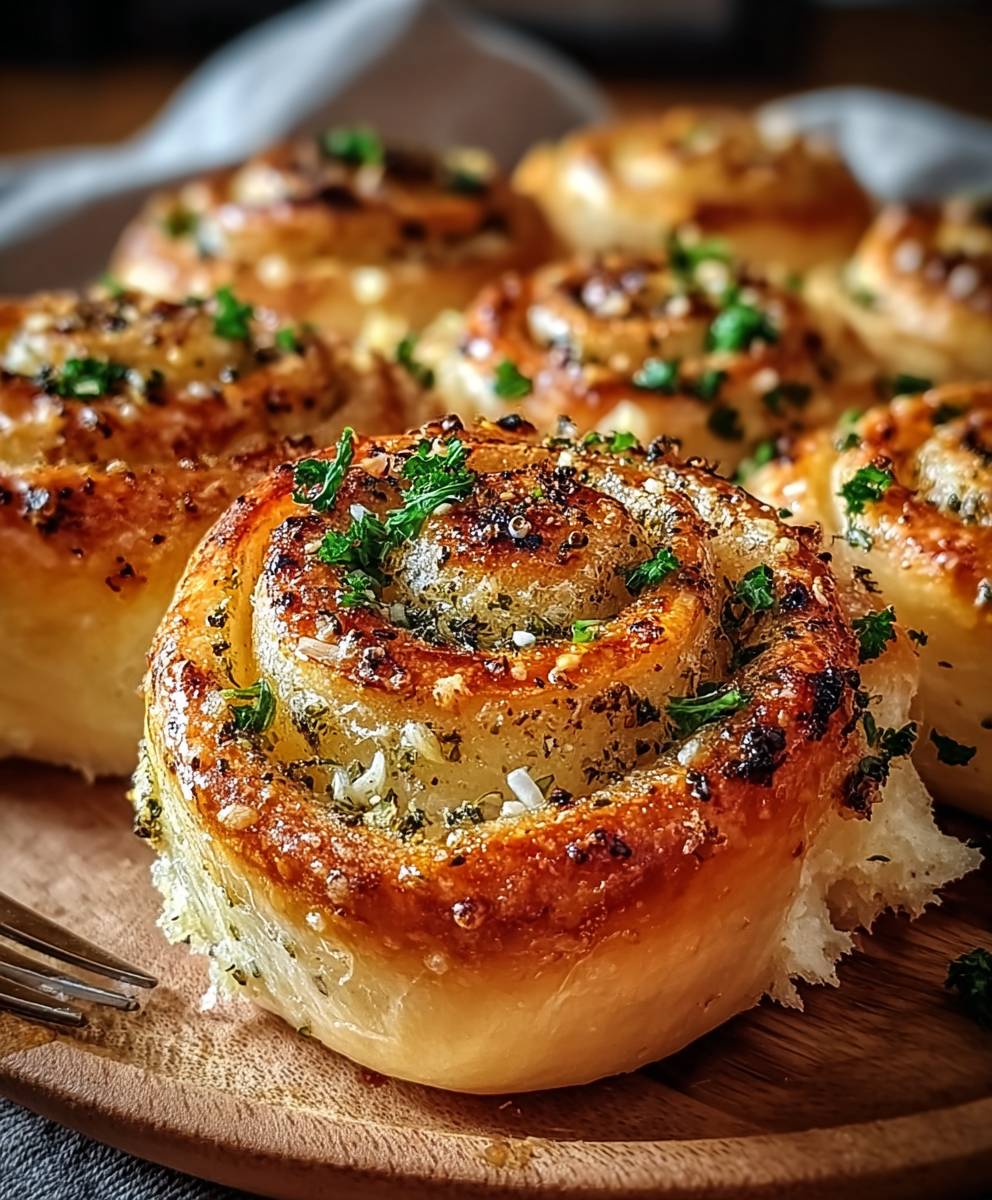
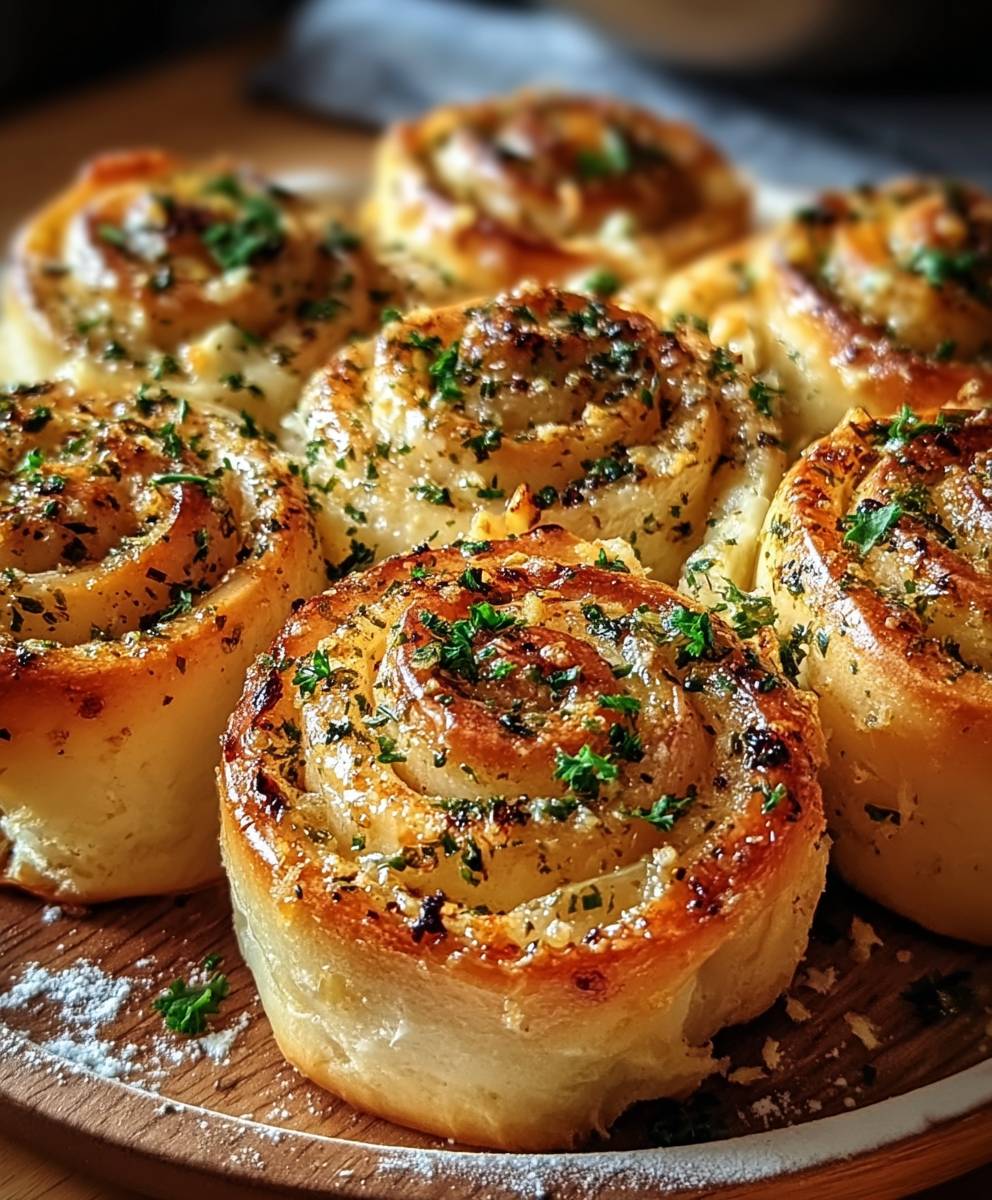
Garlic Swirl Rolls: Prepare to be utterly captivated by these soft, pillowy clouds of garlicky goodness! Imagine pulling apart a warm, fragrant roll, the aroma of freshly baked bread and savory garlic filling your kitchen. It’s a simple pleasure, yet one that evokes feelings of comfort and home.
While the exact origins of Garlic Swirl Rolls are debated, the concept of flavoring bread with garlic dates back centuries. Garlic has been a staple in cuisines around the world, prized for its pungent flavor and purported health benefits. The modern swirl roll, with its elegant presentation and delightful layers, is a testament to our enduring love affair with this humble bulb.
What makes these rolls so irresistible? It’s the perfect combination of textures: a soft, yielding crumb, a slightly crisp exterior, and a luscious, buttery garlic swirl that melts in your mouth. They’re incredibly versatile, too! Serve them alongside a hearty pasta dish, a comforting bowl of soup, or simply enjoy them on their own as a satisfying snack. The ease of preparation also adds to their appeal – with a little patience for the dough to rise, you’ll be rewarded with a batch of homemade rolls that are far superior to anything you can buy in a store. Get ready to impress your family and friends with these delectable treats!
Ingredients:
- 2 1/4 cups (281g) all-purpose flour, plus more for dusting
- 1/4 cup (50g) granulated sugar
- 1 packet (2 1/4 teaspoons) active dry yeast
- 1 teaspoon salt
- 1 cup (240ml) milk, warmed to 110-115°F (43-46°C)
- 1/4 cup (57g) unsalted butter, melted
- 1 large egg
Garlic Swirl Filling:
- 1/2 cup (113g) unsalted butter, softened
- 6 cloves garlic, minced
- 1/4 cup chopped fresh parsley
- 1/4 teaspoon salt
- 1/4 teaspoon black pepper
Egg Wash:
- 1 large egg
- 1 tablespoon milk
Instructions:
Preparing the Dough:
- Activate the Yeast: In a large bowl, whisk together the warm milk, sugar, and yeast. Let it stand for 5-10 minutes, or until foamy. This indicates that the yeast is active and ready to use. If it doesn’t foam, your yeast might be old, and you’ll need to start again with fresh yeast.
- Combine Wet and Dry Ingredients: Add the melted butter, egg, and salt to the yeast mixture. Whisk until well combined.
- Gradually Add Flour: Gradually add the flour, one cup at a time, mixing with a wooden spoon or spatula after each addition. Once the dough starts to come together, turn it out onto a lightly floured surface.
- Knead the Dough: Knead the dough for 6-8 minutes, or until it becomes smooth and elastic. If the dough is too sticky, add a little more flour, one tablespoon at a time. Be careful not to add too much flour, as this can make the rolls tough. The dough should be slightly tacky but not stick to your hands.
- First Rise: Place the dough in a lightly oiled bowl, turning to coat all sides. Cover the bowl with plastic wrap or a clean kitchen towel. Let it rise in a warm place for 1-1.5 hours, or until doubled in size. This is a crucial step for developing the flavor and texture of the rolls. A warm environment helps the yeast to work its magic.
Preparing the Garlic Swirl Filling:
- Combine Filling Ingredients: While the dough is rising, prepare the garlic swirl filling. In a medium bowl, combine the softened butter, minced garlic, parsley, salt, and pepper. Mix well until everything is evenly distributed. The butter should be soft enough to easily spread but not melted.
Assembling and Baking the Rolls:
- Punch Down the Dough: Once the dough has doubled in size, gently punch it down to release the air. Turn it out onto a lightly floured surface.
- Roll Out the Dough: Roll the dough into a large rectangle, approximately 12×18 inches. Try to keep the rectangle as even as possible for uniform rolls.
- Spread the Garlic Filling: Spread the garlic butter mixture evenly over the entire surface of the dough. Make sure to get the filling all the way to the edges.
- Roll Up the Dough: Starting from one of the long edges, tightly roll up the dough into a log. Pinch the seam to seal it.
- Cut the Rolls: Using a sharp knife or unflavored dental floss, cut the log into 12 equal slices. Dental floss creates a cleaner cut than a knife.
- Arrange the Rolls: Place the rolls in a greased 9×13 inch baking dish. Arrange them evenly, leaving a little space between each roll for expansion.
- Second Rise: Cover the baking dish with plastic wrap or a clean kitchen towel. Let the rolls rise in a warm place for 30-45 minutes, or until they have puffed up and are almost touching each other. This second rise is important for creating light and fluffy rolls.
- Preheat the Oven: While the rolls are rising for the second time, preheat your oven to 375°F (190°C).
- Prepare the Egg Wash: In a small bowl, whisk together the egg and milk for the egg wash.
- Brush with Egg Wash: Gently brush the tops of the rolls with the egg wash. This will give them a beautiful golden-brown color.
- Bake the Rolls: Bake for 20-25 minutes, or until the rolls are golden brown and cooked through. If the tops start to brown too quickly, you can loosely tent them with aluminum foil.
- Cool and Serve: Remove the rolls from the oven and let them cool in the baking dish for a few minutes before serving. These rolls are best served warm.
Tips for Success:
- Use Fresh Yeast: Make sure your yeast is fresh and active. If it doesn’t foam when mixed with warm milk and sugar, it’s likely expired.
- Don’t Overheat the Milk: The milk should be warm to the touch, but not hot. If it’s too hot, it can kill the yeast.
- Don’t Overknead the Dough: Overkneading can result in tough rolls. Knead until the dough is smooth and elastic, but not overly stiff.
- Let the Dough Rise in a Warm Place: A warm environment helps the yeast to work its magic and allows the dough to rise properly.
- Don’t Overbake the Rolls: Overbaking can result in dry rolls. Bake until they are golden brown and cooked through, but still soft.
- Use a Sharp Knife or Dental Floss to Cut the Rolls: This will prevent them from being squished.
- Adjust Garlic to Your Preference: If you prefer a milder garlic flavor, use fewer cloves. If you love garlic, feel free to add more!
- Add Cheese: For an extra cheesy flavor, sprinkle some shredded Parmesan or mozzarella cheese over the rolls before baking.
- Make Ahead: You can prepare the dough ahead of time and store it in the refrigerator overnight. Let it come to room temperature before rolling it out and assembling the rolls.
Enjoy your delicious homemade Garlic Swirl Rolls!
Conclusion:
These Garlic Swirl Rolls are more than just bread; they’re an experience, a warm hug on a plate, and a guaranteed crowd-pleaser. I truly believe that once you’ve tasted the fluffy, garlicky goodness of these rolls, you’ll understand why I’m so passionate about sharing this recipe. The aroma alone, as they bake, is enough to make your mouth water and your family gather in the kitchen, eager for a taste.
But what truly sets these rolls apart is their versatility. While they’re absolutely divine served warm with a pat of butter (or maybe a generous slathering!), they also make fantastic accompaniments to a variety of meals. Imagine serving them alongside a hearty bowl of minestrone soup on a chilly evening, or using them to soak up the delicious juices from a perfectly roasted chicken. They’re also incredible with pasta dishes, adding a touch of garlicky warmth that complements the flavors beautifully.
And don’t be afraid to get creative with variations! For a cheesy twist, sprinkle some shredded Parmesan or mozzarella cheese over the rolls during the last few minutes of baking. Or, if you’re feeling adventurous, try adding some chopped fresh herbs like rosemary or thyme to the garlic butter mixture for an extra layer of flavor. A sprinkle of red pepper flakes can also add a subtle kick for those who like a little heat. You could even experiment with different types of garlic, like roasted garlic for a sweeter, more mellow flavor, or black garlic for a unique and complex taste.
Serving Suggestions:
* Serve warm with butter, olive oil, or your favorite dipping sauce.
* Pair with soups, stews, salads, or pasta dishes.
* Use as sandwich rolls for a gourmet lunch.
* Bring them to your next potluck or gathering – they’re always a hit!
Variations to Try:
* Add shredded cheese (Parmesan, mozzarella, cheddar) before baking.
* Incorporate fresh herbs (rosemary, thyme, oregano) into the garlic butter.
* Sprinkle with red pepper flakes for a touch of heat.
* Use roasted garlic or black garlic for a unique flavor profile.
* Brush with a mixture of honey and garlic for a sweet and savory twist.
I know that baking bread can sometimes seem intimidating, but trust me, this recipe is surprisingly simple and straightforward. I’ve broken down each step to ensure that even beginner bakers can achieve perfect results. And the reward – those warm, fragrant, utterly irresistible Garlic Swirl Rolls – is more than worth the effort.
So, what are you waiting for? Gather your ingredients, preheat your oven, and get ready to experience the joy of baking these incredible rolls. I’m confident that they’ll become a staple in your kitchen, a go-to recipe for family dinners, special occasions, and everything in between.
I truly can’t wait to hear about your experience making these rolls! Please, come back and leave a comment below, sharing your tips, variations, and any modifications you made. Did you add cheese? Did you try a different herb? Did you serve them with a particular dish that you loved? I’m always eager to learn from my readers and see how you’ve made this recipe your own. Happy baking, and enjoy every delicious bite! Don’t forget to share pictures of your creations – I’d love to see them!
Garlic Swirl Rolls: Easy Recipe & Baking Tips
Fluffy and flavorful homemade garlic swirl rolls, perfect as a side dish or appetizer. These rolls are made with a soft, enriched dough and filled with a savory garlic butter filling.
Ingredients
Instructions
Recipe Notes
- Use fresh yeast for best results.
- Ensure milk is warm, not hot, to avoid killing the yeast.
- Knead the dough until smooth and elastic, but avoid over-kneading.
- Let the dough rise in a warm place for optimal results.
- Don’t overbake the rolls to prevent dryness.
- Use a sharp knife or dental floss for clean cuts.
- Adjust garlic to your preference.
- Add cheese for extra flavor.
- Dough can be made ahead and refrigerated overnight.


Leave a Comment