
No Bake Cookie Dough Cheesecake
Oh my goodness, get ready to meet your new favorite dessert! I’m absolutely thrilled to share this recipe with you because it’s truly something special. What makes it so amazing? Well, for starters, it combines two of life’s greatest joys: creamy, dreamy cheesecake and irresistible, sweet cookie dough. But here’s the best part – there’s absolutely NO baking involved! That means you can whip up this showstopper without even turning on your oven, making it perfect for those warm days or when you just want a spectacular treat with minimal fuss.
You’re going to adore how simple it is to put together, and your taste buds will thank you for the incredible blend of rich, tangy cheesecake dotted with generous chunks of delightful, safe-to-eat cookie dough, all usually nestled on a buttery crust. It’s an absolute game-changer for dessert lovers, delivering all the indulgence of a classic cheesecake with the nostalgic comfort of cookie dough, all without the heat and hassle of an oven. Get ready to impress everyone (including yourself!) with this effortlessly delicious creation!
Ingredient Notes
Creating this irresistible No Bake Cookie Dough Cheesecake relies on a few key players, each contributing to its creamy texture, rich flavor, and delightful cookie dough surprise. I’ll walk you through what I use and some great substitutions to keep in mind!
For the Crust
- Graham Cracker Crumbs: I always reach for classic graham cracker crumbs because their mild sweetness and sturdy texture make the perfect base. You’ll need about 1 ½ cups, which is typically one standard sleeve of crackers, crushed finely.
- Melted Unsalted Butter: This binds the crumbs together and gives the crust a lovely richness. About 6 tablespoons usually does the trick.
- Granulated Sugar: A touch of sugar (about 2 tablespoons) enhances the sweetness of the crust.
Substitutions for the Crust:
- Instead of graham crackers, you could use crushed digestive biscuits, vanilla wafers, or even chocolate sandwich cookies (like Oreos, just be sure to remove the cream filling!). For a gluten-free option, use gluten-free graham crackers or a nut-based crust.
- If you only have salted butter, simply omit the pinch of salt I sometimes add to the crust mixture.
For the Edible Cookie Dough
This is the heart of our cheesecake, so it’s important to get it right. Remember, since this dough won’t be baked, we need to ensure all ingredients are safe to eat raw.
- All-Purpose Flour: About 1 cup of flour is needed. Critically, you must heat-treat your flour to kill any potential bacteria. I’ll detail how in the instructions. This step is non-negotiable for food safety.
- Unsalted Butter, Softened: Half a cup (one stick) of softened butter provides that classic cookie richness. Make sure it’s truly softened, not melted, for the best consistency.
- Granulated Sugar & Light Brown Sugar: A combination of ½ cup granulated sugar and ¼ cup packed light brown sugar gives the cookie dough its signature chewy texture and complex sweetness.
- Vanilla Extract: 1 teaspoon of good quality vanilla extract really brings out that cookie flavor.
- Milk (or Cream): Just 1-2 tablespoons helps to bring the dough together. Any type of milk (dairy or non-dairy like almond or oat milk) works perfectly here.
- Mini Chocolate Chips: These are essential! ¾ cup of mini chocolate chips ensures you get that delightful chocolatey goodness in every bite without them being too large for a no-bake dessert. Regular chocolate chips can work, but mini ones integrate better.
Substitutions for Edible Cookie Dough:
- While I love the classic chocolate chip, feel free to experiment! You could swap out the chocolate chips for sprinkles, mini M&M’s, or even chopped nuts (if not serving to someone with nut allergies).
- For a slightly different flavor, you could try using a different extract, like almond, in addition to or instead of vanilla.
For the No-Bake Cheesecake Filling
This is where the magic happens – a velvety smooth, tangy-sweet cheesecake layer that requires absolutely no oven time!
- Full-Fat Cream Cheese, Softened: Two 8-ounce blocks (16 ounces total) of full-fat cream cheese are crucial for a rich, sturdy, and creamy filling. Make sure it’s at room temperature for a smooth, lump-free mixture.
- Powdered Sugar (Confectioners’ Sugar): 1 cup of powdered sugar sweetens the cheesecake and helps achieve that silky smooth texture.
- Vanilla Extract: Another 1 teaspoon of vanilla extract enhances the overall flavor profile.
- Heavy Cream (Cold): 1 ½ cups of cold heavy cream (also known as whipping cream) is whipped to stiff peaks and folded into the cream cheese mixture. This is what gives the no-bake cheesecake its light, airy, yet firm texture. It’s truly essential.
Substitutions for the Cheesecake Filling:
- I strongly recommend full-fat cream cheese for the best results, as low-fat versions can lead to a less stable and watery cheesecake.
- While heavy cream is best, a cold, full-fat coconut cream (from a can, chilled overnight and scooping out the thick cream) could be used as a non-dairy alternative, though the flavor will be slightly different.
Step-by-Step Instructions
Alright, let’s get down to business! Making this No Bake Cookie Dough Cheesecake is easier than you think, but there are a few key steps to ensure a perfect dessert. I’ve broken it down for you.
Step 1: Prepare Your Pan and Crust
- First things first, line a 9-inch springform pan with parchment paper on the bottom. This makes it super easy to remove the cheesecake later. You can also lightly grease the sides.
- In a medium bowl, combine the 1 ½ cups graham cracker crumbs, 2 tablespoons granulated sugar, and 6 tablespoons melted unsalted butter. Mix well until all the crumbs are moistened. It should resemble wet sand.
- Press this mixture firmly and evenly into the bottom of your prepared springform pan. Use the back of a spoon or the bottom of a flat-bottomed glass to really compact it.
- Pop the crust into the refrigerator while you prepare the cookie dough and filling. This helps it set up nicely.
Step 2: Make the Edible Cookie Dough
This is the fun part, but remember that crucial heat-treating step for the flour!
- Heat-Treat the Flour: Spread 1 cup of all-purpose flour on a microwave-safe plate or baking sheet. Microwave on high in 30-second intervals, stirring after each, until it reaches an internal temperature of 160°F (71°C). This usually takes 1-2 minutes total. Alternatively, you can bake it in an oven at 300°F (150°C) for 5-7 minutes, stirring halfway. Let it cool completely before using.
- In a medium bowl, using an electric mixer (handheld or stand mixer with paddle attachment), cream together ½ cup softened unsalted butter, ½ cup granulated sugar, and ¼ cup packed light brown sugar until light and fluffy, about 2-3 minutes.
- Beat in 1 teaspoon vanilla extract.
- Gradually add the cooled, heat-treated flour, mixing on low speed until just combined. The mixture will be crumbly at this point.
- Add 1-2 tablespoons of milk (or cream) one tablespoon at a time, mixing until the dough comes together and reaches a firm, cohesive consistency. Don’t add too much!
- Stir in ¾ cup mini chocolate chips by hand until evenly distributed.
- Reserve about ¼ cup of this edible cookie dough for decoration. Form the remaining dough into small, bite-sized balls or crumble it into small pieces. Place them on a plate and chill in the refrigerator while you make the cheesecake filling. This prevents them from melting into the cheesecake too much.
Step 3: Prepare the No-Bake Cheesecake Filling
This is where our cheesecake gets its luxurious creaminess!
- In a large bowl, using an electric mixer (again, handheld or stand mixer with whisk attachment), beat two 8-ounce blocks of softened full-fat cream cheese until completely smooth and creamy, with no lumps. This is key for a silky filling.
- Add 1 cup powdered sugar and 1 teaspoon vanilla extract to the cream cheese. Beat on low speed until just combined, then increase to medium speed and beat until well incorporated and smooth. Scrape down the sides of the bowl as needed.
- In a separate, chilled large bowl, whip 1 ½ cups cold heavy cream on high speed until stiff peaks form. Be careful not to over-whip it into butter!
- Gently fold the whipped cream into the cream cheese mixture in two additions. Use a spatula and fold until just combined and no streaks of cream remain. You want to maintain that lovely airy texture.
Step 4: Assemble the Cheesecake
Time to bring all our delicious components together!
- Take your chilled crust out of the refrigerator.
- Pour about half of the no-bake cheesecake filling over the crust and spread it evenly with a spatula.
- Carefully arrange your chilled edible cookie dough balls (or crumbles) over this layer. Don’t press them in too hard.
- Spoon the remaining cheesecake filling over the cookie dough layer, gently spreading it to cover all the cookie dough pieces and create a smooth top.
- For extra prettiness, sprinkle the reserved ¼ cup of cookie dough crumbles and/or some extra mini chocolate chips on top.
- Cover the springform pan loosely with plastic wrap.
Step 5: Chill!
This is arguably the most important step for a no-bake cheesecake!
- Refrigerate the cheesecake for at least 6-8 hours, but preferably overnight. This allows the cheesecake filling to firm up completely and the flavors to meld beautifully. Do NOT rush this step!
When you’re ready to serve, carefully remove the sides of the springform pan. You can run a thin knife around the edge if needed to loosen it. Slice, serve, and enjoy your masterpiece!
Tips & Suggestions
Having made this No Bake Cookie Dough Cheesecake more times than I can count, I’ve picked up a few tricks that will help you achieve perfection. Here are my top tips and some ideas to make it your own!
My Top Tips for Success
- Room Temperature Cream Cheese is Non-Negotiable: I cannot stress this enough! If your cream cheese isn’t soft and at room temperature, you’ll end up with lumps in your cheesecake filling, no matter how much you beat it. Take it out of the fridge at least an hour (or two!) before you start.
- Heat-Treat Your Flour Properly: For the edible cookie dough, this step is crucial for food safety. Whether you microwave it or bake it, ensure it reaches 160°F (71°C) and then let it cool completely. Using warm flour will melt your butter and ruin the cookie dough texture.
- Don’t Over-Whip the Heavy Cream: When whipping the heavy cream, keep a close eye on it. You want stiff peaks, meaning when you lift the whisk, the peak holds its shape. Over-whipping can turn it grainy or even into butter, which you definitely don’t want in your cheesecake.
- Chill Your Cookie Dough Balls: Chilling the edible cookie dough balls before adding them to the cheesecake prevents them from completely softening and disappearing into the filling. This ensures distinct pockets of cookie dough goodness in every slice.
- Patience with Chilling: I know it’s hard to wait, but the chilling time is absolutely vital for a no-bake cheesecake. It needs those 6-8 hours (or overnight!) to set up properly. If you cut into it too soon, it will be soft and runny. Trust the process!
- For Clean Slices: Before slicing, run a sharp, thin knife under hot water and wipe it clean between each slice. This creates beautiful, clean cuts and prevents the cheesecake from sticking to the knife.
Suggestions for Customization
- Crust Variations: While I love the classic graham cracker, try a chocolate cookie crust, an Oreo crust (without the cream for best stability), or even a shortbread cookie crust for a different flavor profile.
- Cookie Dough Flavors: Get creative with your edible cookie dough! Instead of just chocolate chips, try adding white chocolate chips, butterscotch chips, chopped peanut butter cups, or even a swirl of hazelnut spread into the dough. You could also swap out some of the vanilla extract for almond extract for a different twist.
- Topping Ideas: Beyond the reserved cookie dough, consider drizzling with chocolate fudge sauce, caramel sauce, or a sprinkle of flaky sea salt right before serving. A dollop of extra whipped cream is always a welcome addition too!
- Individual Servings: Instead of a springform pan, you can press the crust into individual ramekins or even muffin tins lined with paper liners for single-serving cheesecakes. Just be sure to adjust chilling times slightly if they are smaller.
Storage
Once you’ve gone through the effort of making this divine No Bake Cookie Dough Cheesecake, you’ll want to make sure you store it properly to keep it fresh and delicious for as long as possible. Here’s how I handle storage:
In the Refrigerator
- Cover It Well: After slicing or even before slicing, always cover your cheesecake tightly with plastic wrap or aluminum foil. This prevents it from absorbing odors from other foods in your fridge and keeps it from drying out. If you’re storing the whole cheesecake, once it’s set, you can put the plastic wrap directly on the surface of the cheesecake to create a seal, then cover the pan.
- How Long It Lasts: Stored correctly in the refrigerator, your No Bake Cookie Dough Cheesecake will stay fresh and tasting fantastic for up to 4-5 days. The texture might soften ever so slightly over time, but it will still be incredibly enjoyable.
- Best Served Cold: This cheesecake is definitely best served chilled. If you take it out for a party, try not to leave it at room temperature for more than an hour or two, especially in warm environments.
Freezing Options
Yes, you can absolutely freeze this No Bake Cookie Dough Cheesecake! It’s a great option if you’ve made it ahead of time or have leftovers you want to save for later.
- For the Whole Cheesecake:
- Ensure the cheesecake is fully chilled and set in the refrigerator first.
- Place the uncovered cheesecake in the freezer for about 1-2 hours, or until it’s solid. This flash-freezing step helps to firm it up so it won’t get squished when you wrap it.
- Once firm, remove it from the springform pan (if you wish) and wrap the entire cheesecake tightly in several layers of plastic wrap, followed by a layer of aluminum foil. This double layer of protection is key to preventing freezer burn.
- You can store the whole cheesecake in the freezer for up to 1 month. Beyond that, the quality might start to decline slightly.
- For Individual Slices:
- Cut the cheesecake into individual slices.
- Place the slices on a baking sheet lined with parchment paper and flash-freeze them for about 1 hour, or until firm.
- Wrap each individual slice tightly in plastic wrap, then place them in an airtight freezer-safe container or a freezer bag.
- Individual slices can also be frozen for up to 1 month. This is super convenient for grabbing a single serving whenever a craving strikes!
- Thawing Frozen Cheesecake:
- To thaw, transfer the wrapped cheesecake (whole or slices) from the freezer to the refrigerator. Let it thaw slowly overnight, or for at least 4-6 hours for slices, and 8-12 hours for a whole cheesecake.
- Once thawed, unwrap and enjoy! It will have the same delicious texture and flavor as when it was first made.
With these storage tips, you can ensure every bite of your No Bake Cookie Dough Cheesecake is just as delightful as the first!

Final Thoughts
There’s simply nothing quite like the experience of digging into a truly exceptional dessert that required minimal effort, and this No Bake Cookie Dough Cheesecake truly embodies that joy! I can confidently say that this recipe is an absolute must-try for anyone who adores the comforting taste of cookie dough, the luxurious creaminess of cheesecake, and the brilliant simplicity of a no-bake creation.
I find it perfectly captures the essence of a dream dessert – rich, indulgent, and delightfully easy to prepare. Every spoonful of this No Bake Cookie Dough Cheesecake is a little slice of heaven, combining familiar, beloved flavors into something truly spectacular. It’s perfect for impressing guests, satisfying a serious sweet tooth, or simply treating yourself to some well-deserved deliciousness. Don’t hesitate to bring this fantastic dessert into your life; you’ll be so glad you did!
Decadent No Bake Cookie Dough Cheesecake: Quick & Easy

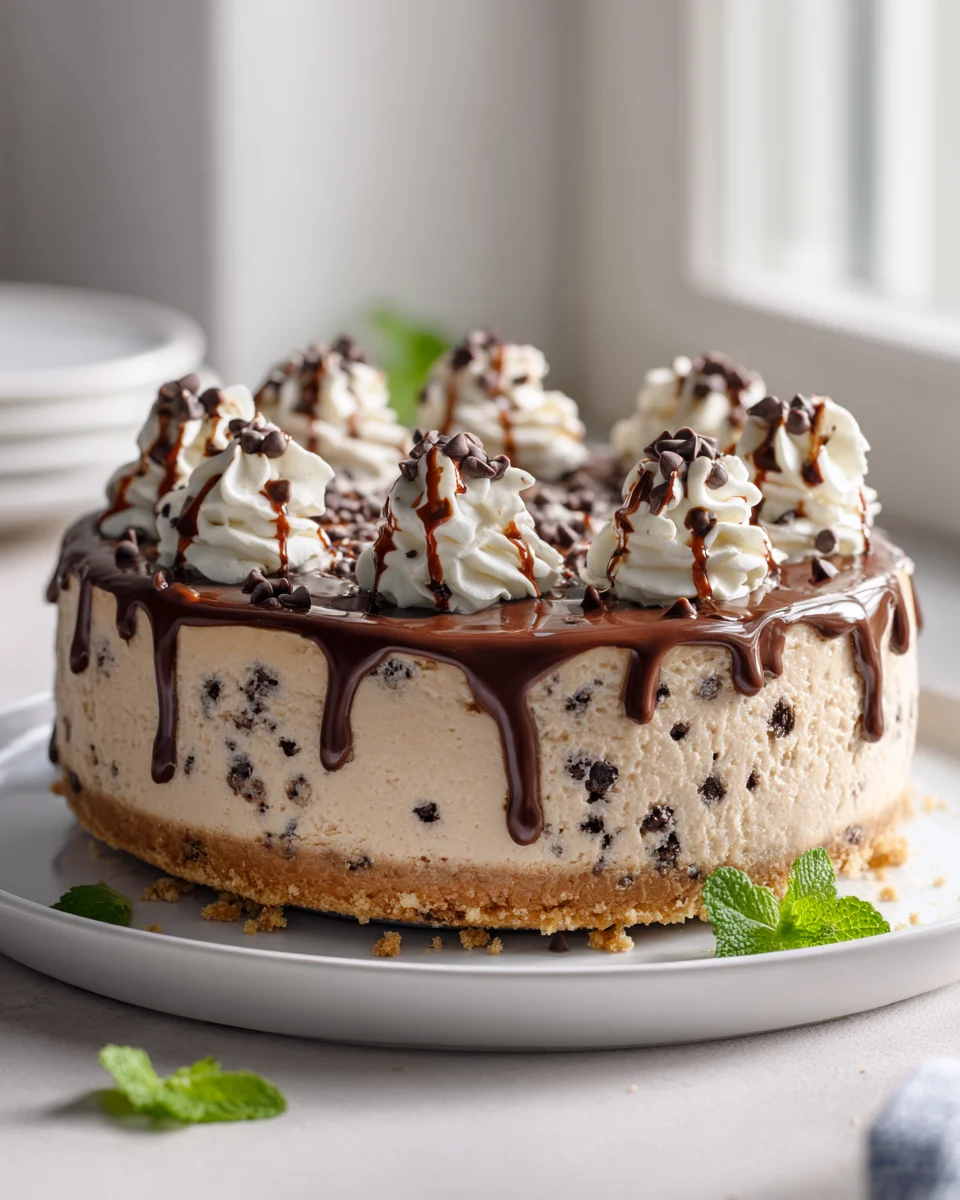
This No Bake Cookie Dough Cheesecake combines creamy cheesecake with irresistible cookie dough, all without the need for an oven. It’s the perfect dessert for warm days or when you want a spectacular treat with minimal fuss.
- Prep Time: 30 mins
- Cook Time: 0 mins
- Total Time: 30 minutes
- Yield: 8 servings 1x
- Category: Dessert
- Method: No-Bake
- Cuisine: American
Ingredients
- 1 ½ cups Graham Cracker Crumbs
- 6 tablespoons Melted Unsalted Butter
- 2 tablespoons Granulated Sugar
- 1 cup All-Purpose Flour
- ½ cup Unsalted Butter, Softened
- ½ cup Granulated Sugar
- ¼ cup packed Light Brown Sugar
- 1 teaspoon Vanilla Extract
- 1–2 tablespoons Milk (or Cream)
- ¾ cup Mini Chocolate Chips
- Two 8-ounce blocks Full-Fat Cream Cheese, Softened
- 1 cup Powdered Sugar (Confectioners' Sugar)
- 1 teaspoon Vanilla Extract
- 1 ½ cups Heavy Cream (Cold)
Instructions
- Step 1: Prepare Your Pan and Crust
- 1. Line a 9-inch springform pan with parchment paper on the bottom.
- 2. In a medium bowl, combine the graham cracker crumbs, granulated sugar, and melted unsalted butter. Mix well until all the crumbs are moistened.
- 3. Press this mixture firmly and evenly into the bottom of your prepared springform pan.
- 4. Pop the crust into the refrigerator while you prepare the cookie dough and filling.
- Step 2: Make the Edible Cookie Dough
- 1. Heat-Treat the Flour: Spread the all-purpose flour on a microwave-safe plate or baking sheet. Microwave on high in 30-second intervals until it reaches an internal temperature of 160°F (71°C). Let it cool completely before using.
- 2. In a medium bowl, cream together the softened unsalted butter, granulated sugar, and light brown sugar until light and fluffy.
- 3. Beat in the vanilla extract.
- 4. Gradually add the cooled, heat-treated flour, mixing on low speed until just combined.
- 5. Add milk (or cream) one tablespoon at a time, mixing until the dough comes together.
- 6. Stir in mini chocolate chips by hand until evenly distributed.
- 7. Reserve about ¼ cup of this edible cookie dough for decoration and chill the remaining dough.
- Step 3: Prepare the No-Bake Cheesecake Filling
- 1. In a large bowl, beat the softened cream cheese until completely smooth and creamy.
- 2. Add powdered sugar and vanilla extract to the cream cheese. Beat until well incorporated and smooth.
- 3. In a separate, chilled bowl, whip the cold heavy cream on high speed until stiff peaks form.
- 4. Gently fold the whipped cream into the cream cheese mixture until just combined.
- Step 4: Assemble the Cheesecake
- 1. Take your chilled crust out of the refrigerator.
- 2. Pour about half of the no-bake cheesecake filling over the crust and spread it evenly.
- 3. Arrange your chilled edible cookie dough balls over this layer.
- 4. Spoon the remaining cheesecake filling over the cookie dough layer, creating a smooth top.
- 5. Sprinkle the reserved cookie dough crumbles and/or some extra mini chocolate chips on top.
- 6. Cover the springform pan loosely with plastic wrap.
- Step 5: Chill!
- 1. Refrigerate the cheesecake for at least 6-8 hours, preferably overnight.
Nutrition
- Serving Size: 1 slice
- Calories: 450
- Sugar: 30 g
- Sodium: 250 mg
- Fat: 30 g
- Saturated Fat: 18 g
- Unsaturated Fat: 8 g
- Trans Fat: 0 g
- Carbohydrates: 40 g
- Fiber: 1 g
- Protein: 5 g
- Cholesterol: 80 mg
Keywords: Ensure cream cheese is at room temperature for a smooth filling. Heat-treat the flour properly for food safety. Don't over-whip the heavy cream to maintain texture.
Leave a Comment