
Lemon Rice Krispy Treats
Oh, do I have a treat for you today! Get ready to fall head over heels for Lemon Rice Krispy Treats. You know that classic, buttery, marshmallow-y goodness that brings back all the childhood memories? Well, I’ve taken that beloved no-bake staple and given it a ridiculously bright, zesty makeover that is absolutely divine. What makes this recipe so incredibly special, you ask? It’s the unexpected burst of fresh lemon that cuts through the sweetness, transforming a familiar comfort into something brilliantly refreshing and totally addictive.
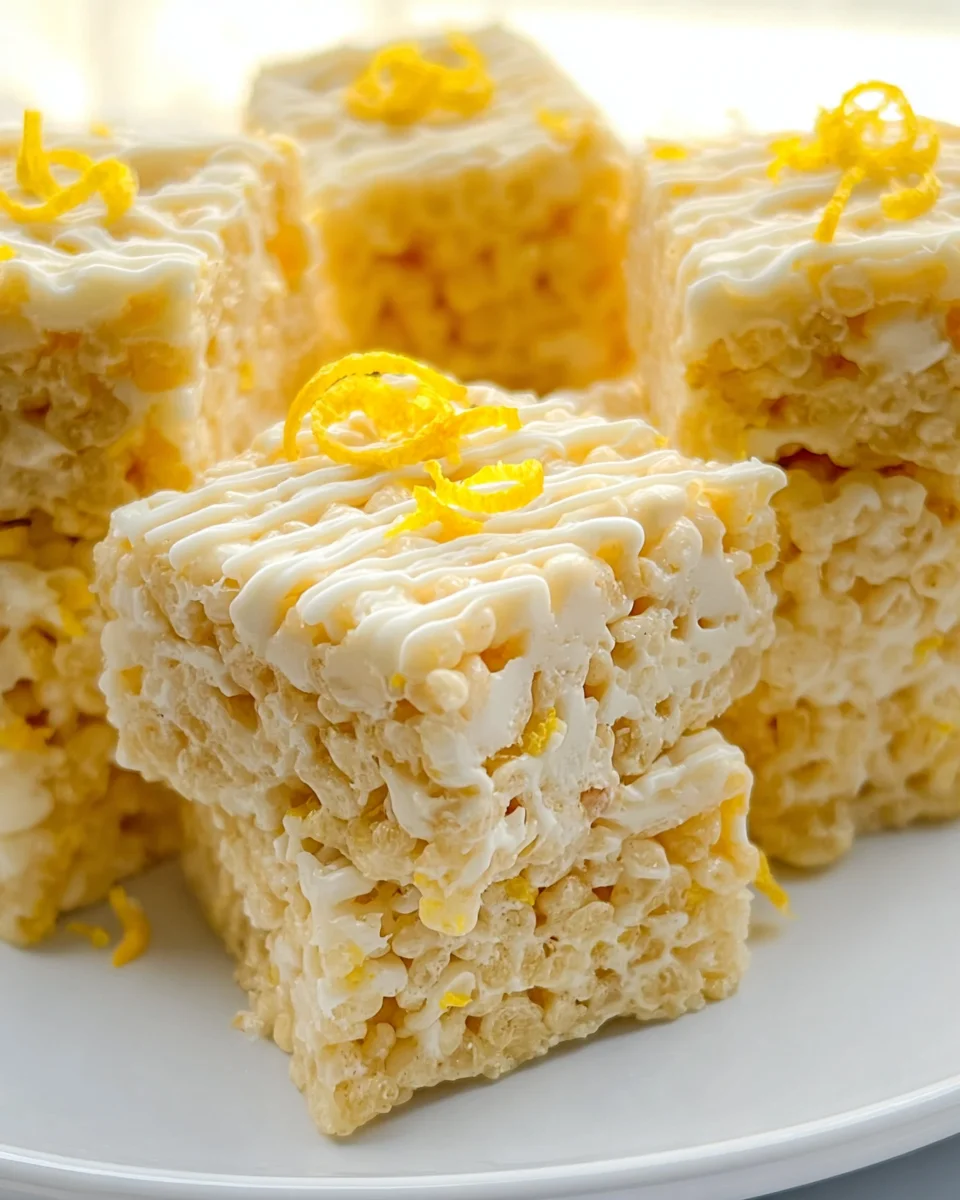
I promise, you’re going to love these because they deliver that perfect chewy, gooey texture you crave, but with an exhilarating tang that wakes up your taste buds. Imagine: crunchy puffed rice cereal coated in a luscious, lemony marshmallow mixture, then finished with even more lemon zest for an irresistible aroma and flavor. They’re incredibly easy to whip up, require no oven, and are the perfect vibrant dessert for any occasion – from a sunny picnic to an afternoon pick-me-up. Trust me, once you try this tangy twist, you’ll wonder why you ever had them any other way!
Ingredient Notes
Oh, you’re in for a treat with these Lemon Rice Krispy Treats! They take a beloved classic and infuse it with a bright, zesty twist that’s absolutely irresistible. Here’s a closer look at the key players that make these treats sing, along with some helpful substitution ideas.
- Crisp Rice Cereal: This is the foundation of our treat! I always reach for the classic Rice Krispies cereal, but any generic crisp rice cereal will work beautifully. Just make sure it’s fresh and crunchy to ensure the best texture in your finished treats. There’s no real substitute for the light, airy crunch it provides, so stick with a crisp rice variety.
- Mini Marshmallows: The glue that holds it all together! Mini marshmallows melt much faster and more evenly than their larger counterparts, which is why I prefer them. You’ll want a fresh bag for optimal melt and chewiness. If you’re looking for a vegan alternative, there are some fantastic plant-based marshmallows available on the market that will work perfectly. Just be aware they sometimes have a slightly different melt consistency, so keep an eye on them.
- Unsalted Butter: Butter provides richness and helps to create that perfectly chewy, slightly sticky texture we all love. I always use unsalted butter so I can control the salt content myself, but salted butter can be used if that’s what you have on hand; just omit any added salt. For a dairy-free or vegan option, a good quality vegan butter substitute works wonderfully. Coconut oil can also be used, but it might impart a very subtle coconut flavor, which could actually be a nice complement to the lemon!
- Fresh Lemons (Zest and Juice): This is where the magic happens and what truly elevates these from ordinary to extraordinary! You absolutely need fresh lemons for both the zest and the juice. The zest carries the vibrant, aromatic lemon oils, providing intense flavor without adding too much acidity. The fresh juice adds a lovely tartness that balances the sweetness of the marshmallows. Bottled lemon juice just doesn’t deliver the same bright, fresh punch, so please, splurge on fresh lemons for the best results!
- Pinch of Salt (Optional): While optional, a tiny pinch of salt can really enhance the flavors and cut through the sweetness. It’s like a secret weapon in many dessert recipes, bringing everything into balance.
Getting these ingredients right is the first step to truly spectacular Lemon Rice Krispy Treats!
Step-by-Step Instructions
Making these Lemon Rice Krispy Treats is incredibly simple and quick, making them perfect for a last-minute craving or a party treat. Follow these steps for chewy, zesty perfection!
- Prepare Your Pan: First things first, get your pan ready. I usually use a 9×13 inch baking pan for a standard batch. Lightly grease it with butter, cooking spray, or even line it with parchment paper, leaving an overhang on the sides. The parchment paper method is my go-to because it makes lifting the treats out for cutting super easy and clean-up a breeze!
- Melt the Butter: In a large, non-stick pot or Dutch oven, melt your unsalted butter over low to medium-low heat. You want it to melt gently without browning too much. Once melted, add the lemon zest. This step is crucial because it allows the butter to infuse with the lemon oils, building a deeper, more rounded lemon flavor throughout the treats. Stir it around for about 30 seconds to a minute until fragrant.
- Add Marshmallows: Now, add all of your mini marshmallows to the pot. Continue stirring constantly over low heat. Patience is key here – you want them to melt slowly and evenly into a smooth, gooey mixture. Don’t rush it by cranking up the heat, or they might become tough. Keep stirring until the marshmallows are completely melted and smooth, with no lumps remaining.
- Stir in Lemon Juice and Salt: Once the marshmallows are fully melted and smooth, remove the pot from the heat. Stir in the fresh lemon juice and your optional pinch of salt. Mix thoroughly until everything is well combined. The lemon juice might make the mixture look a little thinner initially, but don’t worry, it will thicken up.
- Incorporate Cereal: Immediately add the crisp rice cereal to the marshmallow mixture. Using a large spatula or wooden spoon, gently fold the cereal into the marshmallow mixture. Work quickly but carefully, ensuring that every single flake of cereal is coated evenly with the lemon-infused marshmallow goodness. You want to coat it completely without crushing the cereal too much.
- Press into Pan: Transfer the mixture into your prepared pan. Now, this is important: lightly press the mixture into an even layer. Do NOT compact it too much, or your treats will be dense and hard instead of delightfully chewy. I like to use a piece of parchment paper or wax paper placed over the top, then gently press down with my hands or another piece of greased parchment paper, or even the back of a greased spatula. This prevents sticking and ensures an even layer without over-compressing.
- Cool and Cut: Let the treats cool completely at room temperature. This usually takes about 1 to 2 hours. Resist the urge to pop them in the fridge, as that can make them hard. Once completely cooled and set, use the parchment paper overhang to lift the entire slab out of the pan. Place it on a cutting board and slice into squares using a sharp, greased knife. For cleaner cuts, you can wipe the knife clean between each slice.
And just like that, you have a batch of bright, chewy, and utterly delicious Lemon Rice Krispy Treats ready to enjoy!
Tips & Suggestions
To truly master these Lemon Rice Krispy Treats and make them unforgettable, I’ve gathered a few extra tips and suggestions based on my own experience:
- Don’t Overcook the Marshmallows: This is probably the most crucial tip for soft, chewy treats. As soon as the marshmallows are smooth and fully melted, remove them from the heat. Overcooking can lead to a harder, chewier (and not in a good way) final product.
- Fresh Lemon is Non-Negotiable: I cannot stress this enough! The essence of a truly great lemon treat comes from fresh lemons. Bottled lemon juice just won’t give you the same vibrant, natural flavor, and you’ll miss out on those essential aromatic oils from the zest. Buy a few extra lemons if you’re unsure!
- For Extra Lemon Punch: If you’re a serious lemon lover, you can add an extra teaspoon of lemon zest to the marshmallow mixture, or even a tiny splash (1/4 to 1/2 teaspoon) of lemon extract along with the lemon juice. Just be careful not to overdo the extract, as it can be potent.
- Avoid Over-Compacting: When pressing the mixture into the pan, remember to be gentle. A light touch is key for airy, chewy treats. If you press too hard, they’ll become dense and difficult to eat. A piece of wax paper or greased parchment paper on top, then gentle pressure, works wonders.
- Grease Your Tools: To prevent the sticky marshmallow mixture from clinging to everything, lightly grease your spatula, the inside of your measuring cup for the lemon juice (if using), and your knife for cutting. A little butter or cooking spray goes a long way.
- Decorative Touches: Want to make them look extra special? Once the treats are set but before cutting, you can drizzle them with a simple lemon glaze (powdered sugar mixed with a little lemon juice), or even melted white chocolate for a lovely contrast. A sprinkle of extra lemon zest or some finely chopped candied lemon peel on top would also be beautiful.
- Batch Size Adjustment: You can easily double or halve this recipe. Just make sure to adjust your pan size accordingly. A 9×9 inch pan works well for a half batch, yielding thicker treats.
Armed with these tips, you’re ready to create the most delicious and perfectly textured Lemon Rice Krispy Treats!
Storage
Proper storage is essential to keep your Lemon Rice Krispy Treats fresh, chewy, and tasting their best. Luckily, they’re quite easy to store!
- Airtight Container at Room Temperature: This is the golden rule for Rice Krispy Treats. Once completely cooled and cut, transfer your treats to an airtight container. Store them at room temperature, away from direct sunlight or heat. The airtight container prevents them from drying out and becoming hard.
- Layering with Parchment Paper: If you’re stacking multiple layers of treats in your container, I highly recommend placing a piece of parchment paper or wax paper between each layer. This prevents them from sticking together and makes it easier to grab a single treat without a struggle.
- How Long Do They Last?: When stored correctly, your Lemon Rice Krispy Treats will stay fresh and delightfully chewy for about 2-3 days. After that, they tend to start firming up a bit, though they’ll still be delicious!
- Avoid the Refrigerator: I know it might seem logical to put them in the fridge, but please resist the urge! Refrigerating Rice Krispy Treats makes them very hard and loses that wonderful chewiness. The cold temperature causes the marshmallow to seize up, changing the texture entirely.
- Freezing (Optional): While I prefer them fresh, you can freeze Rice Krispy Treats if you really need to extend their shelf life. Wrap individual treats tightly in plastic wrap, then place them in a freezer-safe bag or container. They can be frozen for up to 4-6 weeks. When you’re ready to enjoy them, thaw them at room temperature for an hour or two. Just note that the texture might be slightly different after freezing and thawing – sometimes a little less soft.
So, enjoy your fresh, zesty treats, and rest assured they’ll stay delicious with these simple storage tips!

Final Thoughts
There’s something truly special about taking a beloved classic and giving it a vibrant, new personality. That’s exactly what you get with these Lemon Rice Krispy Treats. I truly believe this recipe is a must-try because it masterfully blends the comforting chewiness we all adore with an unexpected burst of sunny, tart lemon. It’s not just a snack; it’s a little moment of joy, simple to create yet incredibly satisfying.
Whether you’re looking for a quick dessert, a refreshing party favor, or just a bright pick-me-up, these Lemon Rice Krispy Treats deliver every time. I encourage you to whip up a batch and experience the delightful harmony of sweet and zesty for yourself. You might just find your new favorite no-bake treat!
Zesty Lemon Rice Krispy Treats Recipe – Easy & Delicious!

These Lemon Rice Krispy Treats are a delightful twist on a classic favorite, infused with bright lemon zest and juice for a refreshing flavor. Perfect for any occasion, they deliver a chewy, gooey texture that is utterly addictive.
- Prep Time: 15 mins
- Cook Time: 10 mins
- Total Time: 25 minutes
- Yield: 12 servings 1x
- Category: Dessert
- Method: No-bake
- Cuisine: American
Ingredients
- 6 cups Crisp Rice Cereal
- 10 oz Mini Marshmallows
- 4 tablespoons Unsalted Butter
- 2 Fresh Lemons (Zest and Juice)
- Pinch of Salt (Optional)
Instructions
- Prepare Your Pan: Lightly grease a 9×13 inch baking pan with butter, cooking spray, or line it with parchment paper.
- Melt the Butter: In a large, non-stick pot, melt the unsalted butter over low to medium-low heat. Once melted, add the lemon zest and stir for about 30 seconds to a minute until fragrant.
- Add Marshmallows: Add all of the mini marshmallows to the pot and stir constantly over low heat until they are completely melted and smooth.
- Stir in Lemon Juice and Salt: Remove the pot from heat and stir in the fresh lemon juice and optional pinch of salt until well combined.
- Incorporate Cereal: Immediately add the crisp rice cereal to the marshmallow mixture and gently fold until all cereal is coated.
- Press into Pan: Transfer the mixture into the prepared pan and lightly press into an even layer without compacting too much.
- Cool and Cut: Let the treats cool completely at room temperature for about 1 to 2 hours. Once cooled, lift out of the pan using the parchment paper and cut into squares.
Nutrition
- Serving Size: 1 square
- Calories: 150
- Sugar: 15 g
- Sodium: 50 mg
- Fat: 5 g
- Saturated Fat: 3 g
- Unsaturated Fat: 2 g
- Trans Fat: 0 g
- Carbohydrates: 25 g
- Fiber: 0 g
- Protein: 1 g
- Cholesterol: 15 mg
Keywords: Don't overcook the marshmallows to keep the treats soft and chewy. Always use fresh lemons for the best flavor, and avoid refrigerating the treats to maintain their texture.
Leave a Comment