
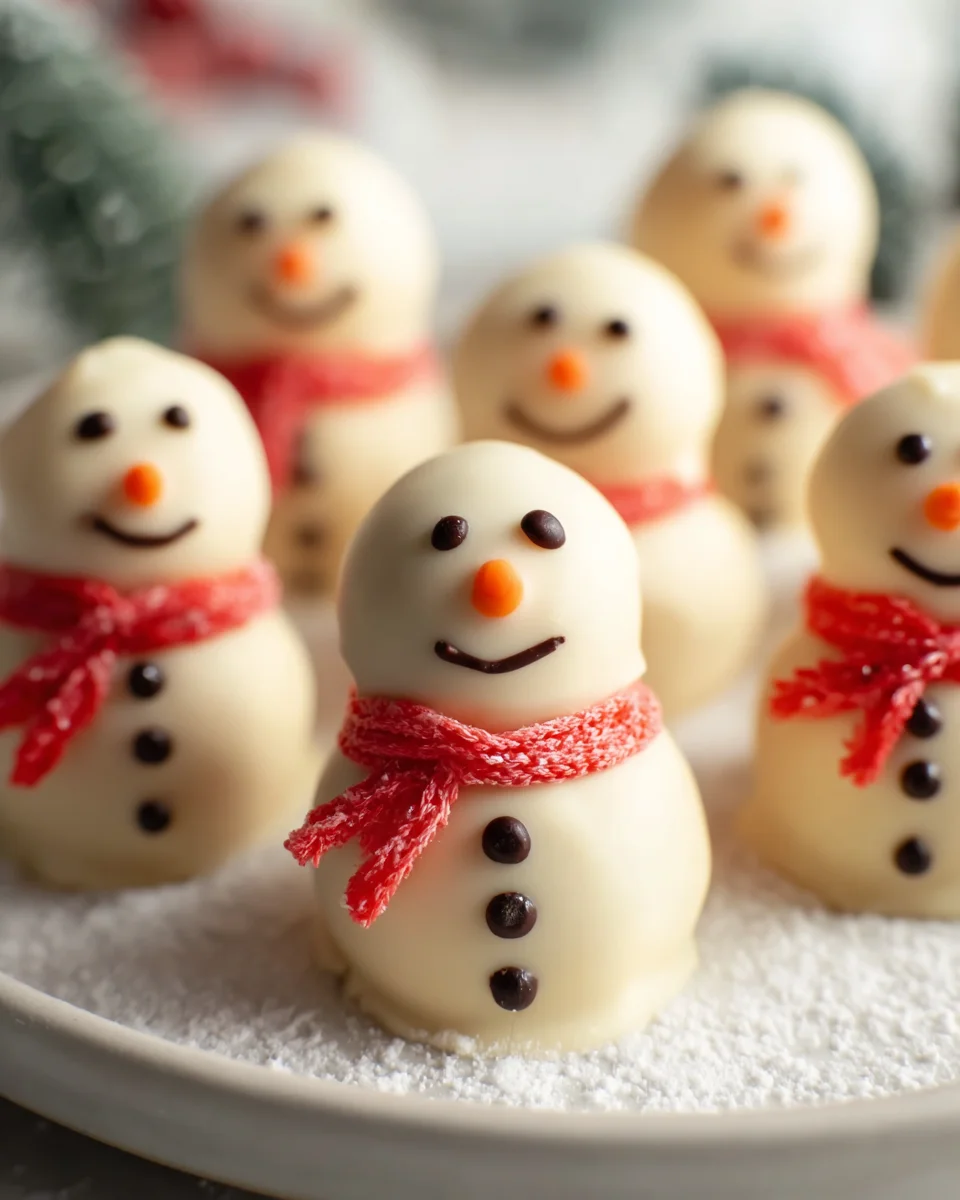
No Bake Snowman Truffles
Oh my goodness, get ready to fall in love with the cutest, easiest holiday treat ever: No Bake Snowman Truffles! I’m so excited to share these with you because they truly capture the spirit of the season without any stress. What makes these little guys so special is right there in the name – no baking required! That means you can whip up these adorable snowmen without even turning on your oven, which is a huge win during busy times, especially when your kitchen is already buzzing with holiday prep.
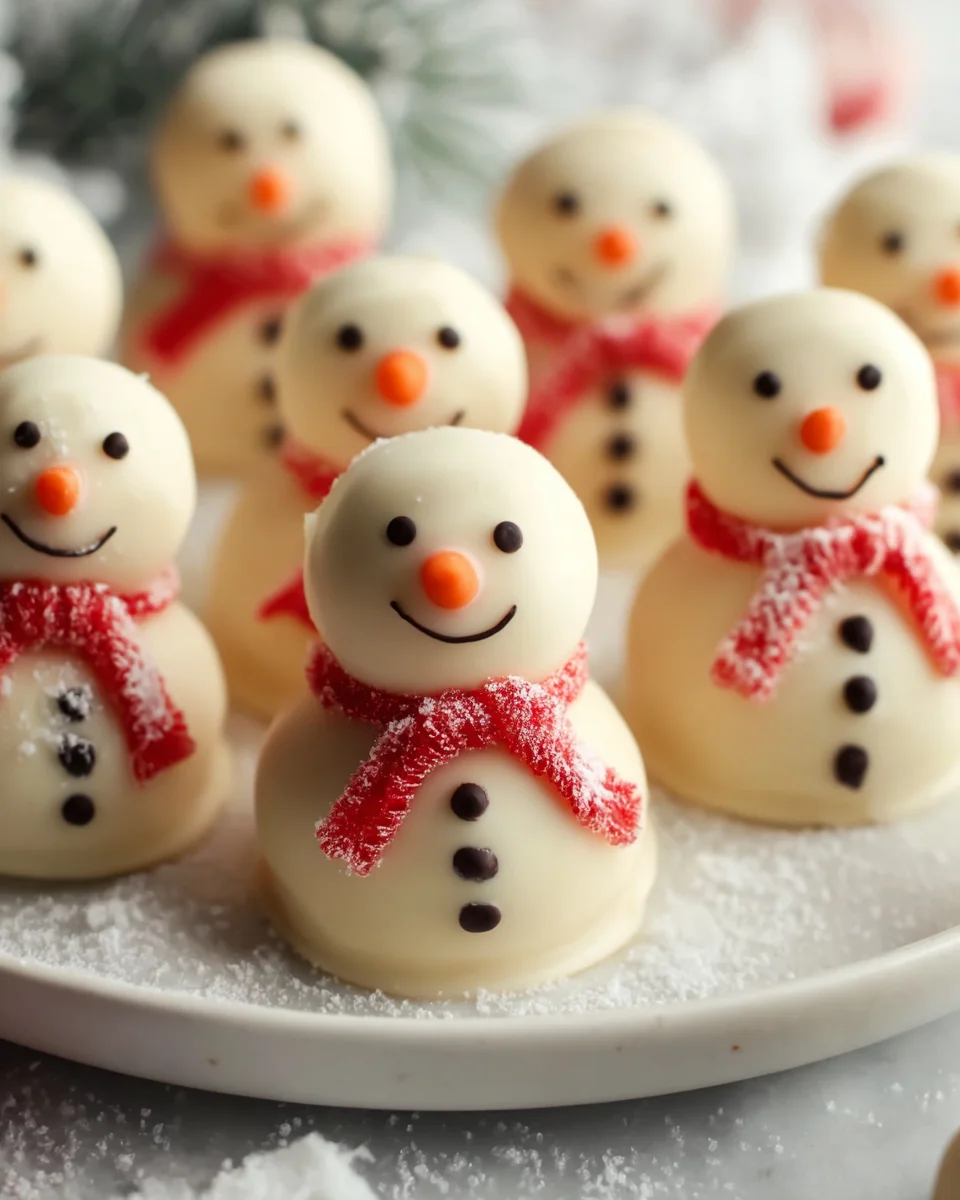
I know you’re going to absolutely adore making and sharing these. They’re perfect for involving the whole family; kids especially get a kick out of decorating their own little snowman faces. Imagine a platter of these festive, sweet delights gracing your holiday table, adorning a dessert spread, or tucked into a treat box for a friend! They bring so much joy and a touch of whimsical charm to any gathering, making everyone smile before they even take a bite.
So, what exactly are we making? We’re talking about decadent, creamy truffles, typically made from a delightful blend of crushed cookies or cake crumbs and cream cheese (or similar binding ingredients), then lovingly rolled into balls and decorated to look like miniature snowmen. Think of a rich, sweet, bite-sized treat that not only tastes incredible but also looks like an edible, festive masterpiece that’s surprisingly simple to create. Get ready to impress with minimal effort!
Ingredient Notes
Creating delightful No Bake Snowman Truffles starts with a few simple ingredients, but selecting the right ones makes all the difference in flavor and texture. Here’s a rundown of what you’ll need and some handy substitutions I’ve discovered along the way.
- Golden Oreo Cookies (or similar vanilla wafers): For the base of my truffles, I absolutely love using golden Oreo cookies. Their classic vanilla flavor and crunchy texture, once crushed, provide the perfect foundation. You’ll need about 36 cookies, which will yield roughly 3 cups of fine crumbs.
- Substitution: If golden Oreos aren’t your thing, feel free to use vanilla wafers, shortbread cookies, or even graham crackers. For a gluten-free option, simply choose your favorite gluten-free vanilla sandwich cookies or wafers.
- Cream Cheese: A block of full-fat cream cheese, softened to room temperature, is essential for binding the truffle mixture and giving it that signature rich, tangy flavor and creamy texture. I find 8 ounces to be the perfect amount. Make sure it’s fully softened, or you’ll end up with lumps!
- Substitution: For an even richer truffle, mascarpone cheese can be used. If you’re looking for a dairy-free alternative, there are some great plant-based cream cheeses available that work wonderfully, though you might need to adjust the sweetness slightly.
- Powdered Sugar: Just a quarter cup of powdered sugar helps to sweeten the truffle mixture and contributes to a smooth consistency. It blends much better than granulated sugar.
- Substitution: You can adjust the amount to your sweetness preference. For a slightly different flavor profile, a tablespoon of maple syrup could also work, though it might slightly alter the texture, making the mixture a bit stickier.
- Vanilla Extract: A teaspoon of good quality vanilla extract elevates the flavor profile, adding warmth and depth to the truffles.
- Substitution: If you’re feeling adventurous, almond extract can add a delightful, nutty undertone. A non-alcoholic rum or brandy extract could also be interesting for a more sophisticated flavor without introducing alcohol.
- White Chocolate or White Candy Melts: For coating my snowmen, I typically use good quality white chocolate chips or, for ease and a smoother finish, white candy melts. You’ll need about 12-16 ounces. Candy melts tend to be less fussy and set firmer.
- Substitution: While white is key for snowmen, if you wanted to make a “snow creature” of another color, colored candy melts are a great option! For a slightly healthier alternative, you could try a yogurt-based coating, though it will require refrigeration at all times.
- Decorations: This is where the snowman magic truly happens! I use mini chocolate chips for eyes, orange candy sprinkles or small orange candies for the carrot nose, and sometimes pretzel sticks for arms, or even mini chocolate wafers/Reese’s cups for hats.
- Substitution: Get creative! Edible markers can draw on faces, tiny candy buttons can be used for scarves, or even a dusting of edible glitter for a “sparkling snow” effect.
Step-by-Step Instructions
Making these No Bake Snowman Truffles is a fun and relatively quick process. Here’s how I bring my little edible snowmen to life:
- Prepare the Truffle Base:
- First, I take my golden Oreo cookies and crush them into very fine crumbs. I usually do this in a food processor – it’s the quickest way to get an even crumb. If you don’t have one, a Ziploc bag and a rolling pin work just as well, just ensure there are no large chunks left.
- In a large mixing bowl, I combine the softened cream cheese, powdered sugar, and vanilla extract. I beat these together with an electric mixer until the mixture is smooth and well combined, with no lumps of cream cheese remaining.
- Next, I add the crushed cookie crumbs to the cream cheese mixture. I start by mixing with a spoon, then switch to my hands to really incorporate everything until a thick, uniform dough forms. It should be firm enough to roll into balls without being overly sticky.
- Chill the Mixture:
- This is a crucial step! I cover the bowl with plastic wrap and place the truffle mixture in the refrigerator for at least 30 minutes. This chilling time helps the mixture firm up, making it much easier to shape. Don’t skip this, or your snowmen might be a little messy!
- Shape the Snowmen:
- Once chilled, I begin shaping my snowmen. For each snowman, I roll two balls: a slightly larger one for the body (about 1.5 inches in diameter) and a slightly smaller one for the head (about 1 inch in diameter). The key here is to keep them fairly smooth.
- Then, I gently press the smaller “head” ball onto the larger “body” ball. I use a little bit of pressure to ensure they stick together well. I place my formed snowmen onto a baking sheet lined with parchment paper.
- Second Chill:
- After shaping all my snowmen, I pop the baking sheet back into the refrigerator for another 20-30 minutes. This second chill helps them firm up completely, which is essential for a smooth dipping process.
- Melt the Coating:
- While the snowmen are chilling, I prepare my white chocolate or candy melts. I prefer using a double boiler for a gentle melt, but microwaving in 30-second intervals, stirring well after each, works too. I make sure the chocolate is smooth and lump-free.
- Dip and Coat:
- Working with one snowman at a time, I carefully dip each into the melted white chocolate or candy melts. I use a fork or a dipping tool to hold the snowman, allowing excess chocolate to drip off before placing it back onto the parchment-lined baking sheet. I try to get an even, full coat.
- Decorate Immediately:
- This is the fun part! While the white coating is still wet, I immediately add the snowman’s features. I place two mini chocolate chips for the eyes, and an orange candy sprinkle or a small piece of orange candy for the carrot nose. If I’m adding pretzel arms or a hat, I also place those now, pressing them gently into the wet chocolate to secure them.
- Final Set:
- Once all my snowmen are dipped and decorated, I return the baking sheet to the refrigerator for about 15-20 minutes, or until the white chocolate coating is completely set and firm.
Tips & Suggestions
Over the years of making these delightful No Bake Snowman Truffles, I’ve picked up a few tricks that make the process smoother and the results even more adorable. Here are my go-to tips and suggestions:
- The Importance of Chilling: I cannot stress this enough! Chilling the truffle mixture (twice!) is absolutely critical. A well-chilled mixture is firm and much easier to roll into smooth balls. It also helps the shaped snowmen hold their form beautifully when dipped, preventing them from collapsing into the warm chocolate. If at any point your mixture or shaped snowmen get too soft while you’re working, don’t hesitate to pop them back into the fridge for a quick refresh.
- Achieving Smooth Balls: For perfectly smooth snowman bodies and heads, I find that rolling the mixture firmly between my palms helps. If your hands are getting sticky, a light dusting of powdered sugar on your palms or even slightly damp hands can help. Also, periodically washing your hands helps remove excess crumbs and sticky bits, ensuring a cleaner roll.
- Working with White Chocolate/Candy Melts:
- Melting: Whether you use a double boiler or the microwave, melt your coating gently and slowly. Overheating white chocolate can cause it to seize and become thick and grainy, which is very difficult to work with. If it seems too thick, I sometimes stir in a teaspoon of coconut oil or vegetable shortening (not water!) to thin it out a bit for easier dipping.
- Dipping Technique: I like to use a fork with wide tines or a dedicated candy dipping tool. Submerge the snowman completely, then lift it out, gently tapping the fork against the side of the bowl to allow excess coating to drip off. This helps prevent thick puddles at the base.
- Batch Work: The white chocolate sets relatively quickly, so I recommend decorating your snowmen immediately after dipping each one. If you’re making a large batch, it might be helpful to dip a few at a time, decorate them, and then move on to the next set.
- Get Creative with Decorations: While I’ve given specific suggestions for snowman features, don’t limit yourself! Edible food markers are fantastic for drawing on intricate smiles or rosy cheeks. Mini candy canes can be used for arms, or even tiny edible pearls for buttons. A sprinkle of desiccated coconut immediately after dipping can give your snowmen a “fluffy snow” texture. This is a great activity for kids to help with – they love personalizing their snowmen!
- Making Ahead: These No Bake Snowman Truffles are fantastic for making in advance! You can prepare the truffle base a day or two before you plan to roll and dip. Once decorated, they hold up beautifully in the refrigerator, making holiday entertaining a breeze.
- Flavor Variations: Want to switch things up? Try adding a pinch of peppermint extract to the truffle mixture for a minty twist, or even a tablespoon of cocoa powder to the cookie crumb mixture for a chocolate truffle snowman! Just remember to keep your “snowman” aesthetic in mind.
Storage
Proper storage is key to keeping your No Bake Snowman Truffles fresh, delicious, and looking their best. Here’s how I store mine:
- Refrigeration is Essential: Because these truffles contain cream cheese and are coated in chocolate, they need to be stored in the refrigerator. The cold temperature keeps the truffle base firm and prevents the chocolate coating from melting or becoming sticky.
- Airtight Container: I always store my snowman truffles in an airtight container. This prevents them from drying out, absorbing any unwanted odors from the fridge, and keeps them protected from condensation, which can make the coating sticky.
- Single Layer or Parchment Paper: If you have enough space, storing them in a single layer is ideal to prevent any smudging of the delicate decorations. If you need to stack them, I recommend placing a sheet of parchment paper or wax paper between layers. This creates a barrier and protects the features of each snowman.
- How Long Do They Last?: When stored correctly in the refrigerator, my No Bake Snowman Truffles will stay fresh and delicious for up to 1 week. Beyond that, while they might still be safe to eat, the texture and freshness might start to diminish.
- Serving Temperature: While they are stored in the fridge, I find that these truffles are often best enjoyed slightly chilled but not straight from the coldest part of the fridge. Letting them sit out at room temperature for about 10-15 minutes before serving can soften the center just slightly, enhancing their creamy texture.
- Freezing for Longer Storage: If you want to make a big batch ahead of time, these truffles freeze beautifully!
- Once completely set, place the truffles in a single layer on a parchment-lined baking sheet and freeze for about 1-2 hours until solid.
- Then, transfer the frozen truffles to a freezer-safe airtight container or a heavy-duty freezer bag, again, using parchment paper between layers if stacking.
- They will keep well in the freezer for up to 1 month.
- To enjoy, simply transfer them to the refrigerator to thaw overnight, or let them sit at room temperature for about 30 minutes before serving.
Final Thoughts
There you have it! My absolute favorite way to bring some festive cheer into the kitchen without even turning on the oven. These No Bake Snowman Truffles aren’t just a dessert; they’re a delightful little project that brings smiles and a touch of winter magic to any gathering. I love how simple they are to create, making them perfect for busy holiday schedules or a fun afternoon activity with the little ones.
Seriously, once you try these, you’ll understand why I rave about them. The creamy texture, the sweet flavor, and those adorable snowman faces make these No Bake Snowman Truffles an instant hit. They’re a stress-free way to impress your guests, make thoughtful edible gifts, or simply treat yourself to a whimsical, delicious bite. I hope you enjoy making and sharing these as much as I do!
Easy No Bake Snowman Truffles: Quick & Fun Holiday Treat

These No Bake Snowman Truffles are the cutest and easiest holiday treat that requires no baking! Perfect for family fun, they are a delightful blend of creamy truffles decorated to look like adorable snowmen.
- Prep Time: 15 mins
- Cook Time: 30 mins
- Total Time: 45 minutes
- Yield: 24 truffles 1x
- Category: Dessert
- Method: No Bake
- Cuisine: American
Ingredients
- 36 Golden Oreo Cookies (or similar vanilla wafers)
- 8 ounces Cream Cheese, softened
- 1/4 cup Powdered Sugar
- 1 teaspoon Vanilla Extract
- 12–16 ounces White Chocolate or White Candy Melts
- Mini chocolate chips (for eyes)
- Orange candy sprinkles or small orange candies (for nose)
- Pretzel sticks (for arms)
- Mini chocolate wafers or Reese's cups (for hats)
Instructions
- First, crush the golden Oreo cookies into very fine crumbs using a food processor or a Ziploc bag and rolling pin.
- In a large mixing bowl, combine the softened cream cheese, powdered sugar, and vanilla extract. Beat until smooth and well combined.
- Add the crushed cookie crumbs to the cream cheese mixture and mix with a spoon, then use your hands to incorporate everything until a thick, uniform dough forms.
- Cover the bowl with plastic wrap and refrigerate the truffle mixture for at least 30 minutes.
- Once chilled, roll two balls for each snowman: a larger one for the body (about 1.5 inches) and a smaller one for the head (about 1 inch).
- Press the smaller head ball onto the larger body ball and place the formed snowmen onto a baking sheet lined with parchment paper.
- Refrigerate the baking sheet with the snowmen for another 20-30 minutes.
- While the snowmen are chilling, melt the white chocolate or candy melts using a double boiler or microwave until smooth.
- Dip each snowman into the melted coating, allowing excess chocolate to drip off before placing it back onto the parchment-lined baking sheet.
- While the coating is still wet, add mini chocolate chips for eyes, an orange candy sprinkle for the nose, and any other decorations like pretzel arms or hats.
- Return the baking sheet to the refrigerator for about 15-20 minutes, or until the coating is completely set.
Nutrition
- Serving Size: 1 truffle
- Calories: 150
- Sugar: 10 g
- Sodium: 50 mg
- Fat: 8 g
- Saturated Fat: 4 g
- Unsaturated Fat: 3 g
- Trans Fat: 0 g
- Carbohydrates: 18 g
- Fiber: 0 g
- Protein: 1 g
- Cholesterol: 20 mg
Keywords: Chilling the truffle mixture twice is crucial for a smooth finish. Feel free to get creative with decorations and consider using different types of cookies or cream cheese substitutes.
Leave a Comment