
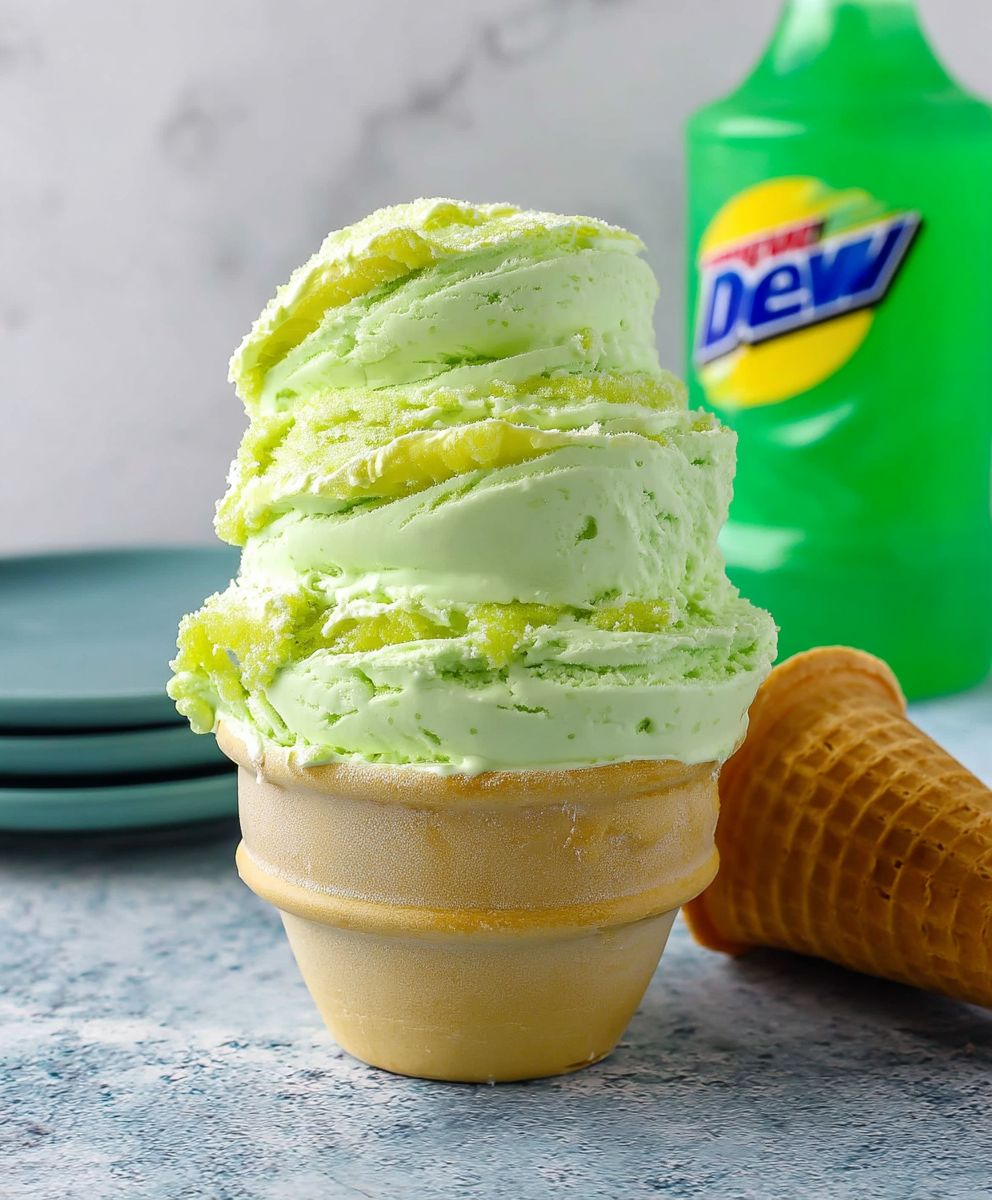
Mountain Dew ice cream: Prepare for a flavor explosion that will redefine your dessert experience! Forget everything you thought you knew about ice cream because this vibrant, citrusy concoction is about to become your new obsession. Imagine the electrifying tang of Mountain Dew, perfectly balanced with the creamy coolness of homemade ice cream. It’s a surprisingly delightful combination that will have your taste buds singing.
While not steeped in centuries of tradition like gelato or kulfi, Mountain Dew ice cream represents a modern twist on a classic treat. It’s a playful rebellion against the ordinary, a testament to culinary creativity and the joy of experimentation. Think of it as a delicious dare, a chance to embrace the unexpected and discover a truly unique flavor profile.
Why do people love it? Beyond the sheer novelty, this ice cream offers a refreshing and invigorating taste. The bright citrus notes of Mountain Dew cut through the richness of the cream, preventing it from being overly heavy. The result is a light, zesty, and incredibly satisfying dessert that’s perfect for a hot summer day or any time you crave a little bit of fun. Plus, it’s surprisingly easy to make at home, allowing you to customize the sweetness and intensity to your liking. Get ready to scoop up some happiness!
Ingredients:
- 1 (12 ounce) can Mountain Dew soda
- 1 cup heavy cream
- ½ cup whole milk
- ¾ cup granulated sugar
- ¼ teaspoon salt
- 1 teaspoon vanilla extract (optional, but recommended)
- Green food coloring (optional, for a more vibrant color)
Preparing the Mountain Dew Syrup:
Before we even think about ice cream, we need to concentrate that Mountain Dew flavor! This step is crucial because using the soda directly would result in a watery, less flavorful ice cream. Trust me, you don’t want that.
- Pour the Mountain Dew into a saucepan: Grab a medium-sized saucepan and carefully pour in the entire can of Mountain Dew. Be careful, it might fizz a bit!
- Simmer over medium heat: Place the saucepan over medium heat on your stovetop. We’re aiming for a gentle simmer, not a rolling boil. A simmer is when you see small bubbles forming around the edges of the pan.
- Reduce the soda: This is the most important part. We need to reduce the Mountain Dew down to about ½ cup. This will take approximately 20-30 minutes, maybe even a little longer depending on your stove. Keep a close eye on it! You’ll notice the liquid thickening and the bubbles getting larger as it reduces.
- Stir occasionally: While it’s simmering, stir the Mountain Dew occasionally to prevent it from sticking to the bottom of the pan and burning. Burnt Mountain Dew syrup is not what we’re going for!
- Check for consistency: After about 20 minutes, start checking the consistency. You want it to be syrupy, but not too thick. Remember, it will thicken further as it cools. A good test is to dip a spoon into the syrup and then lift it. The syrup should coat the back of the spoon and slowly drip off.
- Remove from heat and cool completely: Once the Mountain Dew has reduced to about ½ cup and has a syrupy consistency, remove the saucepan from the heat. Pour the syrup into a heat-safe bowl or container and let it cool completely. This is important! Adding hot syrup to the other ingredients will mess things up. You can speed up the cooling process by placing the bowl in the refrigerator.
Making the Ice Cream Base:
Now that our Mountain Dew syrup is ready, we can move on to creating the creamy ice cream base. This is where the magic really happens!
- Combine heavy cream, milk, sugar, and salt: In a medium-sized bowl, whisk together the heavy cream, whole milk, granulated sugar, and salt. Make sure the sugar is completely dissolved. You don’t want any gritty bits in your ice cream!
- Add the cooled Mountain Dew syrup: Once the Mountain Dew syrup is completely cooled, pour it into the bowl with the cream mixture.
- Add vanilla extract (optional): If you’re using vanilla extract (and I highly recommend it!), add it to the bowl now. The vanilla will enhance the Mountain Dew flavor and add a touch of warmth.
- Add green food coloring (optional): If you want your ice cream to have that classic Mountain Dew green color, add a few drops of green food coloring. Start with a small amount and add more until you reach your desired shade. Be careful not to add too much, or it could affect the taste.
- Whisk everything together: Whisk all the ingredients together until they are well combined. The mixture should be smooth and uniform in color.
- Chill the mixture: This is a crucial step! Cover the bowl with plastic wrap, pressing the plastic wrap directly onto the surface of the mixture to prevent a skin from forming. Place the bowl in the refrigerator and chill for at least 4 hours, or preferably overnight. This allows the flavors to meld together and the mixture to cool down completely, which is essential for proper freezing.
Churning the Ice Cream:
The moment we’ve been waiting for! It’s time to turn that chilled base into delicious, creamy Mountain Dew ice cream. Make sure your ice cream maker is properly prepared according to the manufacturer’s instructions. This usually involves freezing the bowl for at least 24 hours.
- Prepare your ice cream maker: Ensure your ice cream maker bowl is thoroughly frozen. A properly frozen bowl is key to achieving the right consistency. If the bowl isn’t cold enough, the ice cream won’t freeze properly.
- Pour the chilled mixture into the ice cream maker: Remove the chilled ice cream base from the refrigerator and pour it into the frozen ice cream maker bowl.
- Churn according to manufacturer’s instructions: Turn on your ice cream maker and let it churn according to the manufacturer’s instructions. This usually takes about 20-30 minutes, but it can vary depending on your machine.
- Observe the consistency: As the ice cream churns, it will gradually thicken. Keep an eye on the consistency. You want it to be thick and creamy, similar to soft-serve ice cream.
- Check for doneness: To check if the ice cream is done, stop the machine briefly and scoop out a small amount. If it holds its shape and doesn’t melt too quickly, it’s ready. If it’s still too liquid, continue churning for a few more minutes.
Freezing and Serving:
Almost there! Now we just need to harden the ice cream in the freezer before we can enjoy it.
- Transfer to a freezer-safe container: Once the ice cream has reached the desired consistency, carefully transfer it to a freezer-safe container. A plastic container with a tight-fitting lid works well.
- Press plastic wrap onto the surface: To prevent ice crystals from forming on the surface of the ice cream, press a piece of plastic wrap directly onto the surface before sealing the container.
- Freeze for at least 2 hours: Place the container in the freezer and freeze for at least 2 hours, or preferably longer, to allow the ice cream to harden completely. This will give it a firmer, more scoopable texture.
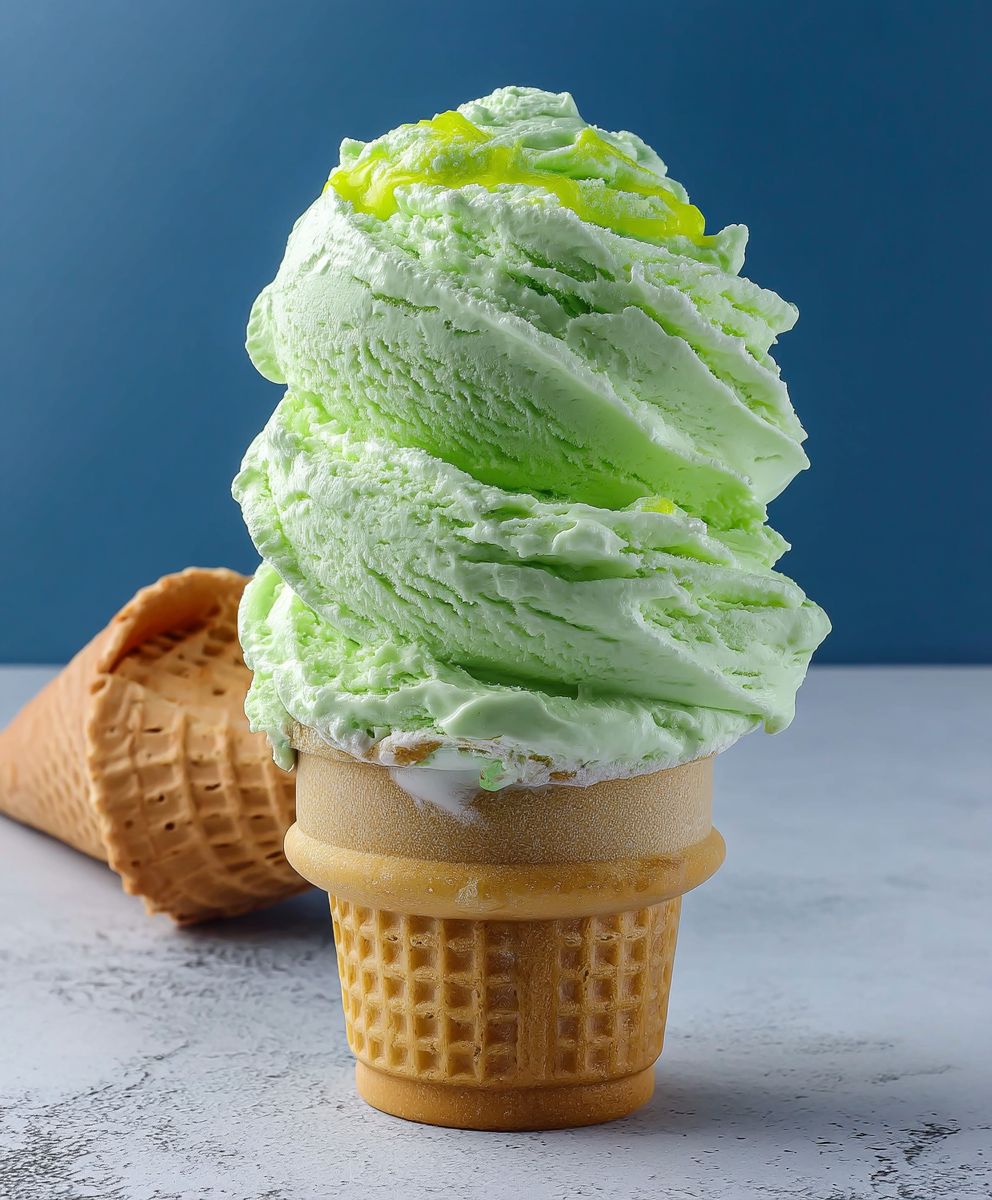
- Scoop and serve: After the ice cream has frozen for at least 2 hours, it’s ready to be scooped and served! Enjoy your homemade Mountain Dew ice cream on its own, in a cone, or with your favorite toppings.
Tips for Success:
- Use high-quality ingredients: The better the ingredients, the better the ice cream will taste. Use fresh, high-quality heavy cream and whole milk for the best results.
- Don’t skip the chilling step: Chilling the ice cream base is crucial for proper freezing. It allows the flavors to meld together and the mixture to cool down completely, which is essential for achieving a smooth and creamy texture.
- Follow your ice cream maker’s instructions: Each ice cream maker is different, so be sure to follow the manufacturer’s instructions carefully.
- Don’t overchurn: Overchurning can result in a grainy texture. Churn the ice cream until it reaches the consistency of soft-serve ice cream, then transfer it to the freezer to harden.
- Experiment with flavors: Feel free to experiment with different flavors and add-ins. You could try adding chopped nuts, chocolate chips, or even a swirl of caramel sauce.
Troubleshooting:
- Ice cream is too icy: This could be due to not chilling the ice cream base long enough, or not using enough fat (heavy cream). Make sure to chill the base for at least 4 hours, and use high-quality heavy cream.
- Ice cream is too soft: This could be due to not freezing the ice cream maker bowl long enough, or not churning the ice cream long enough. Make sure the bowl is thoroughly frozen, and churn the ice cream until it reaches the consistency of soft-serve ice cream.
- Ice cream is grainy: This could be due to overchurning, or using low-quality ingredients. Avoid overchurning, and use fresh, high-quality ingredients.
Conclusion:
And there you have it! This Mountain Dew ice cream recipe isn’t just a novelty; it’s a surprisingly delicious and refreshing treat that’s guaranteed to be a conversation starter. I know, I know, it sounds a little crazy, but trust me on this one. The tangy citrus flavor of Mountain Dew, combined with the creamy richness of homemade ice cream, creates a flavor explosion that’s both unique and incredibly satisfying. It’s the perfect way to cool down on a hot day, impress your friends, or simply indulge in something a little different.
Why is this a must-try? Because it’s fun, it’s easy, and it’s a guaranteed crowd-pleaser. Forget boring vanilla or predictable chocolate; this Mountain Dew ice cream is an adventure for your taste buds! It’s also a fantastic way to use up any leftover Mountain Dew you might have lurking in the fridge (although, let’s be honest, who ever has leftover Mountain Dew?).
But the fun doesn’t stop there! This recipe is incredibly versatile, and there are tons of ways to customize it to your liking. For a truly decadent experience, try adding some crushed graham crackers or a swirl of lime curd. If you’re feeling adventurous, you could even throw in some chopped candied ginger for a spicy kick. For a more subtle flavor, consider using a different citrus soda, like Sprite or 7-Up. The possibilities are endless!
Serving Suggestions and Variations:
* Serve it in a waffle cone for a classic ice cream experience.
* Top it with whipped cream and a cherry for a touch of elegance.
* Use it to make a Mountain Dew ice cream float by pouring it over more Mountain Dew.
* Create an ice cream sandwich using chocolate wafers or homemade cookies.
* Pair it with a slice of key lime pie for a truly unforgettable dessert.
* For a boozy twist, add a shot of vodka or rum to the ice cream base before churning. (Please enjoy responsibly!)
* Make mini ice cream bites by freezing small scoops on a baking sheet lined with parchment paper.
I’m confident that you’ll love this recipe as much as I do. It’s a fun and unexpected way to enjoy a classic treat, and it’s sure to bring a smile to your face. So, what are you waiting for? Gather your ingredients, dust off your ice cream maker, and get ready to create some Mountain Dew magic!
I’m so excited for you to try this recipe! Once you’ve made your own batch of this vibrant and delicious Mountain Dew ice cream, I’d love to hear about your experience. Did you make any modifications? What did you think of the flavor? Share your photos and stories in the comments below! I can’t wait to see what you create. Happy churning! Don’t forget to tag me in your social media posts so I can see your creations! Let’s spread the Mountain Dew ice cream love!
Mountain Dew Ice Cream: A Refreshing Summer Treat
Homemade Mountain Dew ice cream! This recipe concentrates the iconic soda flavor into a creamy, refreshing frozen treat.
Ingredients
Instructions
Recipe Notes
- Use high-quality ingredients for the best flavor.
- Don’t skip the chilling step.
- Follow your ice cream maker’s instructions.
- Don’t overchurn the ice cream.
- Experiment with flavors and add-ins.


Leave a Comment