
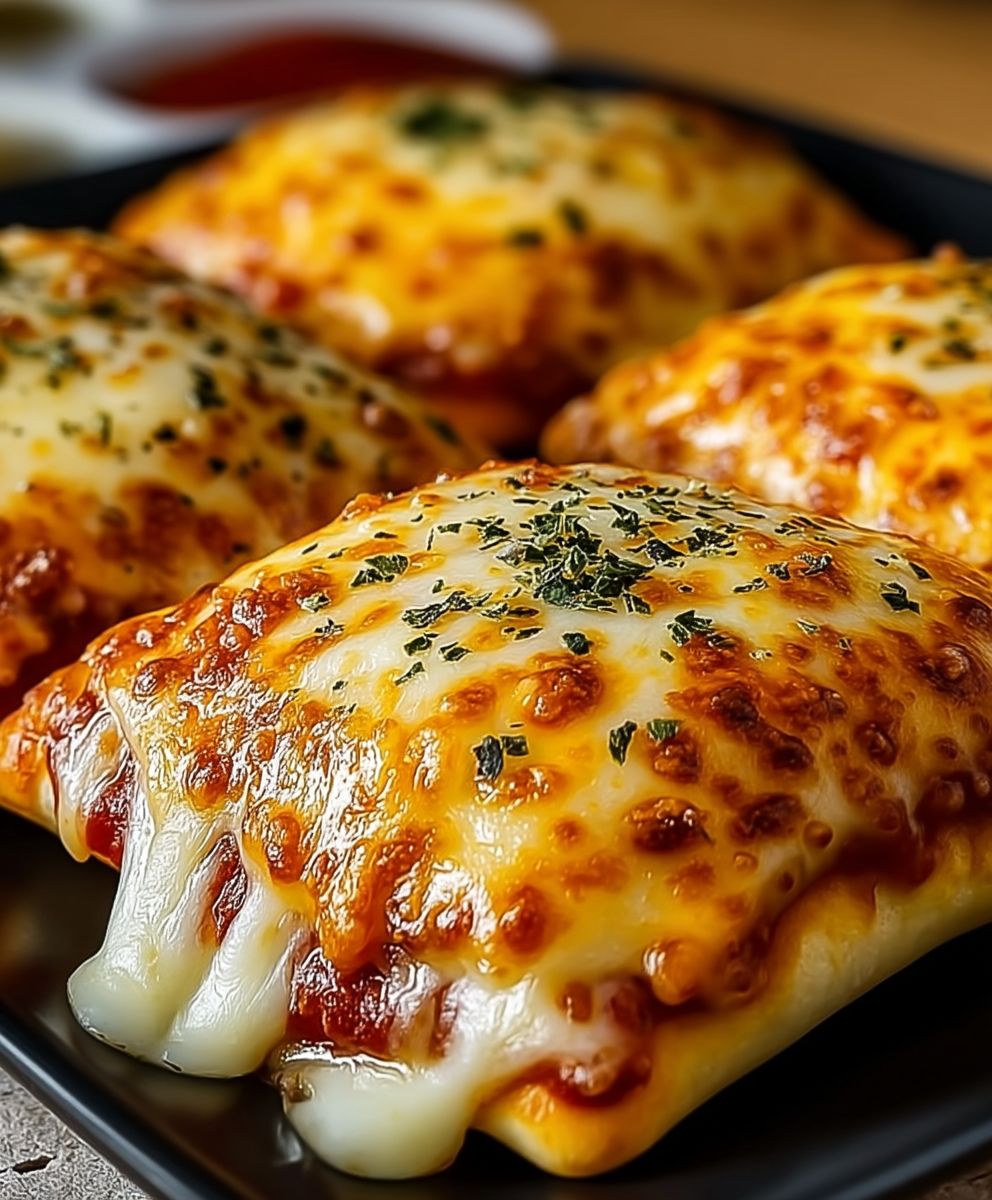
Easy cheesy pizza pockets – who doesn’t love the sound of that? Imagine biting into a warm, golden, perfectly portable parcel filled with gooey, melted cheese and your favorite pizza toppings. It’s pure comfort food bliss, and the best part? They’re incredibly simple to make! Forget ordering takeout; these homemade pizza pockets are ready faster than delivery and taste a million times better.
While pizza itself boasts a rich history rooted in Italian culinary tradition, the concept of encapsulating those flavors in a convenient pocket is a more modern invention. Think of them as a delicious, handheld evolution of the calzone, perfectly tailored for busy weeknights, lunchboxes, or even a fun party snack. They offer the satisfying taste of pizza without the need for plates or cutlery – a true win-win!
People adore these easy cheesy pizza pockets for so many reasons. The combination of crispy, flaky dough and the warm, savory filling is simply irresistible. Plus, they’re endlessly customizable! Whether you’re a pepperoni purist, a veggie lover, or a fan of gourmet toppings, you can tailor each pocket to your exact preferences. And let’s be honest, the sheer convenience of having a perfectly portioned, self-contained pizza is a major draw. Get ready to experience pizza in a whole new, delightfully portable way!
Ingredients:
- 1 package (13.8 ounces) refrigerated pizza dough
- 1 cup pizza sauce
- 2 cups shredded mozzarella cheese
- 1/2 cup pepperoni slices, quartered
- 1/4 cup grated Parmesan cheese
- 1 tablespoon olive oil
- 1 teaspoon garlic powder
- 1/2 teaspoon dried oregano
- 1/4 teaspoon red pepper flakes (optional)
- 1 egg, beaten (for egg wash)
Preparing the Filling:
Alright, let’s get started with the heart of our pizza pockets – the delicious filling! This is where you can really customize things to your liking, but I’m going to walk you through my favorite combination.
- Prep the Pepperoni: First things first, grab your pepperoni slices. I like to quarter them so they distribute evenly throughout the pizza pockets. This ensures you get a little bit of pepperoni goodness in every single bite. If you’re using larger pepperoni, you might want to chop them even smaller.
- Combine the Sauce and Spices: In a medium bowl, pour in your pizza sauce. Now, let’s amp up the flavor! Add the garlic powder, dried oregano, and red pepper flakes (if you’re feeling a little spicy!). Give it all a good stir until everything is nicely combined. This simple step adds a ton of depth to the sauce.
- Mix the Cheese: In a separate bowl, combine the shredded mozzarella cheese and grated Parmesan cheese. The mozzarella will give you that gooey, melty texture, while the Parmesan adds a salty, nutty flavor that complements the other ingredients perfectly.
- Combine All Filling Ingredients: Now, gently fold the pepperoni and the cheese mixture into the seasoned pizza sauce. Be careful not to overmix, as you want to keep the cheese somewhat distinct. We don’t want a completely homogenous filling; a little texture is key!
Preparing the Dough:
Now that our filling is ready to go, let’s tackle the dough. Using refrigerated pizza dough makes this recipe super easy and quick. If you prefer to make your own dough from scratch, feel free to do so! Just make sure it’s a relatively thin crust dough.
- Preheat Oven and Prepare Baking Sheet: Preheat your oven to 400°F (200°C). Line a large baking sheet with parchment paper. This will prevent the pizza pockets from sticking and make cleanup a breeze.
- Unroll the Dough: Carefully unroll the refrigerated pizza dough onto a lightly floured surface. If the dough is sticking, sprinkle a little more flour underneath.
- Cut the Dough: Using a pizza cutter or a sharp knife, cut the dough into equal-sized squares or rectangles. I usually aim for about 3-inch squares, but you can adjust the size depending on how big you want your pizza pockets to be. You should get around 12-16 squares from a standard package of dough.
Assembling the Pizza Pockets:
This is where the magic happens! We’re going to transform those squares of dough into cheesy, pepperoni-filled pockets of deliciousness.
- Add the Filling: Take one square of dough and place about 2-3 tablespoons of the filling in the center. Don’t overfill them, or they’ll be difficult to seal and the filling will ooze out during baking.
- Seal the Edges: Gently fold the dough over the filling to form a triangle or a rectangle. Press the edges firmly together to seal. You can use a fork to crimp the edges for a decorative touch and to ensure a tight seal. This is important to prevent the filling from escaping.
- Repeat: Repeat steps 1 and 2 with the remaining dough squares and filling.
- Place on Baking Sheet: Arrange the assembled pizza pockets on the prepared baking sheet, leaving a little space between each one.
Baking the Pizza Pockets:
Almost there! Now it’s time to bake these beauties until they’re golden brown and bubbly.
- Prepare the Egg Wash: In a small bowl, whisk the egg with a tablespoon of water to create an egg wash. This will give the pizza pockets a beautiful golden sheen.
- Brush with Egg Wash: Brush the tops of the pizza pockets with the egg wash. This will help them brown evenly and give them a nice, glossy finish.
- Sprinkle with Parmesan (Optional): If you want an extra layer of cheesy goodness, sprinkle a little more grated Parmesan cheese on top of the egg-washed pizza pockets.
- Bake: Bake in the preheated oven for 12-15 minutes, or until the pizza pockets are golden brown and the filling is bubbly. Keep a close eye on them, as baking times can vary depending on your oven.
- Cool Slightly: Remove the baking sheet from the oven and let the pizza pockets cool for a few minutes before serving. This will prevent you from burning your mouth on the hot filling!
Serving and Storage:
Congratulations, you’ve made delicious homemade pizza pockets! Now it’s time to enjoy the fruits of your labor.
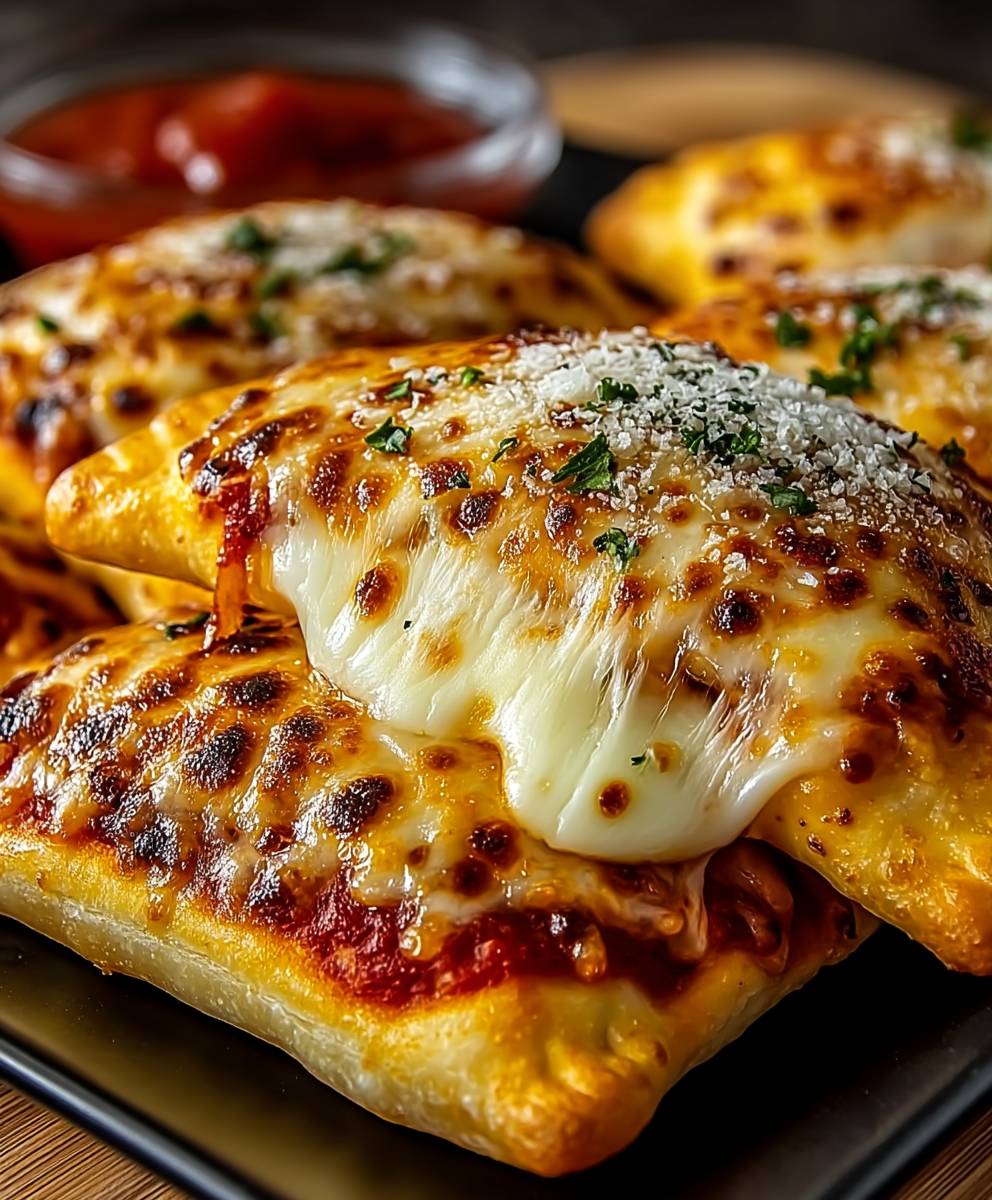
- Serve Warm: Serve the pizza pockets warm, either as a snack, appetizer, or even a light meal. They’re perfect for parties, game nights, or just a cozy night in.
- Dipping Sauces (Optional): For an extra touch, serve the pizza pockets with your favorite dipping sauces. Marinara sauce, ranch dressing, or even a spicy aioli would be delicious.
- Storage: If you have any leftovers (which is unlikely!), store them in an airtight container in the refrigerator for up to 3 days.
- Reheating: To reheat, you can microwave them for a quick snack, but they’ll be best if you reheat them in the oven or toaster oven to maintain their crispiness. Bake at 350°F (175°C) for about 5-10 minutes, or until heated through.
Tips and Variations:
Want to take your pizza pockets to the next level? Here are a few tips and variations to try:
- Different Cheeses: Experiment with different types of cheese. Provolone, cheddar, or even a blend of Italian cheeses would be delicious.
- Vegetarian Option: For a vegetarian version, skip the pepperoni and add your favorite veggies, such as mushrooms, bell peppers, onions, or olives.
- Different Sauces: Try using pesto, Alfredo sauce, or even a barbecue sauce for a unique flavor twist.
- Add Some Heat: If you like things spicy, add a pinch of cayenne pepper or a dash of hot sauce to the filling.
- Sweet Pizza Pockets: For a sweet treat, try filling the dough with Nutella and sliced bananas or apples.
- Make Ahead: You can assemble the pizza pockets ahead of time and store them in the refrigerator until you’re ready to bake them. Just add a few extra minutes to the baking time.
- Freezing: These pizza pockets freeze well. Assemble them, but don’t bake them. Place them on a baking sheet and freeze until solid. Then, transfer them to a freezer bag and store for up to 2 months. When ready to bake, bake from frozen, adding a few extra minutes to the baking time.
Enjoy your homemade pizza pockets! They’re a fun and easy way to satisfy your pizza cravings.
Conclusion:
So there you have it! These easy cheesy pizza pockets are more than just a snack; they’re a customizable, comforting, and utterly delicious experience. I truly believe this recipe is a must-try for anyone looking for a quick, satisfying, and fun meal. The beauty of these pockets lies in their simplicity and versatility. They’re perfect for busy weeknights, lazy weekends, or even as a crowd-pleasing appetizer for your next gathering.
Think of the possibilities! While I’ve shared my go-to combination of pepperoni and mozzarella, don’t be afraid to experiment with your favorite pizza toppings. Craving something a little more sophisticated? Try adding sautéed mushrooms, caramelized onions, and a sprinkle of goat cheese. For the meat lovers, consider adding cooked sausage, bacon bits, or even shredded chicken. Vegetarian? Load them up with spinach, bell peppers, olives, and a generous helping of ricotta cheese. The options are truly endless!
Beyond the fillings, consider different dipping sauces to elevate your pizza pocket experience. Marinara sauce is a classic choice, of course, but why not try a creamy garlic dip, a tangy ranch dressing, or even a spicy sriracha mayo? For a truly decadent treat, melt some garlic butter and brush it over the baked pockets for an extra layer of flavor and richness.
Serving suggestions are just as flexible. These pizza pockets are fantastic on their own as a satisfying snack or light meal. However, they also pair perfectly with a crisp green salad, a bowl of tomato soup, or even a side of roasted vegetables. For a fun and interactive meal, set up a pizza pocket bar with a variety of fillings and sauces, allowing everyone to create their own personalized pockets. This is a great way to get kids involved in the cooking process and encourage them to try new flavors.
I’m confident that once you try this recipe, it will become a staple in your household. It’s quick, easy, and endlessly adaptable to your tastes and preferences. Plus, who can resist the allure of warm, cheesy goodness encased in a perfectly golden crust?
I’m so excited for you to try making these easy cheesy pizza pockets! I poured my heart into perfecting this recipe, and I truly believe you’ll love it as much as I do. But don’t just take my word for it – give it a try and see for yourself!
And now, for the most important part: I want to hear about your experience! Did you try a different filling combination? Did you discover a new favorite dipping sauce? Did you make them for a special occasion? Please, share your thoughts, photos, and variations in the comments below. I’m always eager to learn from my readers and see how you’ve made this recipe your own. Your feedback is invaluable, and it helps me continue to create delicious and accessible recipes that everyone can enjoy. So go ahead, get baking, and let me know what you think! Happy cooking!
Easy Cheesy Pizza Pockets: The Ultimate Guide to Homemade Goodness
Easy and delicious homemade pizza pockets filled with pepperoni, mozzarella, and a flavorful pizza sauce. Perfect for a quick snack, appetizer, or light meal!
Ingredients
Instructions
Recipe Notes
- Don’t overfill the pizza pockets, or they’ll be difficult to seal and the filling will ooze out during baking.
- Use a fork to crimp the edges for a decorative touch and to ensure a tight seal.
- Baking times can vary depending on your oven, so keep a close eye on them.
- Experiment with different cheeses, sauces, and fillings to customize the recipe to your liking.
- For a vegetarian option, skip the pepperoni and add your favorite veggies.
- These pizza pockets freeze well. Assemble them, but don’t bake them. Place them on a baking sheet and freeze until solid. Then, transfer them to a freezer bag and store for up to 2 months. When ready to bake, bake from frozen, adding a few extra minutes to the baking time.


Leave a Comment