
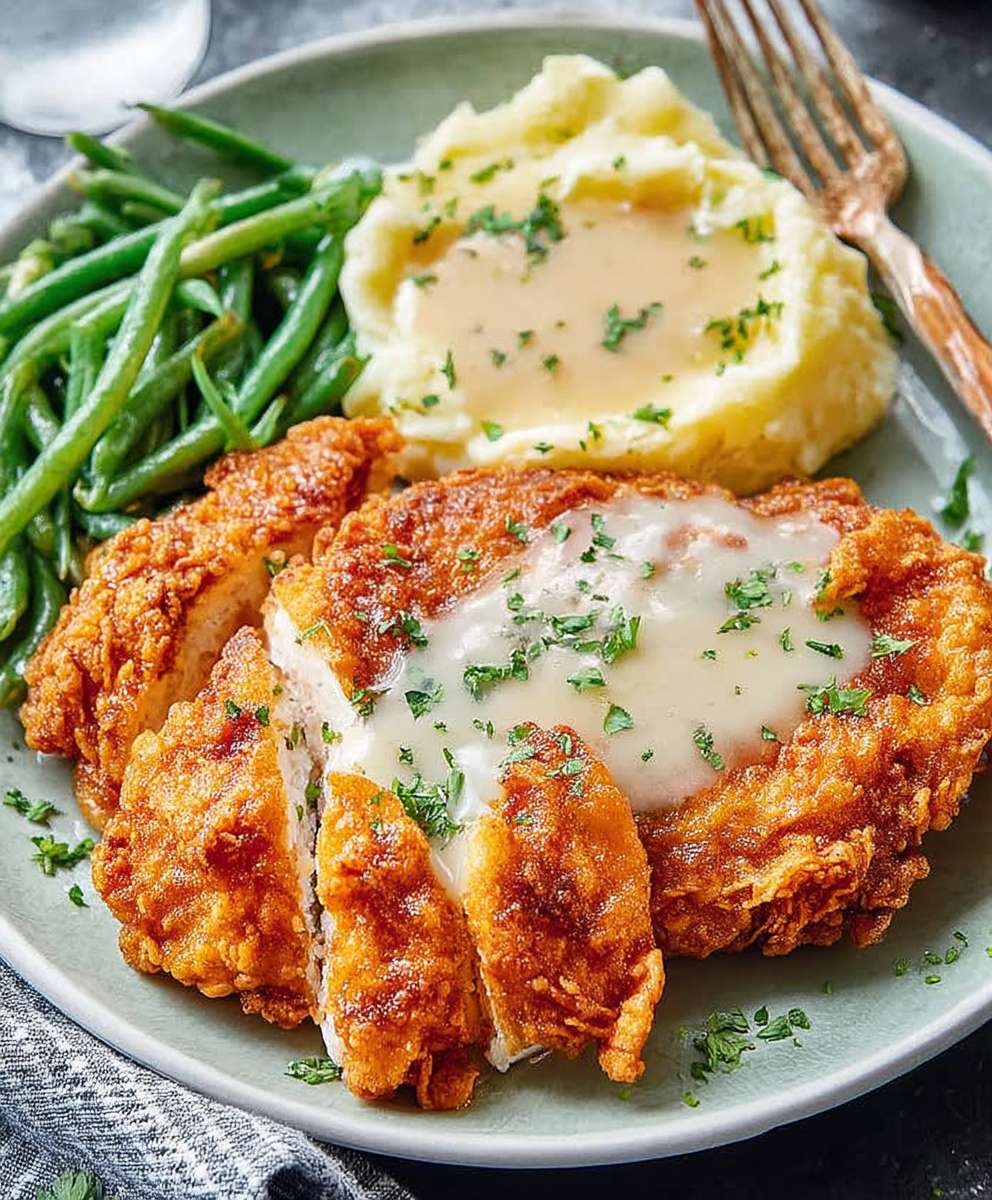
Chicken Fried Chicken: the name itself is a delightful paradox, isn’t it? Imagine sinking your teeth into a perfectly golden, crispy crust, giving way to tender, juicy chicken – a symphony of textures and flavors that’s simply irresistible. This isn’t just fried chicken; it’s chicken fried like steak, and trust me, that makes all the difference.
While its exact origins are debated, Chicken Fried Chicken is deeply rooted in Southern American cuisine, a testament to resourcefulness and culinary creativity. Think of it as a cousin to chicken fried steak, born from the desire to elevate humble ingredients into something truly special. It’s a dish that speaks of family gatherings, hearty meals, and the comforting aroma that fills a home with warmth.
People adore this dish for so many reasons. The crispy, seasoned breading offers a satisfying crunch that contrasts beautifully with the moist, flavorful chicken inside. It’s comfort food at its finest, easy to prepare, and endlessly customizable with your favorite seasonings and sides. Whether you’re a seasoned cook or a kitchen novice, this recipe is sure to become a family favorite. So, let’s get started and create some culinary magic!
Ingredients:
- For the Chicken:
- 4 boneless, skinless chicken breasts, about 6-8 ounces each
- 1 cup buttermilk
- 1 tablespoon hot sauce (such as Frank’s RedHot)
- 1 teaspoon salt
- 1/2 teaspoon black pepper
- For the Dredge:
- 2 cups all-purpose flour
- 1/4 cup cornstarch
- 2 tablespoons paprika
- 1 tablespoon garlic powder
- 1 tablespoon onion powder
- 1 teaspoon dried thyme
- 1 teaspoon dried oregano
- 1 teaspoon cayenne pepper (optional, for extra heat)
- 1 teaspoon salt
- 1/2 teaspoon black pepper
- For Frying:
- 4 cups vegetable oil (or canola oil), for frying
- Optional Gravy Ingredients:
- 1/4 cup reserved frying oil
- 1/4 cup all-purpose flour
- 3 cups milk
- 1/2 teaspoon salt
- 1/4 teaspoon black pepper
- Pinch of cayenne pepper (optional)
Preparing the Chicken
- Pound the Chicken: Place each chicken breast between two sheets of plastic wrap or in a large resealable bag. Using a meat mallet or rolling pin, pound the chicken to an even thickness of about 1/2 inch. This helps the chicken cook evenly and makes it more tender. Don’t overdo it, you don’t want to tear the chicken.
- Marinate the Chicken: In a medium bowl, whisk together the buttermilk, hot sauce, salt, and pepper. Add the pounded chicken breasts to the buttermilk mixture, ensuring they are fully submerged. Cover the bowl with plastic wrap and refrigerate for at least 30 minutes, or up to 4 hours. The longer it marinates, the more tender and flavorful the chicken will be. I usually aim for at least an hour.
Preparing the Dredge
- Combine Dry Ingredients: In a large, shallow dish (like a pie plate or baking dish), whisk together the flour, cornstarch, paprika, garlic powder, onion powder, thyme, oregano, cayenne pepper (if using), salt, and pepper. Make sure everything is well combined so the spices are evenly distributed. The cornstarch helps create a crispier crust.
Dredging the Chicken
- Dredge the Chicken: Remove one chicken breast from the buttermilk marinade, letting any excess drip off. Place it in the flour mixture and press down firmly to coat both sides. Make sure the chicken is completely covered in the flour mixture.
- Double Dredge (Optional, but Recommended!): For an extra crispy crust, dip the chicken back into the buttermilk marinade, then back into the flour mixture, pressing firmly again. This double coating creates a thicker, crunchier crust that’s just irresistible.
- Rest the Dredged Chicken: Place the dredged chicken on a wire rack. Repeat the dredging process with the remaining chicken breasts. Let the dredged chicken rest on the wire rack for about 10-15 minutes. This allows the coating to adhere better and prevents it from falling off during frying.
Frying the Chicken
- Heat the Oil: Pour the vegetable oil into a large, heavy-bottomed skillet or Dutch oven. Heat the oil over medium-high heat until it reaches a temperature of 325-350°F (160-175°C). Use a deep-fry thermometer to monitor the temperature. Maintaining the correct temperature is crucial for crispy, evenly cooked chicken. If the oil is too hot, the outside will burn before the inside is cooked. If it’s too cold, the chicken will be greasy.
- Fry the Chicken: Carefully place two chicken breasts into the hot oil, making sure not to overcrowd the skillet. Overcrowding will lower the oil temperature and result in soggy chicken.
- Cook the Chicken: Fry the chicken for about 6-8 minutes per side, or until golden brown and the internal temperature reaches 165°F (74°C). Use a meat thermometer to check the internal temperature.
- Drain the Chicken: Remove the fried chicken from the skillet and place it on a wire rack lined with paper towels to drain excess oil. This helps keep the chicken crispy.
- Repeat: Repeat the frying process with the remaining chicken breasts, making sure to maintain the oil temperature. You may need to adjust the heat as you go.
Making the Gravy (Optional, but Highly Recommended!)
- Reserve Frying Oil: After frying the chicken, carefully pour off all but about 1/4 cup of the frying oil from the skillet. Be careful, the oil is very hot!
- Make a Roux: Place the skillet with the reserved oil over medium heat. Whisk in the flour and cook, stirring constantly, for 2-3 minutes, or until the roux is golden brown. This is the base of your gravy, so don’t skip this step! The roux adds flavor and helps thicken the gravy.
- Whisk in Milk: Gradually whisk in the milk, a little at a time, making sure to smooth out any lumps. Continue whisking until the gravy is smooth and thickened.
- Season the Gravy: Season the gravy with salt, pepper, and cayenne pepper (if using). Taste and adjust the seasonings as needed.
- Simmer the Gravy: Reduce the heat to low and simmer the gravy for about 5-10 minutes, stirring occasionally, until it reaches your desired consistency. If the gravy is too thick, add a little more milk. If it’s too thin, simmer it for a few more minutes.
Serving
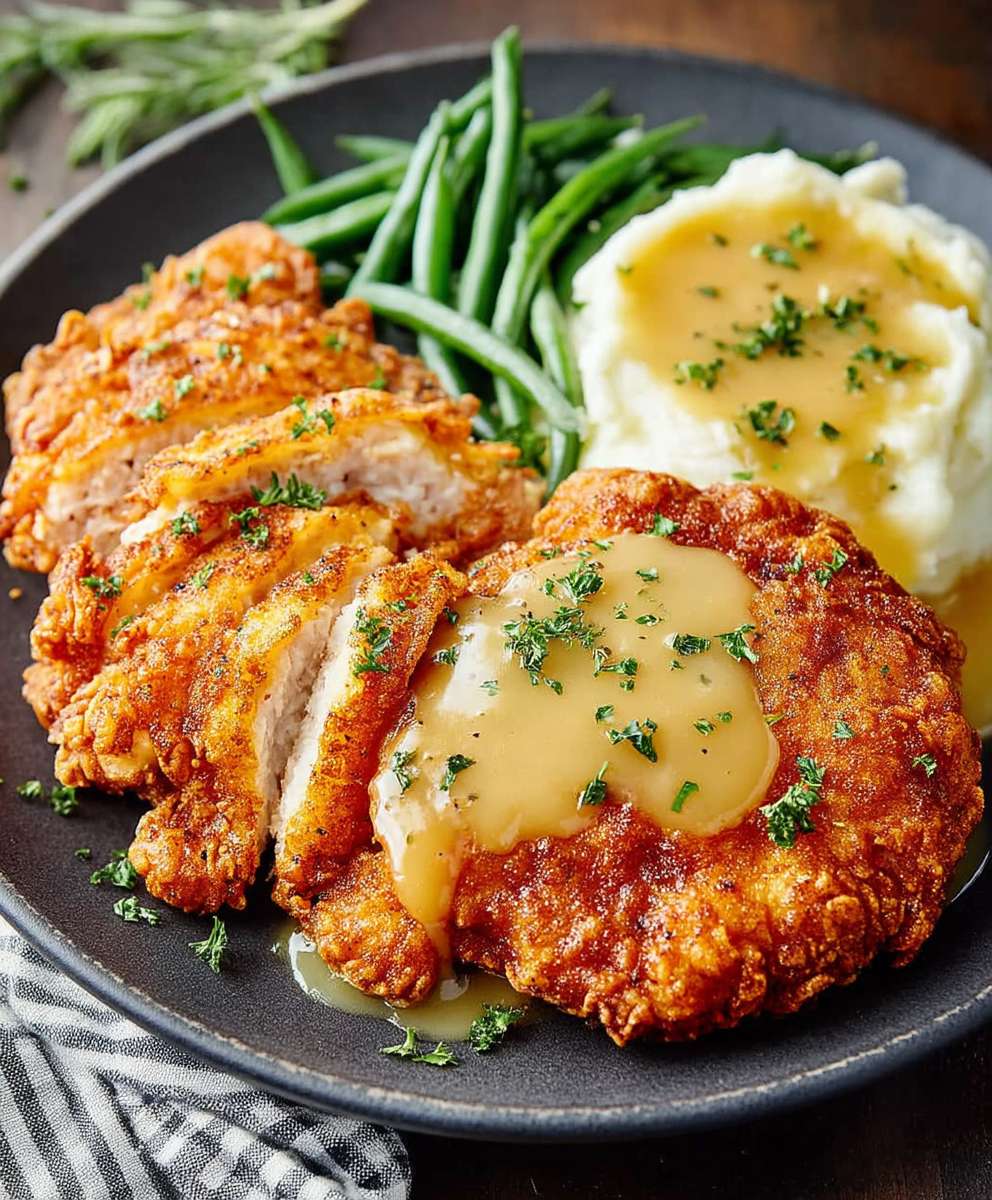
- Serve Immediately: Serve the chicken fried chicken immediately while it’s hot and crispy.
- Add Gravy: Generously spoon the gravy over the chicken fried chicken.
- Sides: Serve with your favorite sides, such as mashed potatoes, green beans, corn on the cob, or biscuits.
Tips for Perfect Chicken Fried Chicken:
- Don’t overcrowd the pan: Fry the chicken in batches to maintain the oil temperature.
- Use a thermometer: A deep-fry thermometer is essential for maintaining the correct oil temperature.
- Let the chicken rest: Resting the dredged chicken allows the coating to adhere better.
- Don’t skip the double dredge: For an extra crispy crust, double dredge the chicken.
- Adjust seasonings to your liking: Feel free to adjust the seasonings in the dredge and gravy to your personal preference.
Variations:
- Spicy Chicken Fried Chicken: Add more cayenne pepper to the dredge for a spicier kick. You can also use a spicier hot sauce in the buttermilk marinade.
- Herb Chicken Fried Chicken: Add other herbs to the dredge, such as rosemary, sage, or marjoram.
- Buttermilk-Free Chicken Fried Chicken: If you don’t have buttermilk, you can substitute it with milk mixed with a tablespoon of lemon juice or vinegar. Let it sit for a few minutes to curdle slightly before using.
Conclusion:
So there you have it! My take on classic Chicken Fried Chicken, and trust me, you absolutely need to try this recipe. It’s not just a meal; it’s an experience. The crispy, golden-brown crust gives way to juicy, tender chicken, creating a symphony of textures and flavors that will have everyone at the table begging for more. I know, I know, it sounds like I’m exaggerating, but I promise you, one bite and you’ll understand. This isn’t your average weeknight dinner; it’s a celebration of comfort food at its finest.
What makes this recipe a must-try? Well, beyond the incredible taste, it’s surprisingly straightforward. I’ve broken down each step to ensure even novice cooks can achieve restaurant-quality results. Plus, the ingredients are readily available at most grocery stores, so you don’t have to hunt down any obscure items. It’s the perfect balance of deliciousness and accessibility, making it a winner in my book.
Serving Suggestions and Variations
Now, let’s talk about how to serve this masterpiece. My personal favorite is with a generous dollop of creamy mashed potatoes and a side of country-style green beans. The richness of the chicken and potatoes is perfectly balanced by the freshness of the green beans. But don’t feel limited by my suggestions! This Chicken Fried Chicken is incredibly versatile.
Consider serving it with:
- Creamy gravy (a must-have for some!)
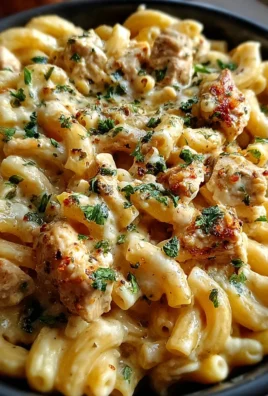
- Macaroni and cheese (a classic pairing)
- Coleslaw (for a refreshing crunch)
- Corn on the cob (a summer staple)
- A simple side salad (to lighten things up)
And if you’re feeling adventurous, why not try some variations? For a spicier kick, add a pinch of cayenne pepper to the flour mixture. Or, for a sweeter flavor, try using buttermilk instead of regular milk for the soaking process. You could even experiment with different herbs and spices in the breading, such as garlic powder, onion powder, or paprika. The possibilities are endless!
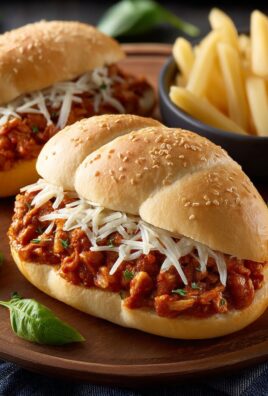
Another fun variation is to make Chicken Fried Chicken sandwiches. Simply place a piece of the crispy chicken on a toasted bun with your favorite toppings, such as lettuce, tomato, and mayonnaise. It’s a delicious and satisfying meal that’s perfect for lunch or a casual dinner.
I’m so excited for you to try this recipe and experience the joy of homemade Chicken Fried Chicken. It’s a dish that’s sure to become a family favorite, and I can’t wait to hear what you think. So, gather your ingredients, put on your apron, and get ready to create something truly special.
Once you’ve made it, please, please, please share your experience! Leave a comment below and let me know how it turned out. Did you make any variations? What sides did you serve it with? I’m always looking for new ideas and inspiration, and I love hearing from my readers. Don’t be shy – share your photos on social media and tag me! I can’t wait to see your culinary creations. Happy cooking!
Chicken Fried Chicken: The Ultimate Guide to Crispy Perfection
Crispy, golden-brown Chicken Fried Chicken with a flavorful crust, optionally served with a creamy, homemade gravy. A Southern comfort food classic!
Ingredients
Instructions
Recipe Notes
- Don’t overcrowd the pan: Fry the chicken in batches to maintain the oil temperature.
- Use a thermometer: A deep-fry thermometer is essential for maintaining the correct oil temperature.
- Let the chicken rest: Resting the dredged chicken allows the coating to adhere better.
- Don’t skip the double dredge: For an extra crispy crust, double dredge the chicken.
- Adjust seasonings to your liking: Feel free to adjust the seasonings in the dredge and gravy to your personal preference.
- For Spicy Chicken Fried Chicken: Add more cayenne pepper to the dredge for a spicier kick. You can also use a spicier hot sauce in the buttermilk marinade.
- For Herb Chicken Fried Chicken: Add other herbs to the dredge, such as rosemary, sage, or marjoram.
- For Buttermilk-Free Chicken Fried Chicken: If you don’t have buttermilk, you can substitute it with milk mixed with a tablespoon of lemon juice or vinegar. Let it sit for a few minutes to curdle slightly before using.

Leave a Comment