
Giant Cinnamon Buns Baked In One Pan (bakery Style Rise)
Get ready to ditch the struggle of individual cinnamon rolls and embrace pure, unadulterated baking joy! I’m so excited to share my secret to creating the most incredible cinnamon buns you’ve ever made at home.
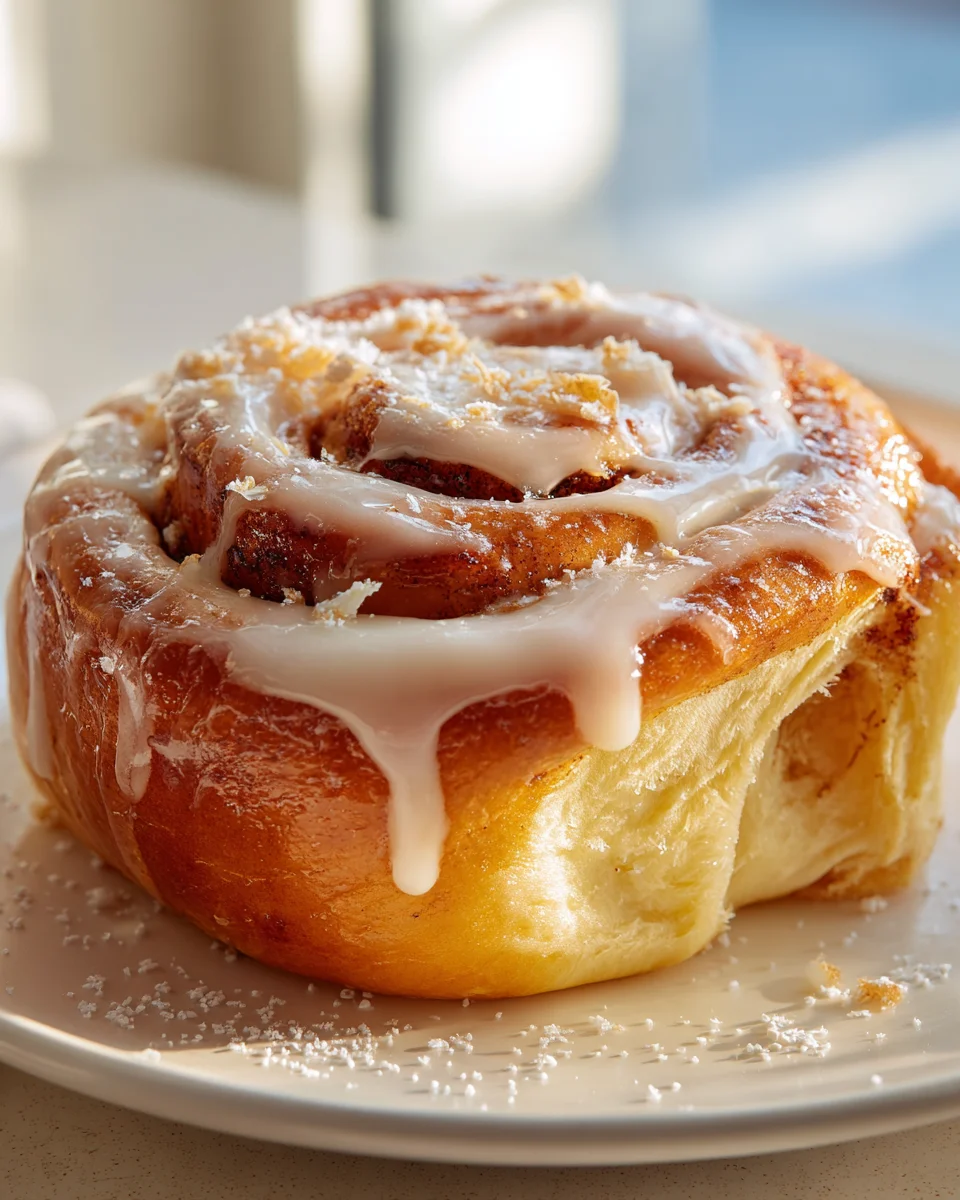
Imagine waking up to the aroma of warm, sweet cinnamon filling your kitchen, then pulling out a single pan filled with beautifully golden, colossal cinnamon buns. This isn’t just a recipe; it’s an experience! What makes these buns truly special is their impressive, bakery-style rise – they puff up gloriously, creating that irresistible soft, fluffy texture you usually only find at your favorite pastry shop. And the absolute best part? We’re doing it all in one pan, which means less fuss, less cleanup, and more time to savor that first warm bite.
With this recipe, I’ll walk you through how to achieve those perfectly swirled, generously sized, and oh-so-tender cinnamon buns that are designed to be pulled apart and devoured. Whether you’re feeding a crowd for brunch or simply treating yourself to an epic weekend morning indulgence, these giant, fluffy masterpieces are guaranteed to impress. Trust me, once you experience the convenience of one-pan baking combined with that incredible bakery-level rise, you’ll never go back!
Ingredient Notes
Crafting these giant, bakery-style cinnamon buns in one pan starts with understanding the role each ingredient plays. I’ve carefully selected them to give you that incredible rise, rich flavor, and tender texture we all crave.
- All-Purpose Flour or Bread Flour: I usually reach for unbleached all-purpose flour for a beautifully soft and tender bun. However, if you want an extra chewy, lofty bun, bread flour is fantastic as its higher protein content develops more gluten, giving you that impressive bakery-style rise and structure. You can absolutely use a 50/50 mix too!
- Instant Yeast: This is my go-to for its convenience. Instant yeast can be mixed directly with dry ingredients and doesn’t require prior activation, saving you a step and ensuring a consistent, powerful rise. If you only have active dry yeast, simply proof it in the warm milk with a pinch of sugar for 5-10 minutes until foamy before adding it to your other wet ingredients.
- Whole Milk: The richness of whole milk is crucial here. It contributes to the buns’ tenderness, moisture, and aids in browning, giving them a beautiful golden crust. Make sure it’s warmed to about 105-115°F (40-46°C) – warm enough to activate the yeast, but not so hot that it kills it.
- Granulated Sugar: Beyond sweetness, sugar feeds the yeast, helping with the rise, and contributes to the dough’s tenderness and browning.
- Eggs: Room temperature eggs add richness, color, and structure to the dough. They contribute to a more tender crumb and a beautiful golden hue. Take them out of the fridge about 30 minutes before you start.
- Unsalted Butter: I use unsalted butter throughout this recipe – in the dough, for the filling, and in the frosting. Using unsalted allows me to control the salt content precisely. Make sure your butter for the dough is softened to room temperature, and for the filling, it’s either softened or melted, depending on your preferred method of spreading.
- Ground Cinnamon: This is the star of our filling! Use good quality, fresh ground cinnamon for the most vibrant flavor. I’m generous with it, as that’s what truly makes these buns irresistible.
- Light Brown Sugar: For the filling, light brown sugar not only adds sweetness but also a wonderful molasses depth and moisture, which helps keep the buns tender and the filling gooey.
- Powdered Sugar (Confectioners’ Sugar): Essential for that smooth, lump-free cream cheese frosting.
- Cream Cheese: Full-fat cream cheese, softened to room temperature, is key for a rich, tangy, and spreadable frosting that perfectly balances the sweetness of the buns.
Substitutions:
- Dairy-Free: You can substitute whole milk with a non-dairy alternative like almond or soy milk (ensure it’s full-fat for best results). Vegan butter sticks can replace dairy butter, and vegan cream cheese can be used for the frosting.
- Gluten-Free: While not personally tested extensively for this specific giant bun recipe, a 1:1 gluten-free all-purpose flour blend (with xanthan gum) could work. However, the rise and texture will likely differ, often resulting in a denser bun.
- Spices: Feel free to experiment with other warm spices in the filling! A pinch of nutmeg or cardamom can add another layer of flavor.
Step-by-Step Instructions
Get ready to create some truly impressive, bakery-worthy giant cinnamon buns! Follow these steps carefully to ensure that beautiful rise and perfect tenderness.
- Prepare the Dough (Mixing): In the bowl of your stand mixer, whisk together the warm milk, granulated sugar, and instant yeast. Let it sit for 5 minutes (if using active dry yeast, let it sit until foamy, about 5-10 minutes). Add the softened unsalted butter, eggs, and a pinch of salt to the yeast mixture. Mix well.
- Add Flour & Knead: Gradually add the flour, one cup at a time, mixing on low speed until a shaggy dough forms. Increase the speed to medium-low and knead for 8-10 minutes. The dough should become smooth, elastic, and pull away from the sides of the bowl. It might be slightly sticky, but shouldn’t be wet.
- First Rise (Bulk Fermentation): Lightly grease a large bowl with a little oil. Transfer the dough to the bowl, turning it once to coat. Cover the bowl tightly with plastic wrap or a clean kitchen towel. Place it in a warm, draft-free spot (like a slightly warm oven that’s turned off, or near a sunny window) for 1 to 1.5 hours, or until the dough has doubled in size. This crucial first rise develops flavor and creates air pockets for that amazing final rise.
- Prepare the Filling: While the dough is rising, melt the 1/2 cup of unsalted butter for the filling and set it aside to cool slightly. In a small bowl, combine the light brown sugar and ground cinnamon.
- Shape the Buns: Once the dough has doubled, gently punch it down to release the air. Turn the dough out onto a lightly floured surface. Using a rolling pin, roll the dough into a large rectangle, roughly 20×15 inches (50×38 cm). Aim for an even thickness.
- Spread the Filling: Evenly brush the melted butter over the entire surface of the dough, leaving about a 1/2-inch border along one of the long edges. Generously sprinkle the brown sugar and cinnamon mixture over the butter, making sure to cover all the buttery areas.
- Roll ‘Em Up: Starting from the long edge opposite the clean border, carefully and tightly roll the dough into a log. A tight roll is key for perfectly shaped buns that hold their form. Once rolled, pinch the seam closed along the bottom edge to seal.
- Cut the Giant Buns: To get those truly giant, bakery-style buns, I aim for thicker slices, about 2 to 2.5 inches (5-6 cm) thick. For clean cuts, use a sharp, un-serrated knife or, even better, a piece of unflavored dental floss. Simply slide the floss under the log, cross the ends over the top, and pull to slice through. You should get about 8-10 giant buns.
- Arrange in One Pan: Lightly grease a large 9×13 inch baking pan (or a similar size like a 10×15 inch half sheet pan for slightly more space). Place the cut buns, spiral-side up, into the prepared pan. Leave a little space between each bun – they will expand significantly during the second rise and bake, eventually touching and creating those soft, irresistible sides characteristic of bakery buns.
- Second Rise (Proofing): Cover the pan loosely with plastic wrap or a clean kitchen towel. Return the pan to your warm, draft-free spot for another 45-60 minutes, or until the buns are visibly puffy, almost touching each other, and look light and airy. This second rise is absolutely critical for achieving that amazing bakery-style height and texture. While they are rising, preheat your oven to 375°F (190°C).
- Bake: Place the pan in the preheated oven. Bake for 25-35 minutes, or until the tops are golden brown and the buns are cooked through. If they start to brown too quickly, you can loosely tent the pan with foil.
- Make the Cream Cheese Frosting: While the buns are baking or cooling slightly, in a medium bowl, beat together the softened cream cheese and softened unsalted butter until smooth and creamy. Gradually beat in the powdered sugar until fully incorporated and smooth. Stir in the vanilla extract.
- Frost & Serve: Once the buns are out of the oven, let them cool in the pan for about 10-15 minutes. This allows them to set slightly but remain warm. Spread the cream cheese frosting generously over the warm buns. The slight warmth will melt the frosting just a little, allowing it to seep into every nook and cranny. Serve immediately and enjoy your giant, bakery-style creation!
Tips & Suggestions
Achieving truly bakery-style giant cinnamon buns in a single pan is all about technique and a few insider tricks. Here are my best tips to ensure your buns are perfect every time:
- Don’t Rush the Rise: The two rising periods (proofs) are the most crucial steps for a lofty, tender, bakery-style bun. If your kitchen is cool, find a warm spot – a turned-off oven with the light on, or a proofing drawer, works wonders. Under-proofed dough will result in dense, heavy buns, while over-proofed buns can collapse. Look for a visual cue: doubled in size and puffy.
- Kneading is Key: Properly kneading the dough develops gluten, which creates the structure needed for those impressive, giant buns to rise high and hold their shape. Don’t cut this step short, especially if you’re aiming for a chewy, airy texture.
- Room Temperature Ingredients: For the dough, ensure your eggs and butter are at room temperature. This helps them incorporate smoothly into the dough, leading to a more consistent texture and better rise. For the frosting, softened cream cheese and butter prevent lumps and ensure a perfectly smooth spread.
- Tight Roll for Perfect Spirals: When rolling the dough into a log, make sure it’s as tight as possible. This creates beautiful, defined spirals in your buns and prevents them from unraveling during baking.
- The Right Pan for “One Pan” Success: Using a 9×13 inch baking pan or a half-sheet pan (approx. 10×15 inches) is ideal for these giant buns. The slightly larger size allows them to expand while still being close enough to bake together, creating those irresistible soft, gooey sides. If your pan is too small, they’ll overflow; too big, and they won’t fuse together as nicely.
- Prevent Over-Browning: If your buns are browning too quickly on top before they’re cooked through, loosely tent the pan with aluminum foil for the last 10-15 minutes of baking.
- For Extra Gooey Centers: Some people like to pour a tiny bit of heavy cream over the buns right before baking. About 1/4 cup drizzled over the top of the buns in the pan before they go into the oven can make the bottoms even more moist and delicious.
- Vanilla in the Frosting: Don’t skip the vanilla extract in the cream cheese frosting! It adds depth and warmth, perfectly complementing the cinnamon.
- Make Ahead Option (Overnight Rise): Want fresh buns in the morning? After shaping and placing the buns in the pan for their second rise (Step 9), cover the pan tightly with plastic wrap and refrigerate overnight (8-12 hours). The next morning, remove the pan from the fridge and let it sit at room temperature for 1-1.5 hours to warm up and finish proofing before baking as directed.
Storage
These giant cinnamon buns are undoubtedly best enjoyed warm, fresh out of the oven, with that frosting slightly melted. However, if you find yourself with leftovers (a rare occurrence, I know!), here’s how to store them to keep them delicious:
- At Room Temperature: If your buns are already frosted, cover the entire pan or transfer individual buns to an airtight container. They will stay fresh and soft at room temperature for 1-2 days. The frosting will firm up slightly, but the buns will remain tender.
- In the Refrigerator: For longer storage, especially if your kitchen is warm or if you prefer the frosting to stay firm, store the covered buns in the refrigerator for up to 3-4 days. Again, an airtight container is key to prevent them from drying out.
- Reheating: To enjoy them again, I highly recommend a quick reheat!
- Microwave: For individual buns, microwave for 15-30 seconds until warm and soft. Be careful not to overheat, as this can make them tough.
- Oven: For multiple buns, place them on a baking sheet and cover loosely with foil. Reheat in a preheated oven at 300°F (150°C) for 10-15 minutes, or until warmed through. This method helps maintain their tender texture.
- Freezing Baked Buns:
- Frosted: Once completely cooled, you can freeze individual frosted buns. Wrap each bun tightly in plastic wrap, then again in aluminum foil, or place in a freezer-safe bag. They can be frozen for up to 1 month. Thaw at room temperature or overnight in the refrigerator, then reheat as desired.
- Unfrosted: If you plan to freeze a larger batch, I recommend freezing them unfrosted. Once cooled, wrap tightly as described above. When ready to serve, thaw, reheat, and then apply freshly made frosting.
- Freezing Unbaked Buns (Make Ahead):
- After placing the shaped buns in the pan for the second rise (Step 9), cover the pan tightly with plastic wrap and then aluminum foil. Place the entire pan in the freezer. Once frozen solid, you can transfer the buns to a large freezer-safe bag if you need the pan. Freeze for up to 2-3 weeks.
- To Bake from Frozen: The night before you want to bake, transfer the frozen buns to the refrigerator to thaw overnight. In the morning, remove them from the fridge and let them proof at room temperature for 1.5-2 hours (or until visibly puffy and doubled in size) before baking as directed.

Final Thoughts
There’s something truly magical about the aroma of freshly baked cinnamon buns filling your home, and with these Giant Cinnamon Buns Baked In One Pan (bakery Style Rise), that magic is amplified tenfold! I can honestly say, there’s nothing quite like pulling a single pan from the oven, brimming with these impressively sized, gorgeously risen, bakery-quality treats. The convenience of baking them all in one pan means less fuss for you, while the “bakery style rise” delivers an unparalleled fluffiness and tenderness that truly sets them apart. This isn’t just a recipe; it’s an experience that promises to deliver the ultimate comfort and joy. I wholeheartedly encourage you to try your hand at these magnificent Giant Cinnamon Buns Baked In One Pan (bakery Style Rise) – prepare to be amazed by the delicious results!
Giant Cinnamon Buns: One Pan, Bakery Style Rise

Experience the joy of baking with these giant cinnamon buns that rise beautifully in one pan. Perfect for brunch or a weekend treat, these fluffy masterpieces are sure to impress!
- Prep Time: 30 mins
- Cook Time: 30 mins
- Total Time: 1 hour
- Yield: 8-10 servings 1x
- Category: Breakfast
- Method: Baking
- Cuisine: American
Ingredients
- 4 to 5 cups All-Purpose Flour or Bread Flour
- 2 1/4 teaspoons Instant Yeast
- 1 cup Whole Milk, warmed to 105-115°F (40-46°C)
- 1/2 cup Granulated Sugar
- 2 large Eggs, at room temperature
- 1/2 cup Unsalted Butter, softened for dough and melted for filling
- 1 teaspoon Ground Cinnamon
- 1/2 cup Light Brown Sugar
- 1 cup Powdered Sugar (Confectioners' Sugar)
- 8 oz Cream Cheese, softened to room temperature
Instructions
- In the bowl of your stand mixer, whisk together the warm milk, granulated sugar, and instant yeast. Let it sit for 5 minutes.
- Add the softened unsalted butter, eggs, and a pinch of salt to the yeast mixture. Mix well.
- Gradually add the flour, one cup at a time, mixing on low speed until a shaggy dough forms. Increase the speed to medium-low and knead for 8-10 minutes until smooth and elastic.
- Lightly grease a large bowl with a little oil. Transfer the dough to the bowl, turning it once to coat. Cover tightly and place in a warm spot for 1 to 1.5 hours, or until doubled in size.
- While the dough is rising, melt the 1/2 cup of unsalted butter for the filling and set aside to cool slightly. In a small bowl, combine the light brown sugar and ground cinnamon.
- Once the dough has doubled, gently punch it down to release the air. Turn the dough out onto a lightly floured surface and roll it into a large rectangle, roughly 20×15 inches.
- Evenly brush the melted butter over the dough, leaving a 1/2-inch border. Sprinkle the brown sugar and cinnamon mixture over the butter.
- Starting from the long edge opposite the clean border, carefully roll the dough into a log and pinch the seam closed.
- Cut the log into 8-10 thick slices, about 2 to 2.5 inches thick, using a sharp knife or unflavored dental floss.
- Lightly grease a large 9×13 inch baking pan. Place the cut buns, spiral-side up, into the prepared pan, leaving space between each bun.
- Cover the pan loosely and let rise for another 45-60 minutes, or until puffy. Preheat your oven to 375°F (190°C).
- Bake for 25-35 minutes until golden brown. If they brown too quickly, tent with foil.
- While the buns are baking, beat together the softened cream cheese and unsalted butter until smooth. Gradually beat in the powdered sugar until smooth, then stir in vanilla extract.
- Once the buns are out of the oven, let them cool for 10-15 minutes. Spread the cream cheese frosting generously over the warm buns and serve immediately.
Nutrition
- Serving Size: 1 bun
- Calories: 450
- Sugar: 25 g
- Sodium: 300 mg
- Fat: 18 g
- Saturated Fat: 10 g
- Unsaturated Fat: 6 g
- Trans Fat: 0 g
- Carbohydrates: 60 g
- Fiber: 2 g
- Protein: 6 g
- Cholesterol: 50 mg
Keywords: For a dairy-free option, substitute whole milk with almond or soy milk and use vegan butter and cream cheese. Ensure proper rising times for the best texture.
Leave a Comment