
Christmas Cherry Fluff Easy No Bake Recipe
Oh my goodness, friends, if you’re looking for a dessert that screams holiday cheer without any of the stress, you have absolutely come to the right place! I am so thrilled to share the Christmas Cherry Fluff Easy No Bake Recipe with you. What makes this recipe truly special, you ask? Well, for starters, it’s completely no-bake – meaning your oven is free for all those savory main dishes, and you get to skip the baking anxiety! It’s also incredibly quick to put together, making it an absolute lifesaver during the bustling holiday season when time is precious.
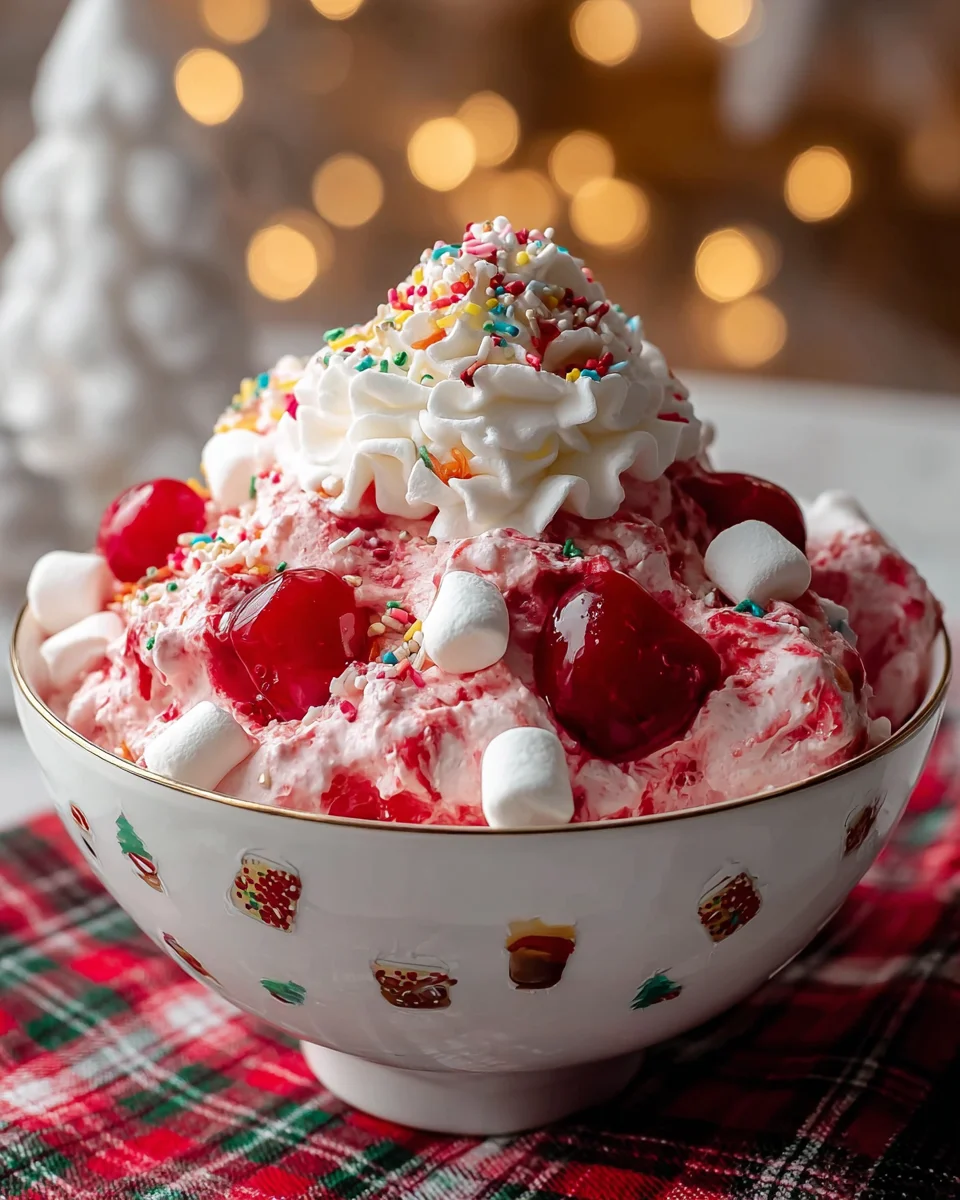
You are going to love this recipe because it delivers maximum festive impact with minimal effort. Imagine a bowl full of creamy, dreamy, vibrant red and white goodness that’s both refreshingly light and deliciously sweet. It’s the perfect fuss-free dessert or even a delightful sweet side dish for your Christmas dinner, potluck, or any gathering where you want to add a touch of sparkle. This delightful fluff is a charming combination of luscious whipped topping, rich creaminess, sweet cherry pie filling, juicy crushed pineapple, and soft mini marshmallows, all mixed together to create an airy, irresistible treat. It’s a dessert that practically makes itself and will have everyone asking for the recipe!
Ingredient Notes
Oh, the holidays are here, and what better way to celebrate than with a delightful, no-fuss dessert like our Christmas Cherry Fluff? This recipe truly is a lifesaver when you need something festive, sweet, and incredibly easy to whip up. You won’t believe how just a few simple ingredients come together to create such a dreamy, cloud-like treat. Let’s dive into what you’ll need to make this holiday magic happen!
-
Cherry Pie Filling: This is the star of our show, bringing that vibrant red color and delicious cherry flavor that just screams “Christmas!” I typically use one standard 21-ounce can. It’s already sweetened and thickened, making your job super easy.
- Substitution: If you’re not a fan of pie filling or want to control the sweetness, you can use two 15-ounce cans of pitted, sweet cherries (like dark sweet cherries), drained very well. You’ll want to gently fold them in at the end to keep their shape. You might also consider adding a tablespoon or two of granulated sugar or a tiny splash of cherry juice concentrate (non-alcoholic, of course!) if using plain canned cherries, to boost the sweetness and flavor.
-
Sweetened Condensed Milk: This ingredient is the secret to making our fluff rich, creamy, and wonderfully sweet without any cooking. A 14-ounce can is usually perfect. It binds everything together beautifully and gives that luscious texture.
- Substitution: There isn’t a direct substitute that will give you the exact same creamy consistency and sweetness without altering the recipe significantly. If you need to avoid it, you might be looking at a different style of fluff entirely, as it’s quite integral to this particular no-bake method.
-
Whipped Topping: I love using an 8-ounce tub of thawed frozen whipped topping (like Cool Whip) for this recipe. It’s light, airy, and incredibly stable, holding its shape well even after chilling. Make sure it’s fully thawed in the refrigerator before you begin.
- Substitution: You can absolutely make your own fresh whipped cream! You’ll need about 2 cups of heavy whipping cream, whipped with 1/4 to 1/2 cup of powdered sugar (to taste) and 1 teaspoon of vanilla extract until stiff peaks form. Just be aware that homemade whipped cream can sometimes be a bit less stable than the store-bought frozen variety, so aim for stiff peaks and fold gently.
-
Mini Marshmallows: These little guys add to the “fluff” factor! They provide a delightful chewiness and extra sweetness that makes this dessert so irresistible. A 10-ounce bag is typically what I use.
- Substitution: If you’re not a marshmallow fan, you could omit them, but it would change the texture quite a bit, making it less “fluffy.” You could try adding some chopped angel food cake cubes for a different kind of soft bite, but it won’t be quite the same.
-
Optional Mix-Ins for Texture and Christmas Cheer: This is where you can truly customize your fluff and make it extra festive!
- Chopped Nuts: About 1/2 to 1 cup of chopped pecans or walnuts adds a lovely crunch that contrasts beautifully with the soft fluff.
- Substitution: If you have nut allergies, simply omit them! You could also use crushed pretzels for a salty-sweet crunch, or even some mini chocolate chips for an extra touch of indulgence.
- Crushed Pineapple: A small 8-ounce can of crushed pineapple, very well drained, is a classic addition to many fluff salads. It adds a lovely tang and tropical hint. Make sure to press out as much liquid as possible!
- Shredded Coconut: For those who love coconut, about 1/2 cup of sweetened shredded coconut adds a delightful texture and flavor.
- Green Maraschino Cherries or Chopped Pistachios: To really drive home the Christmas theme, I love to add a handful of chopped green maraschino cherries or bright green pistachios. They provide a beautiful color contrast to the red cherries and are so festive!
- Chopped Nuts: About 1/2 to 1 cup of chopped pecans or walnuts adds a lovely crunch that contrasts beautifully with the soft fluff.
See? Simple, vibrant, and ready to be turned into something truly special!
Step-by-Step Instructions
Alright, let’s get this Christmas Cherry Fluff made! The beauty of this recipe is just how straightforward it is. No baking, no fuss, just mixing and chilling. You’ll be amazed at how quickly it comes together.
- Prepare Your Base: First things first, ensure your thawed whipped topping is ready. If you’re using homemade whipped cream, make sure it’s stiffly whipped and chilled. Grab a large mixing bowl – you’ll want plenty of room for all that fluffiness!
- Combine the Creamy Elements: In your large mixing bowl, pour in the entire can of sweetened condensed milk. Next, add in the cherry pie filling. Using a spatula, gently stir these two ingredients together until they are well combined. You’ll see that beautiful red color start to develop, and the mixture will look wonderfully creamy. Don’t worry about being too vigorous here; just get them thoroughly mixed.
- Fold in the Whipped Topping: Now comes the part that gives our dessert its “fluff.” Add the thawed whipped topping (or homemade whipped cream) to the cherry and condensed milk mixture. This is crucial: use a gentle folding motion. You want to incorporate the whipped topping without deflating it too much. Use your spatula to scoop from the bottom of the bowl up over the top, turning the bowl as you go, until no streaks of white whipped topping remain. The mixture should look light, airy, and uniformly pink.
- Add the Fun Mix-Ins: Once your fluff base is beautifully combined, it’s time to stir in the mini marshmallows. If you’re adding any optional ingredients like chopped pecans, crushed pineapple (remember, very well drained!), shredded coconut, or those festive green cherries/pistachios, add them in now too. Again, fold them in gently until they are evenly distributed throughout the fluff. You want every spoonful to have a little bit of everything!
- Transfer and Chill: Carefully spoon the Christmas Cherry Fluff into a lovely serving bowl or individual dessert dishes. I love to use a clear glass bowl to show off those festive colors. Once transferred, cover the bowl tightly with plastic wrap.
- Chill, Chill, Chill!: This step is non-negotiable for the best results. Place your covered fluff in the refrigerator and chill for at least 4 hours, but ideally overnight. Chilling allows all the flavors to meld together beautifully and, more importantly, lets the fluff set up properly, becoming even more luscious and stable.
- Garnish and Serve: Before serving, if you wish, you can add a final flourish! A few extra whole maraschino cherries on top, a sprinkle of green pistachios, a dusting of finely chopped pecans, or even a sprig of fresh mint can make it look even more appealing. Then, simply scoop and enjoy your delightful, easy Christmas Cherry Fluff!
See? Simple as pie… or rather, simple as no-bake fluff!
Tips & Suggestions
Making Christmas Cherry Fluff is already super easy, but I’ve picked up a few tricks along the way that can take your creation from great to absolutely spectacular. These tips are all about maximizing flavor, texture, and that festive holiday appeal!
- Drain Fruit Thoroughly (If Substituting): If you opt to use canned crushed pineapple or fresh/canned cherries instead of pie filling, make sure to drain them EXTREMELY well. Excess liquid can make your fluff watery and prevent it from setting up properly. I often press pineapple in a fine-mesh sieve with the back of a spoon to get out every last drop.
- Gentle Folding is Key: I cannot stress this enough – when incorporating the whipped topping, use a light, folding motion. Overmixing can deflate the air out of the whipped topping, resulting in a dense, rather than fluffy, dessert. You want to preserve that airy texture!
- Chill Time is Your Friend: While it might be tempting to dig in right away, resist! The extended chilling time (at least 4 hours, preferably overnight) is crucial. It allows the flavors to deepen and meld, and it gives the fluff time to firm up to that perfect scoopable consistency. Don’t rush it!
- Enhance the Holiday Flavor: For an extra special holiday touch, consider adding a tiny splash of almond extract or vanilla extract (about 1/2 teaspoon) when you mix the condensed milk and cherry pie filling. Almond pairs wonderfully with cherry, and vanilla always enhances sweetness.
- Make it a Day Ahead: This fluff is a fantastic make-ahead dessert! In fact, it often tastes even better on the second day once all the flavors have had ample time to marry. This is perfect for holiday entertaining, as it frees up your time on the day of your gathering.
- Presentation Matters for Christmas: Since this is a Christmas dish, don’t shy away from making it look the part! Serve it in a beautiful glass trifle bowl or a festive punch bowl to showcase those lovely red and optional green colors. A garnish of extra whole maraschino cherries, a few sprigs of fresh mint (they look like holly!), or a sprinkle of chopped pistachios can make a huge difference in visual appeal. You could even swirl in a tiny bit of green food coloring to a small portion of the whipped topping and dollop it on top for extra green accents.
- Portion Control for Parties: For larger gatherings, consider making individual servings in small dessert cups or ramekins. This makes serving a breeze and looks very elegant.
- Spice it Up (Optional): For a more complex holiday flavor, a tiny pinch of ground cinnamon or nutmeg (about 1/8 teaspoon) could be folded in with the cherry mixture. It adds warmth without overpowering the cherry.
With these tips, your Christmas Cherry Fluff will not only be easy but also utterly irresistible and perfectly festive!
Storage
One of the best things about no-bake desserts like our Christmas Cherry Fluff is how relatively simple they are to store, allowing you to enjoy leftovers or prepare it in advance for your holiday celebrations. Here’s what I recommend for keeping your fluff fresh and delicious:
- Refrigeration is Key: Due to the dairy components (sweetened condensed milk and whipped topping), this fluff absolutely needs to be stored in the refrigerator at all times. Do not leave it out at room temperature for more than an hour or two, especially if your kitchen is warm.
- Use an Airtight Container: To prevent your fluff from absorbing any odors from other foods in your fridge and to keep it from drying out, transfer any leftovers into an airtight container. If you’re storing it in its original serving bowl, make sure to cover it tightly with plastic wrap, pressing the wrap directly onto the surface of the fluff to minimize air exposure, and then add a lid if the bowl has one.
- How Long Does it Last?: When properly stored in the refrigerator, your Christmas Cherry Fluff will typically stay fresh and delicious for about 3 to 4 days. The texture might soften slightly over time, especially if you’ve added mix-ins like marshmallows or nuts, but the flavor will remain wonderful.
- Freezing is Not Recommended: I strongly advise against freezing Christmas Cherry Fluff. The texture of the whipped topping, especially if it’s store-bought, and the marshmallows will change drastically upon thawing. It tends to become watery and grainy, losing its signature light and fluffy consistency. This is definitely a dessert best enjoyed fresh from the fridge.
- Prepare Ahead: As I mentioned in the tips, this fluff is an excellent make-ahead dessert. You can prepare it up to 24-48 hours in advance of when you plan to serve it. Just keep it tightly covered and refrigerated, and it will be perfect when it’s time for your holiday gathering.
- Serving Leftovers: If you have leftovers, simply scoop and enjoy straight from the fridge. No need for any special preparation! It’s just as delightful the next day as it was on the first.
So go ahead, make a big batch, because this Christmas Cherry Fluff is so good, you’ll want to savor every last bit!
Final Thoughts
Well, there you have it! I truly believe this Christmas Cherry Fluff Easy No Bake Recipe is an absolute gem for your holiday season. It’s not just a dessert; it’s a delightful splash of festive cheer that comes together with incredible ease. No oven required means more time for joy and less for stress in the kitchen. The vibrant cherries and wonderfully creamy texture make it an irresistible addition to any Christmas table, perfect for brightening spirits and satisfying sweet cravings. I can’t wait for you to experience the simple magic and deliciousness of this recipe. Give it a try this year; I promise it will become a cherished part of your festive traditions!
Christmas Cherry Fluff: Easy No Bake Holiday Dessert!

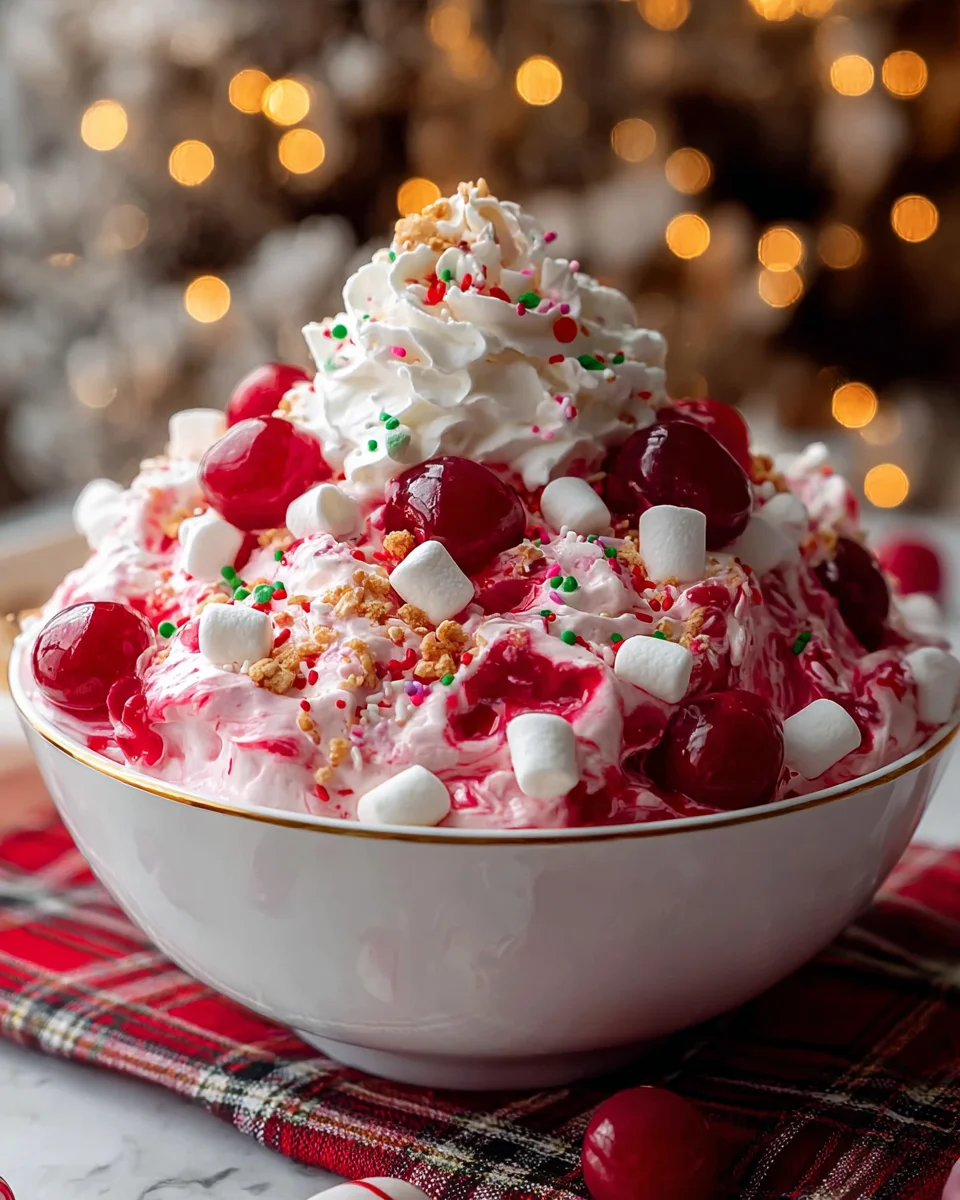
This Christmas Cherry Fluff is a delightful no-bake dessert that brings festive cheer with minimal effort. It’s a creamy, dreamy treat that combines sweet cherry pie filling, whipped topping, and mini marshmallows for a perfect holiday indulgence.
- Prep Time: 15 mins
- Cook Time: 0 mins
- Total Time: 15 minutes
- Yield: 8 servings 1x
- Category: Dessert
- Method: No Bake
- Cuisine: American
Ingredients
- 1 standard 21-ounce can Cherry Pie Filling
- 1 14-ounce can Sweetened Condensed Milk
- 1 8-ounce tub Whipped Topping (thawed)
- 1 10-ounce bag Mini Marshmallows
- 1 small 8-ounce can Crushed Pineapple (very well drained)
- 1/2 to 1 cup Chopped Nuts (optional, pecans or walnuts)
- 1/2 cup Sweetened Shredded Coconut (optional)
- Green Maraschino Cherries or Chopped Pistachios (optional)
Instructions
- Prepare Your Base: First things first, ensure your thawed whipped topping is ready. If you're using homemade whipped cream, make sure it's stiffly whipped and chilled. Grab a large mixing bowl – you'll want plenty of room for all that fluffiness!
- Combine the Creamy Elements: In your large mixing bowl, pour in the entire can of sweetened condensed milk. Next, add in the cherry pie filling. Using a spatula, gently stir these two ingredients together until they are well combined.
- Fold in the Whipped Topping: Add the thawed whipped topping (or homemade whipped cream) to the cherry and condensed milk mixture. Use a gentle folding motion to incorporate the whipped topping without deflating it too much.
- Add the Fun Mix-Ins: Once your fluff base is beautifully combined, stir in the mini marshmallows and any optional ingredients like chopped pecans, crushed pineapple, shredded coconut, or festive green cherries/pistachios. Fold them in gently until evenly distributed.
- Transfer and Chill: Carefully spoon the Christmas Cherry Fluff into a serving bowl or individual dessert dishes. Cover the bowl tightly with plastic wrap.
- Chill, Chill, Chill!: Place your covered fluff in the refrigerator and chill for at least 4 hours, ideally overnight.
- Garnish and Serve: Before serving, add a final flourish with whole maraschino cherries, a sprinkle of green pistachios, or a dusting of finely chopped pecans. Scoop and enjoy your delightful Christmas Cherry Fluff!
Nutrition
- Serving Size: 1 bowl
- Calories: 250
- Sugar: 30 g
- Sodium: 150 mg
- Fat: 10 g
- Saturated Fat: 5 g
- Unsaturated Fat: 3 g
- Trans Fat: 0 g
- Carbohydrates: 35 g
- Fiber: 1 g
- Protein: 2 g
- Cholesterol: 10 mg
Keywords: Make sure to drain any canned fruit thoroughly to avoid a watery fluff. Use gentle folding motions when incorporating whipped topping to maintain the airy texture.
Leave a Comment