
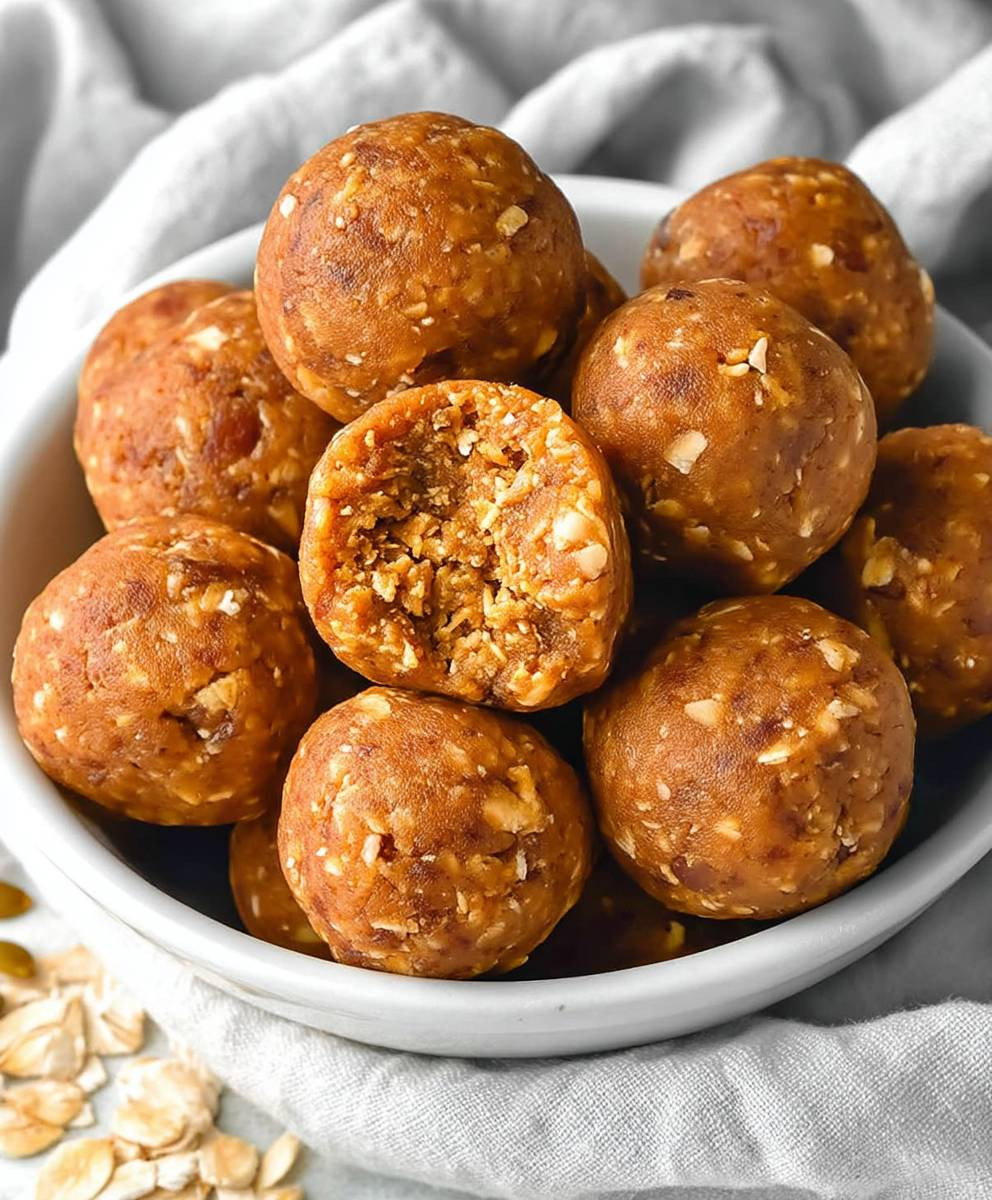
Pumpkin Protein Balls: the perfect bite-sized treat that tastes like fall exploded in your mouth! Are you craving the warm, comforting flavors of pumpkin spice but trying to stick to your healthy eating goals? Look no further! These little energy bombs are packed with protein, fiber, and all the deliciousness of pumpkin pie, without the guilt.
While the exact origins of combining pumpkin with spices are debated, the tradition of using pumpkin in sweet dishes dates back centuries. Native Americans utilized pumpkin in various ways, and early European settlers quickly adopted it, leading to the development of iconic dishes like pumpkin pie. Today, pumpkin spice has become a cultural phenomenon, symbolizing cozy autumn days and festive gatherings.
What makes these Pumpkin Protein Balls so irresistible? It’s the delightful combination of textures – the slight chewiness from the oats, the creamy smoothness from the pumpkin puree, and the satisfying crunch from optional additions like chopped nuts or chocolate chips. Plus, they’re incredibly convenient! No baking required, just a quick mix, chill, and roll. People love them because they’re a healthy and delicious way to satisfy sweet cravings, provide a boost of energy, and embrace the flavors of the season. They are the perfect grab-and-go snack for busy mornings, post-workout fuel, or a guilt-free dessert. Get ready to fall in love with this easy and nutritious recipe!
Ingredients:
- 1 cup rolled oats
- 1/2 cup pumpkin puree (not pumpkin pie filling)
- 1/4 cup protein powder (vanilla or unflavored recommended)
- 1/4 cup almond butter (or any nut butter)
- 2 tablespoons chia seeds
- 2 tablespoons maple syrup (or honey)
- 1 teaspoon pumpkin pie spice
- 1/2 teaspoon vanilla extract
- 1/4 cup chopped pecans or walnuts (optional)
- 2 tablespoons shredded coconut (optional, for rolling)
- Pinch of salt
Getting Started: Preparing the Pumpkin Protein Ball Mixture
Alright, let’s dive into making these delicious and healthy pumpkin protein balls! First things first, gather all your ingredients. Having everything measured and ready to go will make the process so much smoother. Trust me, it’s worth the extra few minutes of prep!
- Combine the Dry Ingredients: In a large mixing bowl, add the rolled oats, protein powder, chia seeds, pumpkin pie spice, and a pinch of salt. Whisk these ingredients together until they are well combined. This ensures that the spices and protein powder are evenly distributed throughout the mixture. Nobody wants a mouthful of just pumpkin pie spice!
- Add the Wet Ingredients: Now, add the pumpkin puree, almond butter, maple syrup (or honey), and vanilla extract to the bowl. Don’t be shy with the vanilla – it really enhances the flavor.
- Mix Thoroughly: This is where you’ll need a little elbow grease! Use a sturdy spoon or spatula to mix all the ingredients together until everything is evenly incorporated. The mixture will be quite thick and sticky, which is exactly what we want. If it seems too dry, you can add a tiny splash of water or a little more pumpkin puree, one teaspoon at a time, until it reaches the right consistency. If it’s too wet, add a tablespoon of oats at a time.
- Incorporate Optional Ingredients: If you’re using chopped pecans or walnuts, now’s the time to add them. Gently fold them into the mixture. I love the added crunch and nutty flavor they bring, but they’re totally optional if you prefer a smoother texture.
- Chill the Mixture: Cover the bowl with plastic wrap or a lid and place it in the refrigerator for at least 30 minutes. This chilling time is crucial! It allows the oats to absorb the moisture and helps the mixture firm up, making it much easier to roll into balls. Plus, chilling enhances the flavors!
Rolling and Coating: Shaping Your Pumpkin Protein Balls
Okay, the mixture has had its chill time, and we’re ready to roll! This is the fun part, so get ready to get your hands a little sticky.
- Prepare Your Rolling Station: Line a baking sheet with parchment paper or wax paper. This will prevent the protein balls from sticking. If you’re using shredded coconut for coating, place it in a shallow bowl.
- Scoop and Roll: Remove the mixture from the refrigerator. Using a spoon or a small cookie scoop (about 1 tablespoon size), scoop out portions of the mixture. Roll each portion between your palms to form a smooth, round ball. Don’t worry if they’re not perfectly round – homemade is always best!
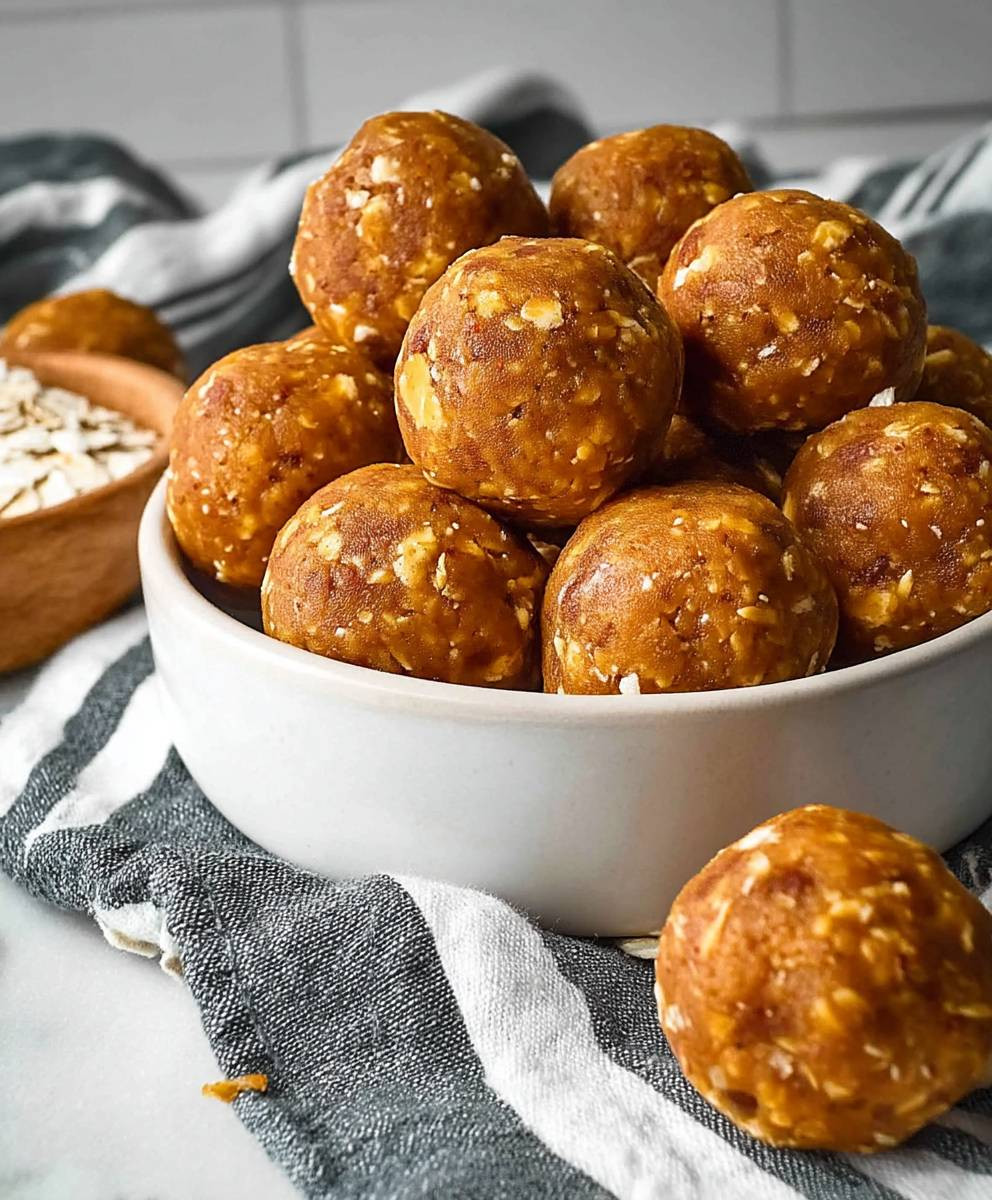
- Coat (Optional): If you’re using shredded coconut, roll each protein ball in the coconut until it’s evenly coated. Gently press the coconut onto the surface to help it adhere. You can also use other toppings like chopped nuts, cocoa powder, or even sprinkles if you’re feeling festive!
- Place on Baking Sheet: Place the rolled protein balls onto the prepared baking sheet. Make sure they’re not touching each other to prevent them from sticking together.
Final Touches: Storing and Enjoying Your Pumpkin Protein Balls
Almost there! Now that your pumpkin protein balls are all rolled and ready, it’s time to store them properly so you can enjoy them throughout the week.
- Chill Again (Optional): For even firmer protein balls, you can chill them in the refrigerator for another 15-20 minutes after rolling. This is especially helpful if your kitchen is warm.
- Store Properly: Transfer the protein balls to an airtight container. Store them in the refrigerator for up to a week. They can also be frozen for longer storage (up to 2-3 months). If freezing, place them in a single layer on a baking sheet until frozen, then transfer them to a freezer-safe bag or container. This prevents them from sticking together.
- Enjoy! These pumpkin protein balls are perfect for a quick and healthy snack, a pre- or post-workout boost, or even a guilt-free dessert. They’re packed with protein, fiber, and healthy fats to keep you feeling satisfied and energized. I love grabbing a couple before heading to the gym or when I need an afternoon pick-me-up.
Tips and Variations: Making These Protein Balls Your Own
The beauty of this recipe is that it’s incredibly versatile! Feel free to experiment with different ingredients and flavors to create your own unique version of pumpkin protein balls.
- Different Protein Powders: While vanilla or unflavored protein powder works best, you can try other flavors like chocolate, cinnamon, or even pumpkin spice protein powder for an extra boost of flavor.
- Nut Butter Variations: Don’t have almond butter? No problem! Peanut butter, cashew butter, or sunflower seed butter are all great substitutes. Just keep in mind that the flavor will change slightly depending on the nut butter you use.
- Sweetener Options: If you’re not a fan of maple syrup or honey, you can use other sweeteners like agave nectar, coconut sugar, or even a sugar-free sweetener like stevia. Adjust the amount to your liking.
- Spice It Up: Experiment with different spices! A pinch of ginger, nutmeg, or cloves can add a warm and cozy flavor to your protein balls.
- Add-Ins: Get creative with your add-ins! Chocolate chips (dark chocolate is my favorite!), dried cranberries, raisins, or even chopped dates can add extra flavor and texture.
- Vegan Option: To make these protein balls vegan, simply use a plant-based protein powder and ensure that your maple syrup is 100% pure (some brands may contain honey).
- Gluten-Free Option: Make sure to use certified gluten-free rolled oats if you need these to be gluten-free.
Troubleshooting: Common Issues and Solutions
Sometimes, things don’t go exactly as planned in the kitchen. Here are a few common issues you might encounter and how to fix them:
- Mixture is Too Dry: If the mixture is too dry and crumbly, add a teaspoon of water or pumpkin puree at a time until it reaches the right consistency.
- Mixture is Too Wet: If the mixture is too wet and sticky, add a tablespoon of rolled oats at a time until it firms up.
- Protein Balls are Too Sticky to Roll: If the protein balls are too sticky to roll, try chilling the mixture for a longer period of time. You can also lightly dampen your hands with water before rolling to prevent the mixture from sticking.
- Coatings Aren’t Sticking: If your coatings aren’t sticking to the protein balls, try gently pressing them onto the surface. You can also lightly dampen the protein balls with water before rolling them in the coating.
Nutritional Information (Approximate):
Please note that the nutritional information is an estimate and may vary depending on the specific ingredients you use.
Per protein ball (approximate):
- Calories: 80-100
- Protein: 5-7g
- Fat: 4-6g
- Carbohydrates: 8-10g
- Fiber: 2-3g
Enjoy your homemade pumpkin protein balls! I hope you love them as much as I do. They’re a delicious and healthy way to satisfy your sweet cravings and fuel your body.
Conclusion:
Okay, friends, let’s be honest: you’re still reading because you’re intrigued, right? And you should be! These Pumpkin Protein Balls are seriously a game-changer. They’re not just another healthy snack; they’re a delicious, convenient, and guilt-free way to satisfy your sweet cravings while fueling your body. I truly believe this recipe is a must-try for anyone looking for a quick energy boost, a post-workout snack, or simply a healthier alternative to processed sweets.
Think about it: you get that comforting pumpkin spice flavor we all crave, combined with the satisfying chewiness of oats and the added protein to keep you feeling full and energized for hours. No more mid-afternoon slumps! Plus, they’re so easy to make – seriously, it takes less than 15 minutes from start to finish. And the best part? You probably already have most of the ingredients in your pantry.
But the real magic lies in their versatility. While I personally love them as is, there are so many ways to customize these little bites of goodness to suit your own taste preferences.
Serving Suggestions and Variations:
* Chocolate Lover’s Dream: Add a handful of dark chocolate chips (or cacao nibs for an even healthier option) to the mixture before rolling. The bitterness of the dark chocolate perfectly complements the sweetness of the pumpkin.
* Nutty Delight: Stir in some chopped pecans, walnuts, or almonds for added crunch and healthy fats. You could even use different nut butters like almond or cashew butter instead of peanut butter for a unique flavor profile.
* Spice It Up: If you’re a fan of bolder flavors, add a pinch of cayenne pepper or ginger to the mixture for a warm, spicy kick.
* Coconut Craze: Roll the finished protein balls in shredded coconut for a tropical twist.
* Maple Magic: Drizzle a little maple syrup over the finished balls for an extra touch of sweetness.
* Breakfast Boost: Crumble a protein ball over your yogurt or oatmeal for a delicious and nutritious breakfast topping.
* Freezer Friendly: These Pumpkin Protein Balls freeze beautifully! Make a big batch and store them in the freezer for a quick and easy snack whenever you need one. Just let them thaw for a few minutes before enjoying.
I’ve tried all of these variations myself, and each one is equally delicious in its own way. Don’t be afraid to experiment and find your own perfect combination! The beauty of this recipe is that it’s so adaptable.
So, what are you waiting for? Get in the kitchen and whip up a batch of these amazing Pumpkin Protein Balls! I promise you won’t regret it. They’re the perfect healthy treat to satisfy your cravings and keep you feeling energized all day long.
And please, don’t be shy! I’d love to hear about your experience. Share your photos, your variations, and your thoughts in the comments below. Did you add chocolate chips? Did you try a different nut butter? Did you come up with your own unique twist? I’m always looking for new ideas and inspiration. Let’s create a community of healthy snack enthusiasts! Happy baking (or should I say, no-baking!) and enjoy! I can’t wait to hear what you think.
Pumpkin Protein Balls: Easy & Healthy Recipe
Easy, delicious no-bake pumpkin protein balls packed with protein, fiber, and healthy fats. Perfect for a quick snack, pre- or post-workout boost, or guilt-free dessert.
Ingredients
Instructions
Recipe Notes
- Protein Powder: Vanilla or unflavored recommended, but chocolate, cinnamon, or pumpkin spice can be used.
- Nut Butter: Peanut butter, cashew butter, or sunflower seed butter can be substituted for almond butter.
- Sweetener: Agave nectar, coconut sugar, or stevia can be used instead of maple syrup or honey.
- Spices: Experiment with ginger, nutmeg, or cloves.
- Add-Ins: Chocolate chips, dried cranberries, raisins, or chopped dates can be added.
- Vegan: Use plant-based protein powder and ensure maple syrup is 100% pure.
- Gluten-Free: Use certified gluten-free rolled oats.
- Troubleshooting:
- Too Dry: Add water or pumpkin puree, 1 teaspoon at a time.
- Too Wet: Add rolled oats, 1 tablespoon at a time.
- Too Sticky to Roll: Chill longer or dampen hands with water.
- Coatings Not Sticking: Gently press coatings onto balls or dampen balls with water.
Leave a Comment