
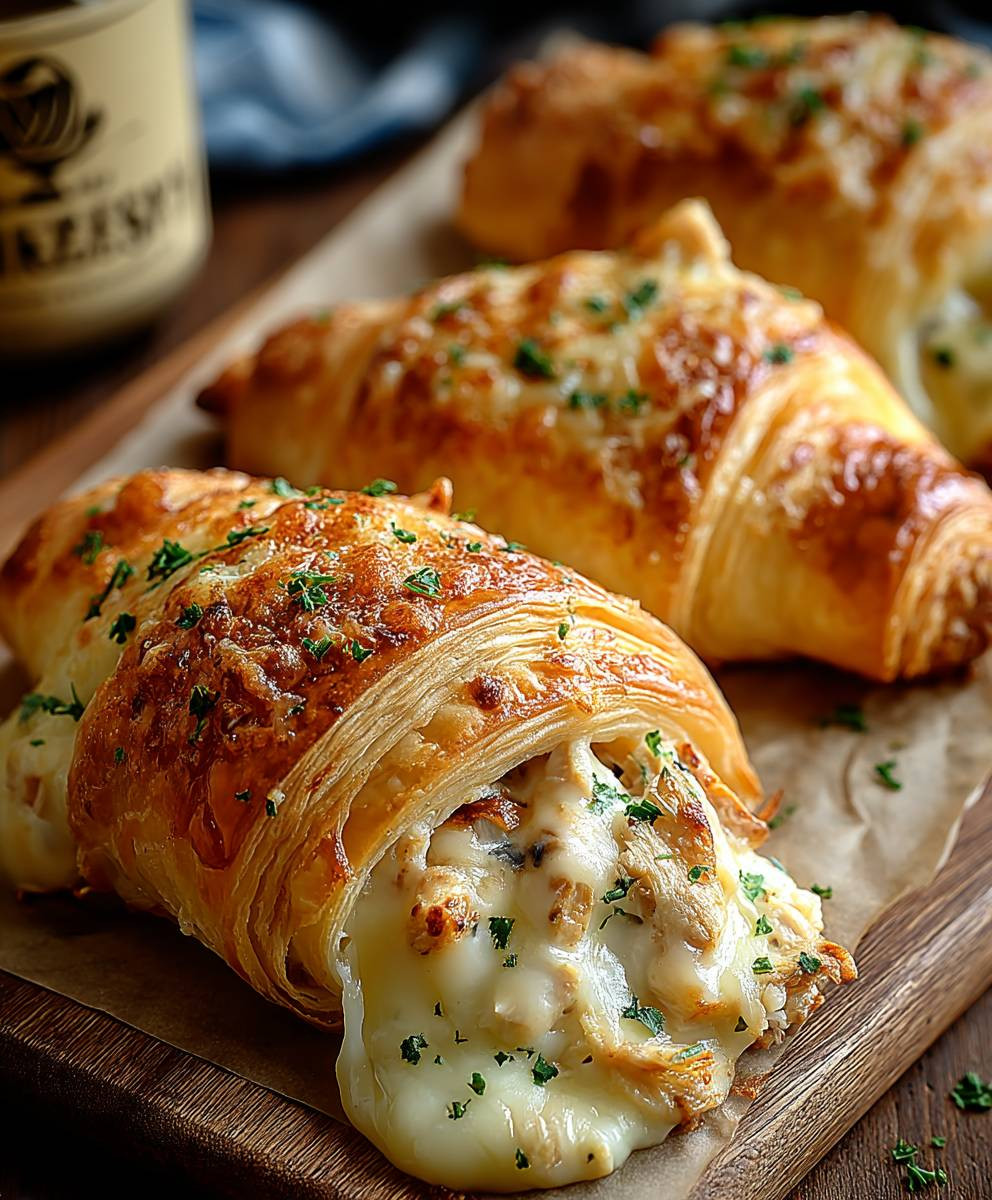
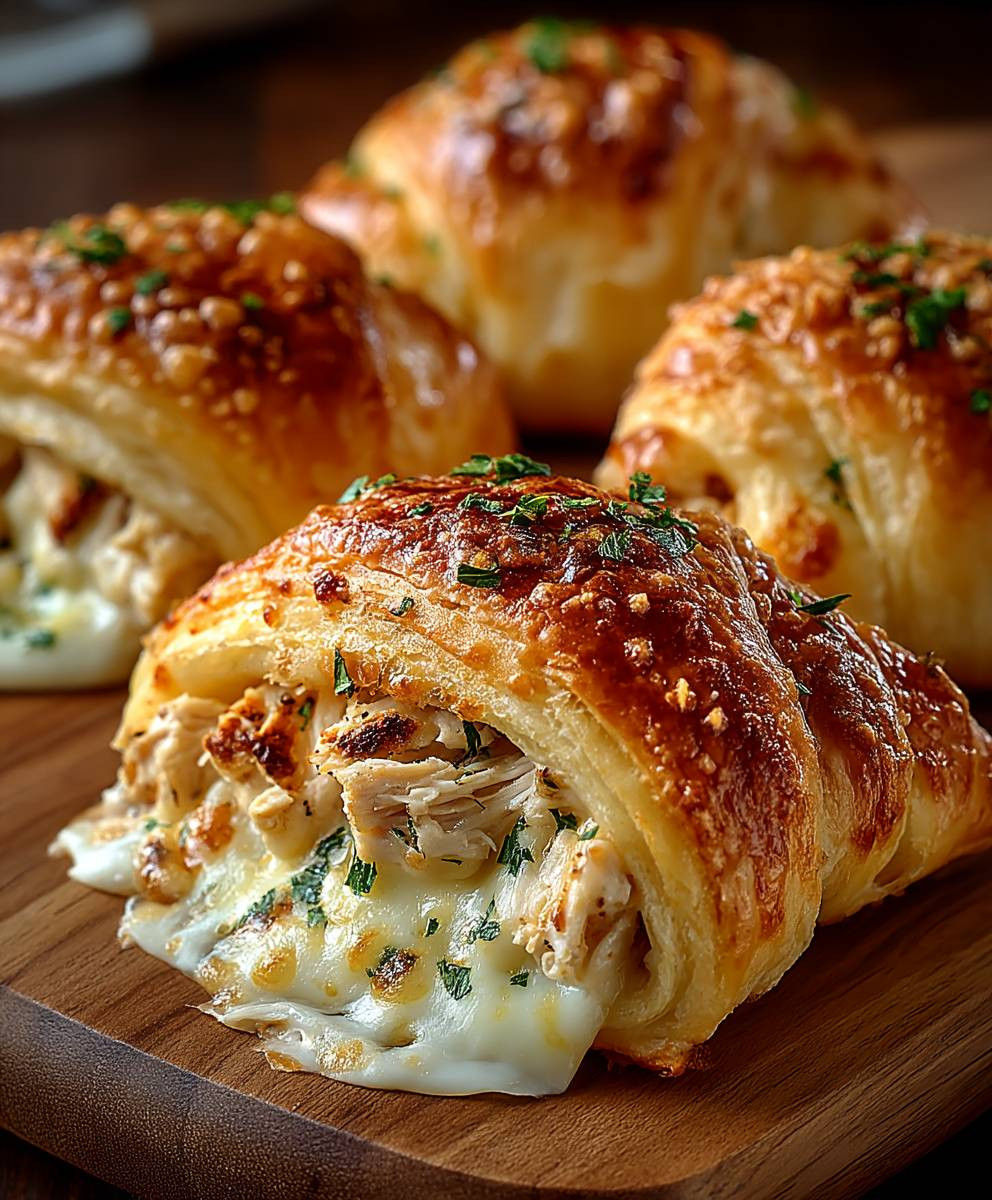
Cheesy Chicken Crescent Rolls: Prepare to meet your new weeknight dinner champion! Imagine flaky, golden crescent rolls embracing a creamy, savory filling of tender chicken and melted cheese. This isn’t just a recipe; it’s a warm hug on a plate, ready in under 30 minutes.
While the exact origins of stuffing chicken into crescent rolls are a bit hazy, the concept draws inspiration from classic comfort food dishes like chicken pot pie and various filled pastries found around the world. Think of it as a simplified, Americanized take on those culinary traditions, perfect for busy families.
What makes these Cheesy Chicken Crescent Rolls so irresistible? It’s the delightful combination of textures and flavors. The buttery, crisp crescent roll provides the perfect contrast to the rich, creamy chicken filling. People adore this dish because it’s incredibly easy to make, satisfyingly delicious, and endlessly customizable. You can easily adapt the filling with your favorite vegetables, cheeses, or spices. Plus, who can resist the allure of warm, cheesy goodness nestled inside a flaky pastry? Get ready to experience a family favorite that will have everyone asking for seconds!
Ingredients:
- 1 pound boneless, skinless chicken breasts
- 1 (8 ounce) package cream cheese, softened
- 1/2 cup sour cream
- 1/2 cup shredded cheddar cheese
- 1/4 cup chopped green onions
- 1 teaspoon garlic powder
- 1/2 teaspoon onion powder
- 1/4 teaspoon black pepper
- 1/4 teaspoon salt
- 2 (8 ounce) cans refrigerated crescent roll dough
- 2 tablespoons butter, melted
- 1 tablespoon grated Parmesan cheese
- Optional: Everything bagel seasoning
Preparing the Chicken Filling
Okay, let’s get started with the heart of our Cheesy Chicken Crescent Rolls – the delicious, creamy chicken filling! This is where all the flavor comes from, so pay close attention to these steps.
- Cook the Chicken: First things first, we need to cook our chicken. You have a few options here, and I’ll walk you through my favorites. You can either boil the chicken breasts until they’re cooked through (about 15-20 minutes), bake them in the oven at 375°F (190°C) for about 20-25 minutes, or, my personal go-to, use leftover cooked chicken! If you’re boiling or baking, make sure the internal temperature reaches 165°F (74°C) for safety.
- Shred the Chicken: Once the chicken is cooked and slightly cooled, it’s time to shred it. You can use two forks to pull it apart, or if you’re feeling fancy, use a stand mixer with the paddle attachment on low speed. Just be careful not to over-shred it into a paste! We want nice, bite-sized pieces.
- Combine the Cream Cheese and Sour Cream: In a large bowl, add your softened cream cheese and sour cream. Make sure your cream cheese is truly softened, or you’ll end up with lumpy filling. Beat these together with an electric mixer until they’re smooth and creamy. This is the base of our cheesy goodness!
- Add the Cheese and Seasonings: Now, add the shredded cheddar cheese, chopped green onions, garlic powder, onion powder, black pepper, and salt to the cream cheese mixture. Stir everything together until it’s well combined. Taste it and adjust the seasonings if needed. Maybe you want a little extra garlic powder, or a pinch more salt. It’s your filling, make it perfect for you!
- Incorporate the Chicken: Finally, add the shredded chicken to the bowl and gently fold it into the cream cheese mixture until everything is evenly distributed. Be careful not to overmix, as this can make the chicken tough. We want a nice, cohesive filling that’s ready to be rolled up in our crescent dough.
Assembling the Crescent Rolls
Now for the fun part – assembling our crescent rolls! This is where we transform our delicious filling into individual, cheesy chicken pockets of joy.
- Preheat the Oven: Preheat your oven to 375°F (190°C). This ensures the crescent rolls will bake evenly and get that golden-brown color we’re looking for.
- Prepare the Crescent Dough: Unroll both cans of crescent roll dough. You should have eight triangles of dough per can. If the dough seems a little sticky, you can lightly dust your work surface with flour.
- Fill the Crescent Rolls: Place a generous spoonful (about 2-3 tablespoons) of the chicken filling onto the wide end of each crescent roll triangle. Don’t overfill them, or the filling will ooze out during baking.
- Roll Up the Crescent Rolls: Starting at the wide end, roll up each crescent roll towards the point. Gently stretch the dough as you roll to create a nice, even shape. Make sure the point is tucked underneath the roll to prevent it from unrolling during baking.
- Arrange on Baking Sheet: Place the filled crescent rolls onto a baking sheet lined with parchment paper. This will prevent them from sticking and make cleanup a breeze. Arrange them so they’re not touching each other, allowing for even baking.
Baking and Finishing Touches
Almost there! Now we just need to bake our crescent rolls to golden-brown perfection and add a few finishing touches to make them extra special.
- Brush with Melted Butter: In a small bowl, melt the butter. Brush the tops of each crescent roll with the melted butter. This will give them a beautiful golden color and a rich, buttery flavor.
- Sprinkle with Parmesan Cheese: Sprinkle the tops of the buttered crescent rolls with grated Parmesan cheese. This adds a salty, savory note that complements the cheesy chicken filling perfectly.
- Optional: Add Everything Bagel Seasoning: If you’re feeling adventurous, sprinkle a little everything bagel seasoning over the Parmesan cheese. This adds a wonderful textural element and a burst of flavor that takes these crescent rolls to the next level.
- Bake the Crescent Rolls: Bake in the preheated oven for 12-15 minutes, or until the crescent rolls are golden brown and the filling is heated through. Keep a close eye on them, as baking times can vary depending on your oven.
- Cool Slightly and Serve: Once the crescent rolls are baked, remove them from the oven and let them cool on the baking sheet for a few minutes before serving. This will prevent you from burning your mouth on the hot filling!
Serving Suggestions
These Cheesy Chicken Crescent Rolls are delicious on their own, but they also pair well with a variety of sides. Here are a few of my favorite serving suggestions:
- Salad: Serve them with a simple green salad or a Caesar salad for a light and refreshing meal.
- Soup: Pair them with a bowl of creamy tomato soup or chicken noodle soup for a comforting and satisfying lunch or dinner.
- Vegetables: Serve them with steamed broccoli, green beans, or roasted asparagus for a healthy and balanced meal.
- Dipping Sauces: Offer a variety of dipping sauces, such as ranch dressing, honey mustard, or barbecue sauce, for an extra burst of flavor.
Tips and Variations
Want to customize these Cheesy Chicken Crescent Rolls to your liking? Here are a few tips and variations to try:
- Use Different Cheese: Experiment with different types of cheese, such as mozzarella, provolone, or pepper jack, to create your own unique flavor combination.
- Add Vegetables to the Filling: Add diced vegetables, such as bell peppers, onions, or mushrooms, to the chicken filling for added flavor and nutrition.
- Spice it Up: Add a pinch of red pepper flakes or a dash of hot sauce to the chicken filling for a spicy kick.
- Use Different Meat: Substitute the chicken with cooked turkey, ham, or ground beef for a different flavor profile.
- Make it Vegetarian: Replace the chicken with cooked lentils or black beans for a vegetarian option.
- Prepare Ahead: You can assemble the crescent rolls ahead of time and store them in the refrigerator until you’re ready to bake them. Just add a few extra minutes to the baking time.
I hope you enjoy making and eating these Cheesy Chicken Crescent Rolls as much as I do! They’re a crowd-pleaser that’s perfect for any occasion. Happy baking!
Conclusion:
This Cheesy Chicken Crescent Rolls recipe isn’t just another weeknight dinner; it’s a guaranteed crowd-pleaser that’s both incredibly easy to make and utterly delicious. The flaky, buttery crescent rolls perfectly complement the creamy, cheesy chicken filling, creating a symphony of flavors and textures that will have everyone reaching for seconds. Trust me, once you try this, it will become a staple in your recipe rotation!
But what truly makes this recipe a must-try is its versatility. Feel free to experiment with different cheeses! A sharp cheddar would add a bolder flavor, while a Gruyere would bring a touch of sophistication. You could even mix in some crumbled bacon for a smoky twist, or add a pinch of red pepper flakes for a little kick.
Serving suggestions are endless! These Cheesy Chicken Crescent Rolls are fantastic on their own as a quick lunch or dinner. But to elevate the meal, consider pairing them with a crisp green salad dressed with a light vinaigrette. The freshness of the salad will perfectly balance the richness of the rolls. Alternatively, you could serve them alongside a bowl of creamy tomato soup for a comforting and satisfying meal, especially on a chilly evening.
For a more substantial meal, add a side of roasted vegetables like broccoli, carrots, or Brussels sprouts. The slight char from roasting will complement the savory flavors of the chicken and cheese. And if you’re feeling adventurous, try dipping the rolls in a honey mustard sauce or a ranch dressing for an extra burst of flavor.
Don’t be afraid to get creative with the filling too! You could add some chopped mushrooms, bell peppers, or spinach to sneak in some extra veggies. Or, if you’re a fan of spice, try adding a dash of hot sauce or some diced jalapeños to the chicken mixture. The possibilities are truly endless!
I’ve made these Cheesy Chicken Crescent Rolls countless times, and they’re always a hit. They’re perfect for busy weeknights when you need a quick and easy meal, but they’re also impressive enough to serve to guests. Plus, they’re a great way to use up leftover cooked chicken.
So, what are you waiting for? Gather your ingredients, preheat your oven, and get ready to experience the magic of these Cheesy Chicken Crescent Rolls. I promise you won’t be disappointed.
And most importantly, I want to hear about your experience! Did you try the recipe as is, or did you add your own personal touch? What were your favorite variations? Share your photos and comments in the comments section below. I can’t wait to see what you create! Happy cooking! Let me know if you have any questions, and I’ll do my best to answer them. I’m confident that this recipe will become a family favorite, just like it has in my home. Enjoy!
Cheesy Chicken Crescent Rolls: The Ultimate Comfort Food Recipe
Creamy, cheesy chicken filling rolled in flaky crescent dough and baked to golden perfection. A quick, easy, and delicious meal or appetizer!
Ingredients
Instructions
Recipe Notes
- Experiment with mozzarella, provolone, or pepper jack cheese.
- Add diced bell peppers, onions, or mushrooms to the filling.
- Add red pepper flakes or hot sauce for a spicy kick.
- Use cooked turkey, ham, or ground beef instead of chicken.
- Replace chicken with cooked lentils or black beans.
- Assemble crescent rolls ahead of time and refrigerate until ready to bake. Add a few extra minutes to baking time.
- Serve with salad, soup, vegetables, or dipping sauces like ranch, honey mustard, or barbecue sauce.
Leave a Comment