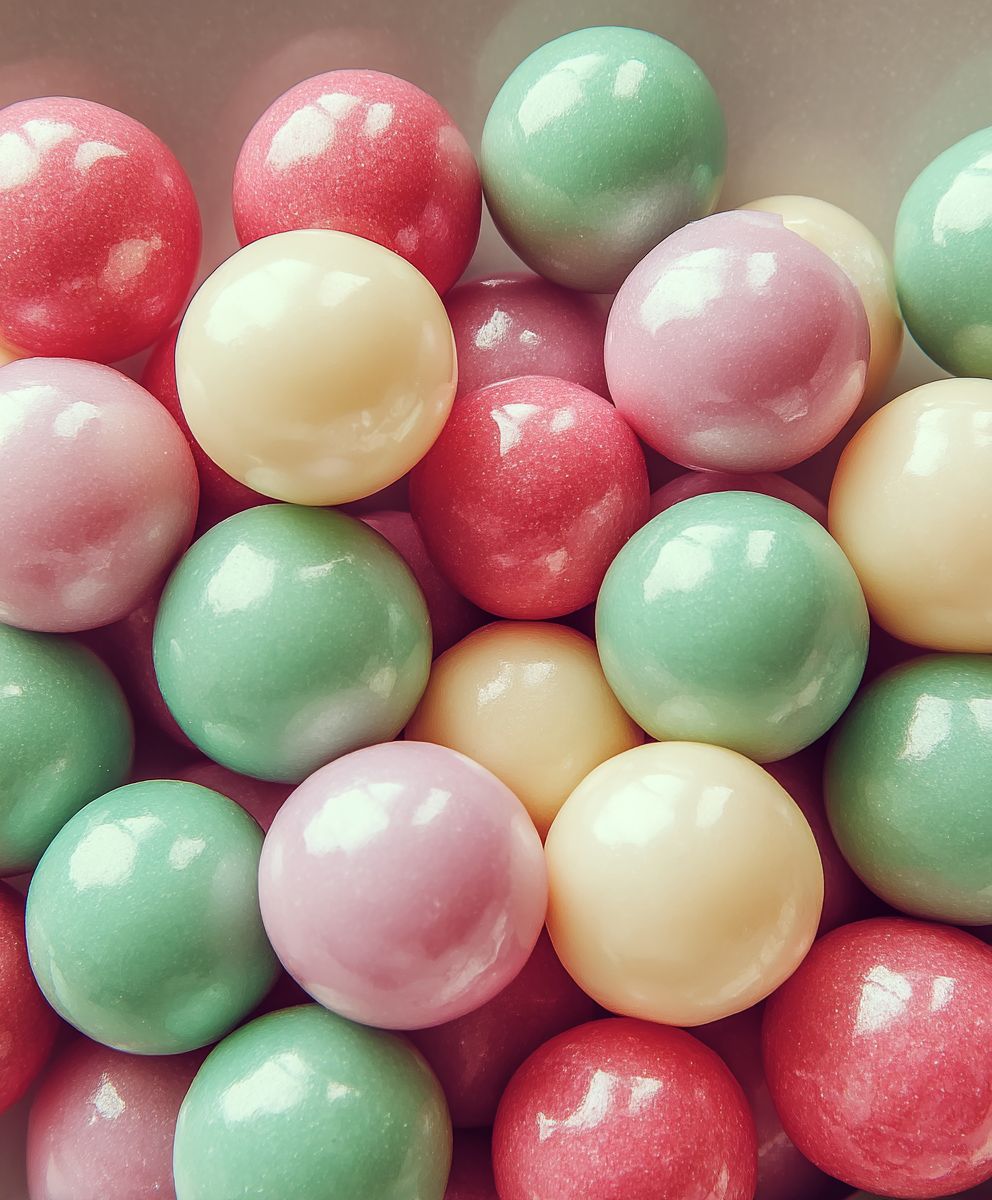
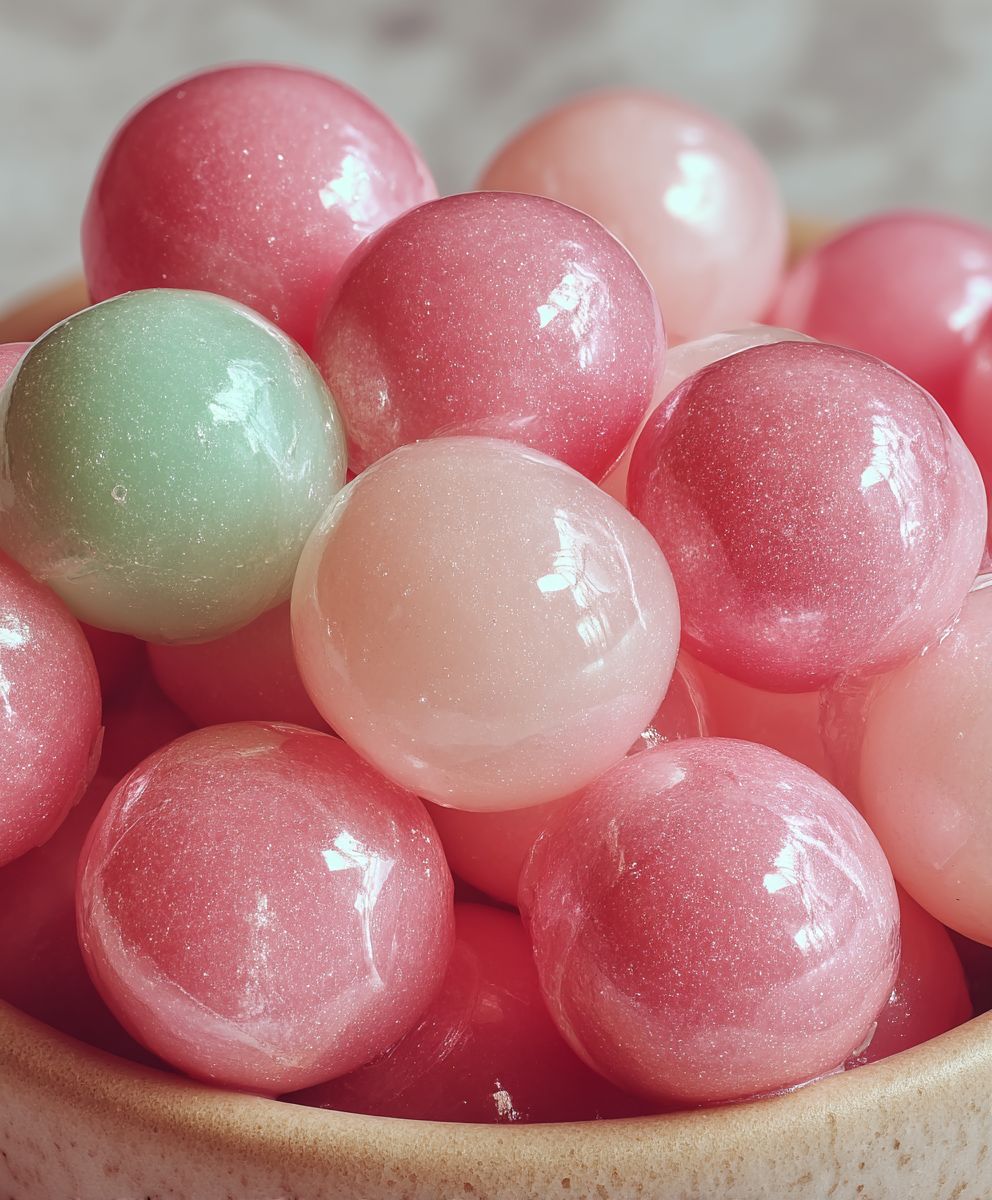
Homemade Bubble Gum for Kids: Remember the sheer joy of blowing the biggest, pinkest bubble imaginable? That sugary, chewy sensation is a childhood memory many of us cherish. Now, imagine recreating that magic in your own kitchen, with a recipe that’s not only fun but also allows you to control the ingredients!
While the history of commercially produced bubble gum dates back to the early 20th century, the desire to chew on something sweet and pliable is likely as old as time itself. From ancient tree resins to modern-day concoctions, humans have always enjoyed the simple pleasure of a good chew. But what if you could elevate that experience by crafting your very own batch of homemade bubble gum for kids?
This recipe isn’t just about making gum; it’s about creating an experience. Kids adore it because it’s a hands-on activity that results in a delicious treat. Parents love it because they can use natural flavorings and sweeteners, avoiding the artificial additives often found in store-bought brands. The taste is undeniably satisfying – a burst of fruity sweetness followed by that classic chewy texture that’s perfect for blowing bubbles. Plus, the sense of accomplishment that comes with making something from scratch is truly rewarding. So, gather your little ones, and let’s embark on a sweet adventure to create the ultimate homemade bubble gum for kids!
Ingredients:
- 1/2 cup gum base (available online or at specialty candy stores)
- 1/4 cup powdered sugar, plus more for dusting
- 2 tablespoons corn syrup
- 1 tablespoon glycerin (food grade, available online or at some pharmacies)
- 1/2 teaspoon citric acid (optional, for a tangy flavor)
- 1/2 teaspoon bubble gum flavoring oil (or other flavor extract of your choice, like strawberry, watermelon, or grape)
- Food coloring (optional, gel or liquid)
- 1 tablespoon water
Preparing the Gum Base:
Okay, let’s get started! Working with gum base can be a little tricky at first, but don’t worry, I’ll guide you through it. The key is to soften it enough to work with, but not so much that it melts completely.
- Soften the Gum Base: The first thing you need to do is soften your gum base. There are a couple of ways to do this. My preferred method is using a double boiler. If you don’t have one, you can create one by placing a heat-safe bowl over a pot of simmering water, making sure the bottom of the bowl doesn’t touch the water. Place the 1/2 cup of gum base into the bowl. Stir it occasionally as it softens. You want it to become pliable and easy to manipulate, almost like playdough. This usually takes about 10-15 minutes. Be patient and don’t overheat it, or it will become grainy. Alternatively, you can microwave the gum base in 10-second intervals, stirring in between each interval, until it reaches the desired consistency. Be extremely careful not to overheat it in the microwave, as it can easily burn.
- Check the Consistency: The gum base should be soft and stretchy. If it’s still hard, continue softening it for a few more minutes. If it starts to look oily or separated, you’ve overheated it. Unfortunately, there’s not much you can do to fix it at that point, so it’s best to start over with a fresh batch of gum base.
Mixing the Ingredients:
Now that your gum base is perfectly softened, it’s time to add the other ingredients that will give your bubble gum its flavor, sweetness, and chewiness. This is where the magic happens!
- Combine Wet Ingredients: In a separate small bowl, whisk together the 2 tablespoons of corn syrup, 1 tablespoon of glycerin, and 1 tablespoon of water. The glycerin helps to keep the gum soft and pliable, while the corn syrup adds sweetness and helps bind the ingredients together. Make sure everything is well combined.
- Add Wet Ingredients to Gum Base: Carefully pour the wet ingredients into the softened gum base. Use a spatula or wooden spoon to mix everything together thoroughly. This can take a little elbow grease, as the gum base is quite sticky. Keep stirring until the wet ingredients are fully incorporated and the mixture is smooth and uniform.
- Incorporate Powdered Sugar: Gradually add the 1/4 cup of powdered sugar to the gum base mixture, mixing well after each addition. The powdered sugar adds sweetness and helps to reduce the stickiness of the gum. Be sure to mix it in slowly to avoid creating a powdery mess. If the mixture becomes too stiff, you can add a tiny bit more water, a teaspoon at a time, until it reaches the desired consistency.
- Add Flavoring and Citric Acid (Optional): Once the powdered sugar is fully incorporated, add the 1/2 teaspoon of bubble gum flavoring oil (or your chosen flavor extract) and the 1/2 teaspoon of citric acid (if using). The flavoring oil is what will give your bubble gum its signature bubble gum taste, so choose a high-quality one for the best results. The citric acid adds a pleasant tanginess that balances out the sweetness. Mix everything together until the flavoring and citric acid are evenly distributed throughout the gum base.
- Add Food Coloring (Optional): If you want to give your bubble gum a fun color, now is the time to add the food coloring. Add a few drops at a time, mixing well after each addition, until you achieve the desired shade. Remember that a little food coloring goes a long way, so start with just a few drops and add more as needed. Gel food coloring is generally preferred over liquid food coloring, as it’s more concentrated and less likely to affect the consistency of the gum.
Kneading and Shaping the Gum:
Now comes the fun part – kneading and shaping your bubble gum! This is where you’ll really get a feel for the texture and consistency of your creation.
- Knead the Gum: Lightly dust a clean surface with powdered sugar. Turn the gum mixture out onto the dusted surface and knead it for several minutes, until it becomes smooth and elastic. Kneading helps to develop the gluten in the gum base, which will give your bubble gum a better chew. If the gum is too sticky, add a little more powdered sugar to the surface as you knead.
- Shape the Gum: Once the gum is smooth and elastic, you can shape it into whatever form you like. You can roll it out and use cookie cutters to create fun shapes, or you can simply pinch off small pieces and roll them into balls or sticks. Get creative and have fun with it!
- Cut and Wrap (Optional): If you want to make your bubble gum look more professional, you can roll it out thinly and cut it into strips using a pizza cutter or knife. Then, wrap each strip individually in wax paper or parchment paper. This will help to keep the gum fresh and prevent it from sticking together.
Resting and Storing the Gum:
Finally, a little bit of resting time will improve the texture of your homemade bubble gum. Proper storage is also key to keeping it fresh and chewy.
- Rest the Gum: After shaping the gum, let it rest for at least 30 minutes at room temperature. This allows the flavors to meld together and the gum to firm up slightly.
- Store the Gum: Store your homemade bubble gum in an airtight container at room temperature. It will stay fresh for several days. If you live in a warm climate, you may want to store it in the refrigerator to prevent it from becoming too soft.
Troubleshooting Tips:
- Gum is too hard: If your gum is too hard, it may be because you didn’t soften the gum base enough, or you added too much powdered sugar. Try adding a tiny bit of water (a teaspoon at a time) and kneading it in until the gum softens.
- Gum is too sticky: If your gum is too sticky, it may be because you didn’t add enough powdered sugar. Try adding a little more powdered sugar and kneading it in until the gum becomes less sticky.
- Gum is grainy: If your gum is grainy, it may be because you overheated the gum base. Unfortunately, there’s not much you can do to fix this. It’s best to start over with a fresh batch of gum base and be more careful not to overheat it.
- Gum doesn’t have enough flavor: If your gum doesn’t have enough flavor, try adding a little more flavoring oil. Be careful not to add too much, as some flavoring oils can be quite strong.
Important Notes:
- Always use food-grade ingredients when making bubble gum.
- Be careful when working with hot gum base, as it can burn.
- Supervise children closely when they are making bubble gum.
- Experiment with different flavors and colors to create your own unique bubble gum recipes.
And there you have it! Your very own homemade bubble gum. Enjoy!
Conclusion:
This homemade bubble gum recipe isn’t just a recipe; it’s a gateway to a world of fun, creativity, and delicious, chewy goodness! I truly believe that once you experience the satisfaction of crafting your own gum from scratch, you’ll never look at store-bought gum the same way again. It’s a fantastic activity to do with kids, a unique party favor idea, or simply a way to indulge in a nostalgic treat with a personal touch.
Why is this a must-try? Because it’s more than just chewing gum. It’s about the experience. It’s about knowing exactly what ingredients are going into your body (or your children’s bodies!). It’s about the sheer joy of creating something unique and delicious with your own two hands. And let’s be honest, the taste is incredible! The fresh, vibrant flavors you can achieve with this recipe are simply unmatched by anything you can buy in a store. Plus, you can customize it to your heart’s content!
Speaking of customization, the possibilities are endless! For a classic bubble gum flavor, stick with the strawberry or raspberry extract. But don’t be afraid to experiment! Try adding a few drops of peppermint extract for a refreshing, minty twist. Or, for a more exotic flavor, consider using mango, pineapple, or even a hint of cinnamon. You can also play around with the coloring. Use natural food dyes to create vibrant hues that match your chosen flavor. Imagine bright pink strawberry gum, sunny yellow lemon gum, or cool blue raspberry gum!
Beyond the flavor and color, you can also adjust the texture. If you prefer a softer, chewier gum, add a little more glycerin. If you like it a bit firmer, reduce the glycerin slightly. And for a truly unique experience, try adding small pieces of dried fruit or even chocolate chips to the gum base. Just be sure to add them after the gum has cooled slightly, so they don’t melt.
Serving suggestions? Well, the obvious one is to simply enjoy it! But you can also get creative with how you present your homemade bubble gum. Wrap individual pieces in small squares of wax paper and tie them with colorful ribbons. Package them in small, decorative tins or jars. Or, create a “bubble gum bar” at your next party, with a variety of flavors, colors, and toppings for guests to customize their own gum.
I’m so excited for you to try this recipe and discover the magic of homemade bubble gum. It’s a project that’s both fun and rewarding, and I know you’ll love the results. The best part is that you can tailor it to your own preferences and create a truly unique treat that’s perfect for you and your family.
So, what are you waiting for? Gather your ingredients, put on your apron, and get ready to make some amazing homemade bubble gum! I can’t wait to hear about your experience. Please, share your photos, your flavor combinations, and any tips or tricks you discover along the way. Let’s create a community of bubble gum enthusiasts and inspire each other to create even more delicious and innovative variations. Happy chewing!
Homemade Bubble Gum for Kids: Easy Recipe and Fun Activity
Make your own chewy, flavorful bubble gum at home! Customize the flavor and color for a fun and delicious treat.
Ingredients
Instructions
Recipe Notes
- Always use food-grade ingredients.
- Be careful when working with hot gum base, as it can burn.
- Supervise children closely when they are making bubble gum.
- Experiment with different flavors and colors.
- Gum is too hard: Add a tiny bit of water (a teaspoon at a time) and kneading it in until the gum softens.
- Gum is too sticky: Add a little more powdered sugar and kneading it in until the gum becomes less sticky.
- Gum is grainy: If your gum is grainy, it may be because you overheated the gum base. Unfortunately, there’s not much you can do to fix this. It’s best to start over with a fresh batch of gum base and be more careful not to overheat it.
- Gum doesn’t have enough flavor: If your gum doesn’t have enough flavor, try adding a little more flavoring oil. Be careful not to add too much, as some flavoring oils can be quite strong.

Leave a Comment