
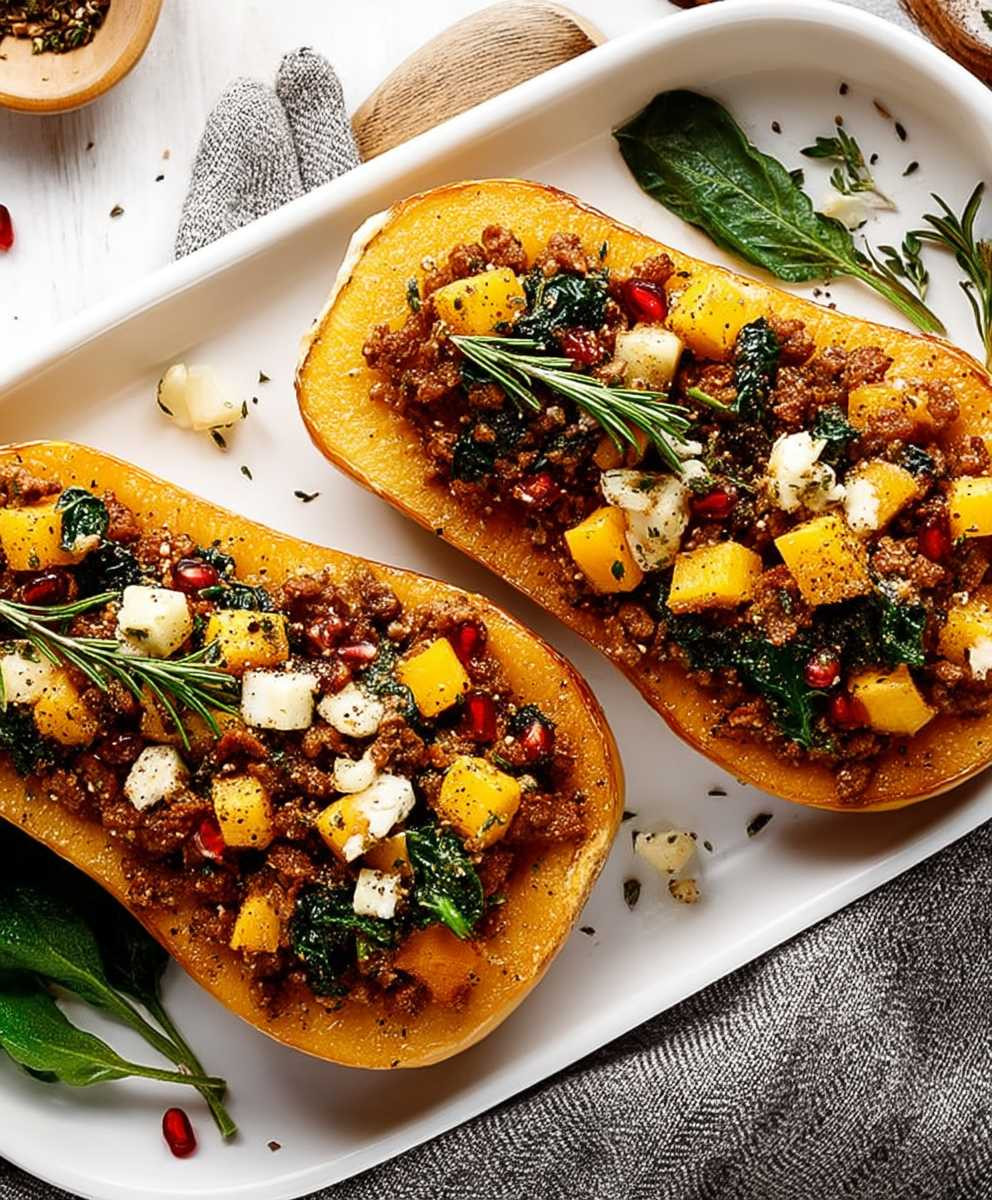
Stuffed Butternut Squash: Prepare to be amazed by this vibrant and flavorful dish that’s as beautiful to look at as it is delicious to eat! Imagine sinking your fork into tender, roasted butternut squash, its sweetness perfectly complemented by a savory and satisfying filling. This isn’t just a meal; it’s an experience.
Butternut squash, a winter squash native to North America, has been a culinary staple for centuries. Its versatility lends itself to both sweet and savory preparations, making it a beloved ingredient in countless cuisines. The concept of stuffing vegetables, however, is a global tradition, with variations found in cultures around the world. From bell peppers in Greece to cabbage leaves in Eastern Europe, the art of filling vegetables with flavorful mixtures is a testament to human ingenuity and resourcefulness.
People adore stuffed butternut squash for its delightful combination of textures and tastes. The creamy, slightly sweet squash provides a wonderful contrast to the often savory, nutty, or even spicy filling. It’s a dish that caters to a wide range of palates and dietary needs, easily adaptable to vegetarian, vegan, and gluten-free diets. Plus, it’s incredibly convenient! You can prepare the filling ahead of time, making it a perfect option for busy weeknights or elegant dinner parties. The warm, comforting flavors make it a fall and winter favorite, but honestly, I enjoy this dish year-round. Get ready to discover your new favorite way to enjoy this amazing vegetable!
Ingredients:
- 1 large butternut squash (about 2-3 pounds), halved lengthwise and seeded
- 2 tablespoons olive oil, plus more for drizzling
- 1 medium yellow onion, chopped
- 2 cloves garlic, minced
- 1 cup cooked quinoa
- 1 cup cooked wild rice
- 1 cup dried cranberries
- 1 cup chopped pecans or walnuts, toasted
- 1/2 cup crumbled goat cheese (optional, but highly recommended!)
- 1/4 cup chopped fresh parsley
- 2 tablespoons maple syrup
- 1 teaspoon dried sage
- 1/2 teaspoon dried thyme
- 1/4 teaspoon ground cinnamon
- Salt and freshly ground black pepper to taste
- 1/2 cup vegetable broth or chicken broth
Preparing the Butternut Squash:
- Preheat your oven to 400°F (200°C). Line a baking sheet with parchment paper for easy cleanup.
- Drizzle the cut sides of the butternut squash with olive oil and season generously with salt and pepper.
- Place the squash cut-side up on the prepared baking sheet.
- Roast for 45-60 minutes, or until the squash is tender and easily pierced with a fork. The roasting time will depend on the size of your squash, so keep an eye on it. You want it to be nice and soft!
- Once the squash is roasted, remove it from the oven and let it cool slightly while you prepare the filling.
Making the Savory Filling:
- While the squash is roasting, heat 2 tablespoons of olive oil in a large skillet over medium heat.
- Add the chopped onion and cook until softened and translucent, about 5-7 minutes. Stir occasionally to prevent burning.
- Add the minced garlic and cook for another minute, until fragrant. Be careful not to burn the garlic, as it can become bitter.
- Stir in the cooked quinoa and wild rice. Make sure they are evenly distributed in the skillet.
- Add the dried cranberries, toasted pecans or walnuts, chopped parsley, maple syrup, dried sage, dried thyme, and ground cinnamon.
- Season with salt and freshly ground black pepper to taste. Don’t be afraid to be generous with the seasoning – it really brings out the flavors of the filling.
- Cook for 5-7 minutes, stirring occasionally, until all the ingredients are well combined and heated through. The mixture should be fragrant and delicious-smelling!
- If the filling seems a little dry, add a tablespoon or two of vegetable broth or chicken broth to moisten it.
Stuffing and Baking:
- Once the butternut squash is cool enough to handle, use a spoon to scoop out some of the flesh from the center of each half, creating a larger cavity for the filling. Be careful not to pierce the skin.
- Add the scooped-out squash flesh to the skillet with the filling mixture. This adds even more butternut squash flavor to the dish!
- Stir everything together well to combine.
- Spoon the filling generously into the cavities of the butternut squash halves, mounding it slightly on top.
- If you’re using goat cheese, sprinkle it evenly over the top of the stuffed squash. The goat cheese adds a lovely creamy tang that complements the sweetness of the squash and cranberries.
- Pour the remaining 1/2 cup of vegetable broth or chicken broth into the bottom of the baking dish around the squash. This will help to keep the squash moist while it bakes.
- Return the baking sheet to the oven and bake for another 20-25 minutes, or until the filling is heated through and the goat cheese is melted and slightly browned (if using).
- Remove the stuffed butternut squash from the oven and let it cool for a few minutes before serving.
Serving Suggestions:
- Serve the stuffed butternut squash warm as a main course or a hearty side dish.
- Garnish with extra chopped parsley or toasted pecans for a beautiful presentation.
- A drizzle of maple syrup or a dollop of plain Greek yogurt can also be a delicious addition.
- This dish pairs well with a simple green salad or roasted vegetables.
- Leftovers can be stored in the refrigerator for up to 3 days. Reheat in the oven or microwave before serving.
Tips and Variations:
- Spice it up: Add a pinch of red pepper flakes to the filling for a little heat.
- Add protein: Include cooked sausage, ground beef, or chickpeas to the filling for a more substantial meal.
- Change the cheese: Use feta cheese, Parmesan cheese, or Gruyere cheese instead of goat cheese.
- Use different grains: Substitute barley, farro, or couscous for the quinoa or wild rice.
- Add vegetables: Include chopped mushrooms, spinach, kale, or Brussels sprouts to the filling.
- Make it vegan: Omit the goat cheese or use a vegan cheese alternative. Use maple syrup or agave nectar instead of honey.
- Roasting the nuts: Toasting the pecans or walnuts before adding them to the filling enhances their flavor and adds a nice crunch. To toast them, spread them on a baking sheet and bake at 350°F (175°C) for 5-7 minutes, or until fragrant and lightly browned. Watch them carefully, as they can burn easily.
- Adjusting the sweetness: If you prefer a less sweet dish, reduce the amount of maple syrup or omit it altogether. You can also add a squeeze of lemon juice to balance the sweetness.
- Preparing ahead: You can roast the butternut squash and prepare the filling ahead of time. Store them separately in the refrigerator and assemble the dish just before baking. This is a great option for busy weeknights or when you’re entertaining guests.
- Freezing: Stuffed butternut squash can be frozen for up to 2 months. Wrap each half tightly in plastic wrap and then in aluminum foil. Thaw in the refrigerator overnight before reheating.
Why This Recipe Works:
The combination of sweet and savory flavors is what makes this stuffed butternut squash so irresistible. The sweetness of the butternut squash and cranberries is balanced by the earthy flavors of the quinoa, wild rice, sage, and thyme. The toasted pecans add a delightful crunch, and the goat cheese provides a creamy tang. The maple syrup enhances the natural sweetness of the squash and ties all the flavors together.
This recipe is also incredibly versatile. You can easily customize it to your liking by adding different vegetables, proteins, or cheeses. It’s a great way to use up leftover grains or vegetables you have on hand.
Finally, this stuffed butternut squash is a beautiful and impressive dish that’s perfect for entertaining. It’s sure to be a crowd-pleaser!
Enjoy this delicious and healthy stuffed butternut squash recipe! I hope you love it as much as I do.
Conclusion:
This Stuffed Butternut Squash recipe is more than just a meal; it’s an experience. From the warm, inviting aroma that fills your kitchen as it bakes, to the explosion of flavors with each bite, it’s a dish that truly satisfies. The sweetness of the roasted butternut squash perfectly complements the savory filling, creating a harmonious balance that will leave you wanting more. It’s a showstopper for any dinner party, a comforting weeknight meal, and a fantastic way to celebrate the flavors of fall.
But why is this recipe a must-try? Because it’s incredibly versatile! You can easily adapt the filling to suit your dietary needs and preferences. Vegetarian? Simply omit the sausage or substitute it with plant-based crumbles. Looking for a gluten-free option? Ensure your breadcrumbs are gluten-free or use a blend of nuts and seeds for added texture and flavor. The possibilities are truly endless!
Beyond the core recipe, there are so many exciting ways to elevate your Stuffed Butternut Squash. Consider adding dried cranberries or cherries for a touch of tartness. Toasted pecans or walnuts would provide a delightful crunch. A sprinkle of crumbled goat cheese or feta cheese just before serving adds a creamy, tangy element that takes it to the next level.
For serving suggestions, this stuffed squash makes a beautiful and satisfying main course. You can pair it with a simple side salad of mixed greens and a light vinaigrette to balance the richness of the dish. Alternatively, serve it alongside roasted Brussels sprouts or green beans for a complete and nutritious meal. If you’re serving a larger crowd, consider making individual stuffed squash halves for an elegant presentation.
And don’t forget about leftovers! This Stuffed Butternut Squash is just as delicious the next day. You can reheat it in the oven or microwave, or even enjoy it cold as a unique and flavorful salad topping. The flavors meld together even more overnight, making it a truly rewarding dish.
I truly believe that this recipe will become a staple in your kitchen. It’s easy to follow, customizable, and guaranteed to impress. The combination of sweet and savory, the comforting warmth, and the beautiful presentation make it a winner every time.
So, what are you waiting for? Grab a butternut squash, gather your ingredients, and get cooking! I’m confident that you’ll love this recipe as much as I do.
I’m so excited for you to try this Stuffed Butternut Squash! Once you’ve made it, I would absolutely love to hear about your experience. Did you make any modifications to the recipe? What were your favorite additions? Share your photos and stories in the comments below! Let’s create a community of butternut squash enthusiasts and inspire each other with our culinary creations. Happy cooking!
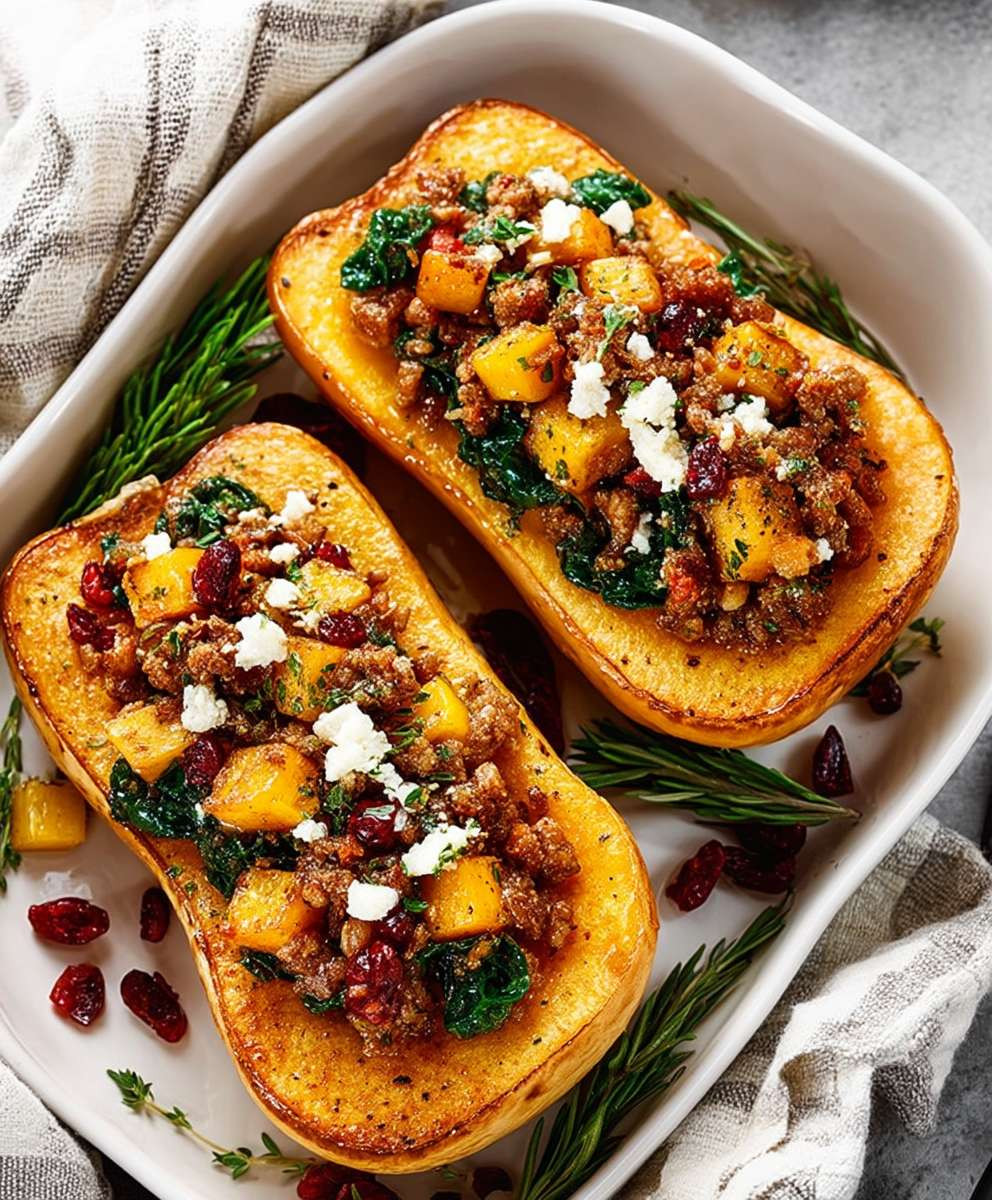
Stuffed Butternut Squash: A Delicious and Healthy Recipe
Savory and sweet stuffed butternut squash with quinoa, wild rice, cranberries, pecans, and goat cheese. A perfect fall dish!
Ingredients
Instructions
Recipe Notes
- Spice it up: Add a pinch of red pepper flakes to the filling for a little heat.
- Add protein: Include cooked sausage, ground beef, or chickpeas to the filling for a more substantial meal.
- Change the cheese: Use feta cheese, Parmesan cheese, or Gruyere cheese instead of goat cheese.
- Use different grains: Substitute barley, farro, or couscous for the quinoa or wild rice.
- Add vegetables: Include chopped mushrooms, spinach, kale, or Brussels sprouts to the filling.
- Make it vegan: Omit the goat cheese or use a vegan cheese alternative. Use maple syrup or agave nectar instead of honey.
- Roasting the nuts: Toasting the pecans or walnuts before adding them to the filling enhances their flavor and adds a nice crunch. To toast them, spread them on a baking sheet and bake at 350°F (175°C) for 5-7 minutes, or until fragrant and lightly browned. Watch them carefully, as they can burn easily.
- Adjusting the sweetness: If you prefer a less sweet dish, reduce the amount of maple syrup or omit it altogether. You can also add a squeeze of lemon juice to balance the sweetness.
- Preparing ahead: You can roast the butternut squash and prepare the filling ahead of time. Store them separately in the refrigerator and assemble the dish just before baking. This is a great option for busy weeknights or when you’re entertaining guests.
- Freezing: Stuffed butternut squash can be frozen for up to 2 months. Wrap each half tightly in plastic wrap and then in aluminum foil. Thaw in the refrigerator overnight before reheating.


Leave a Comment