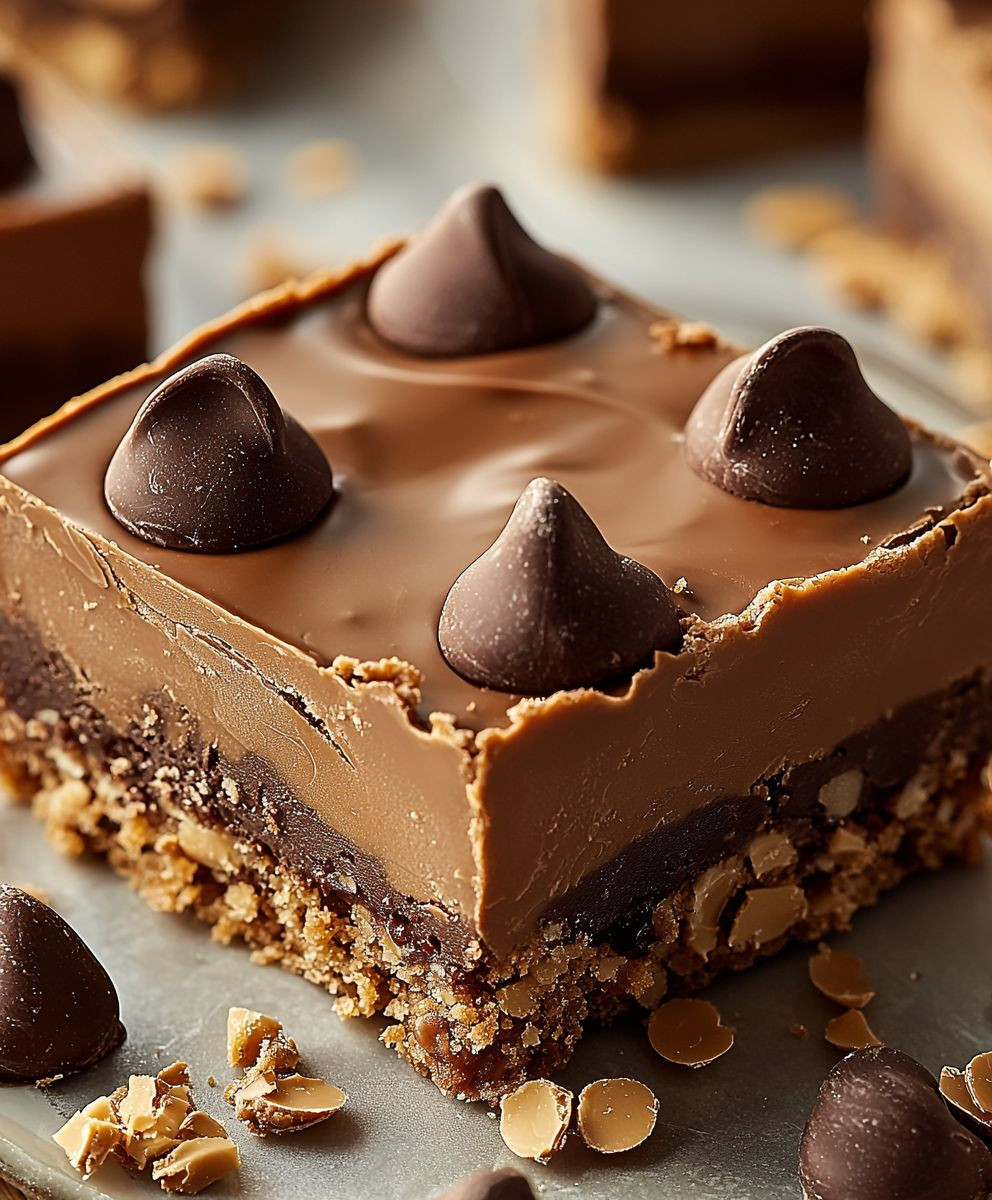
Reese’s Peanut Butter Bars are a delightful treat that combines the rich, creamy flavor of peanut butter with the sweetness of chocolate, creating a dessert that is simply irresistible. As a fan of no-bake recipes, I find that these bars not only satisfy my sweet tooth but also evoke fond memories of childhood, where the combination of peanut butter and chocolate was a staple in many households. The history of this beloved treat can be traced back to the iconic Reese’s brand, which has been delighting chocolate lovers since the 1920s.
People adore Reese’s Peanut Butter Bars for their perfect balance of taste and texture. The smooth, velvety peanut butter layer is complemented by a crunchy chocolate topping, making each bite a heavenly experience. Plus, the convenience of whipping up these bars in no time makes them a go-to recipe for gatherings, parties, or simply a cozy night in. Whether you’re a long-time fan or trying them for the first time, I guarantee that Reese’s Peanut Butter Bars will quickly become a favorite in your dessert repertoire!
Ingredients:
- 1 cup graham cracker crumbs
- 1 cup powdered sugar
- 1 cup creamy peanut butter
- 1/2 cup unsalted butter, melted
- 1 1/2 cups milk chocolate chips
- 1 tablespoon vegetable oil (optional, for smoother chocolate)
Preparing the Base
Let’s start by making the delicious peanut butter base for our bars. This is the foundation that will hold everything together and give us that rich, creamy flavor we all love.
- In a large mixing bowl, combine the graham cracker crumbs and powdered sugar. I like to use a whisk to ensure they mix well together, breaking up any lumps in the powdered sugar.
- Add the creamy peanut butter and melted unsalted butter to the dry ingredients. Using a spatula or a wooden spoon, mix everything together until it forms a thick, cohesive mixture. It might take a bit of elbow grease, but trust me, it’s worth it!
- Once the mixture is well combined, it should be thick enough to hold its shape. If it feels too crumbly, you can add a little more peanut butter to help it bind together.
Pressing the Base into the Pan
Now that we have our peanut butter mixture ready, it’s time to press it into the pan. This step is crucial for achieving that perfect bar texture.
- Line an 8×8 inch baking dish with parchment paper, leaving some overhang on the sides. This will make it easier to lift the bars out later.
- Transfer the peanut butter mixture into the prepared baking dish. Using your hands or a spatula, press the mixture evenly into the bottom of the pan. Make sure to pack it down firmly so that it holds together once set.
- Once it’s evenly spread, I like to use the bottom of a measuring cup to really press it down and smooth out the surface. This will help create a nice, even layer for the chocolate topping.
Melting the Chocolate Topping
Now, let’s move on to the chocolate topping. This is where the magic happens, and it’s super easy to do!
- In a microwave-safe bowl, combine the milk chocolate chips and the optional vegetable oil. The oil helps to make the chocolate smoother and easier to spread, but it’s not necessary if you prefer to skip it.
- Microwave the chocolate in 30-second intervals, stirring in between each interval. This will help prevent the chocolate from burning. It usually takes about 1-2 minutes total to melt the chocolate completely.
- Once the chocolate is melted and smooth, remove it from the microwave and give it a good stir to ensure it’s fully combined.
Assembling the Bars
With our peanut butter base and chocolate topping ready, it’s time to assemble these delicious bars!
- Pour the melted chocolate over the pressed peanut butter mixture in the baking dish. Using a spatula, gently spread the chocolate to cover the entire surface evenly.
- Once the chocolate is spread out, you can tap the baking dish lightly on the counter to help settle the chocolate and remove any air bubbles.
- Now, it’s time to chill! Place the baking dish in the refrigerator for at least 2 hours, or until the chocolate is set and firm to the touch. If you’re in a hurry, you can also place it in the freezer for about 30-45 minutes.
Cutting and Serving the Bars
After the bars have set, it’s time for the best part—cutting and serving!
- Once the chocolate is firm, remove the bars from the baking dish using the parchment paper overhang. This makes it super easy to lift them out without any mess.
- Place the bars on a cutting board and use a sharp knife to cut them into squares or rectangles, depending on your preference. I like to wipe the knife with a damp cloth between cuts to keep the edges clean.
- Serve the bars immediately, or store them in an airtight container in the refrigerator for up to a week. They also freeze well, so

Conclusion:
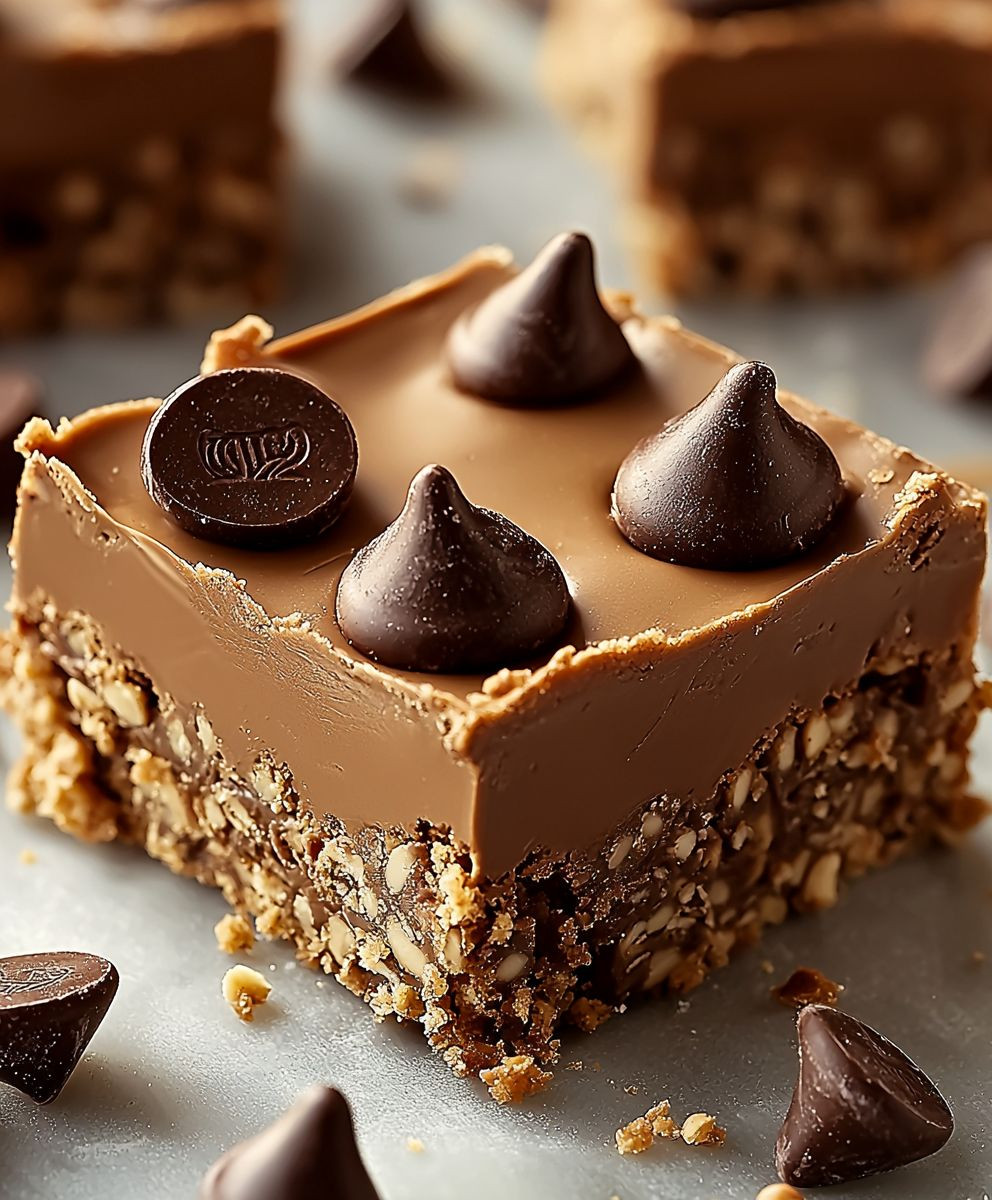
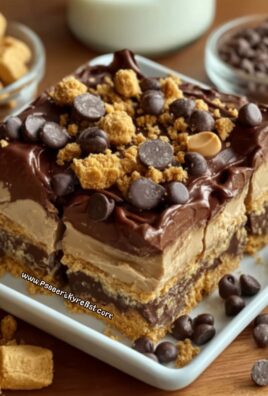
In summary, these Reese’s Peanut Butter Bars are an absolute must-try for anyone who loves the delightful combination of chocolate and peanut butter. The rich, creamy texture paired with the satisfying crunch of the graham cracker crust creates a dessert that is not only indulgent but also incredibly easy to make. Whether you’re preparing for a family gathering, a potluck, or simply craving a sweet treat, these bars are sure to impress. For serving suggestions, consider drizzling some melted chocolate on top for an extra touch of decadence, or sprinkle some chopped peanuts for added crunch. You can also experiment with variations by incorporating different types of chocolate, such as dark or white chocolate, or even adding a layer of caramel for a unique twist. The possibilities are endless! I encourage you to give this recipe a try and experience the joy of creating these delicious Reese’s Peanut Butter Bars in your own kitchen. Once you do, I would love to hear about your experience! Share your thoughts, any variations you tried, or even a photo of your finished bars. Let’s spread the love for this delightful treat together! PrintReese’s Peanut Butter Bars: The Ultimate No-Bake Dessert Recipe

These no-bake peanut butter chocolate bars feature a creamy peanut butter base topped with smooth chocolate, making them a quick and satisfying treat. Easy to prepare and perfect for any sweet craving, they require no baking and can be stored for later enjoyment.
- Prep Time: 15 minutes
- Cook Time: 0 minutes
- Total Time: 135 minutes
- Yield: 16 bars 1x
Ingredients
Scale- 1 cup graham cracker crumbs
- 1 cup powdered sugar
- 1 cup creamy peanut butter
- 1/2 cup unsalted butter, melted
- 1 1/2 cups milk chocolate chips
- 1 tablespoon vegetable oil (optional, for smoother chocolate)
Instructions
- In a large mixing bowl, combine the graham cracker crumbs and powdered sugar. Use a whisk to mix well and break up any lumps in the powdered sugar.
- Add the creamy peanut butter and melted unsalted butter to the dry ingredients. Mix until it forms a thick, cohesive mixture. If it feels too crumbly, add a little more peanut butter.
- Line an 8×8 inch baking dish with parchment paper, leaving some overhang.
- Transfer the peanut butter mixture into the prepared baking dish and press it evenly into the bottom. Use a measuring cup to smooth out the surface.
- In a microwave-safe bowl, combine the milk chocolate chips and optional vegetable oil.
- Microwave in 30-second intervals, stirring in between, until melted and smooth (about 1-2 minutes total).
- Pour the melted chocolate over the pressed peanut butter mixture and spread it evenly with a spatula.
- Tap the baking dish lightly on the counter to settle the chocolate and remove air bubbles.
- Chill in the refrigerator for at least 2 hours, or in the freezer for 30-45 minutes until set.
- Once set, lift the bars out of the baking dish using the parchment paper overhang.
- Cut into squares or rectangles with a sharp knife, wiping the knife with a damp cloth between cuts.
- Serve immediately or store in an airtight container in the refrigerator for up to a week. They also freeze well!
Notes
- For a smoother chocolate topping, the vegetable oil is optional but recommended.
- Ensure the chocolate is fully melted to avoid any lumps.
- These bars can be customized with toppings like crushed nuts or sprinkles if desired.

Leave a Comment