
Whole Wheat Bread Recipe That’s Not Dense
Oh, how I used to dread whole wheat bread! Every time I tried, it felt like I was baking a brick. Dense, heavy, and frankly, a bit disappointing. But then, I cracked the code, and now I’m so excited to share my go-to Whole Wheat Bread Recipe That’s Not Dense with you!
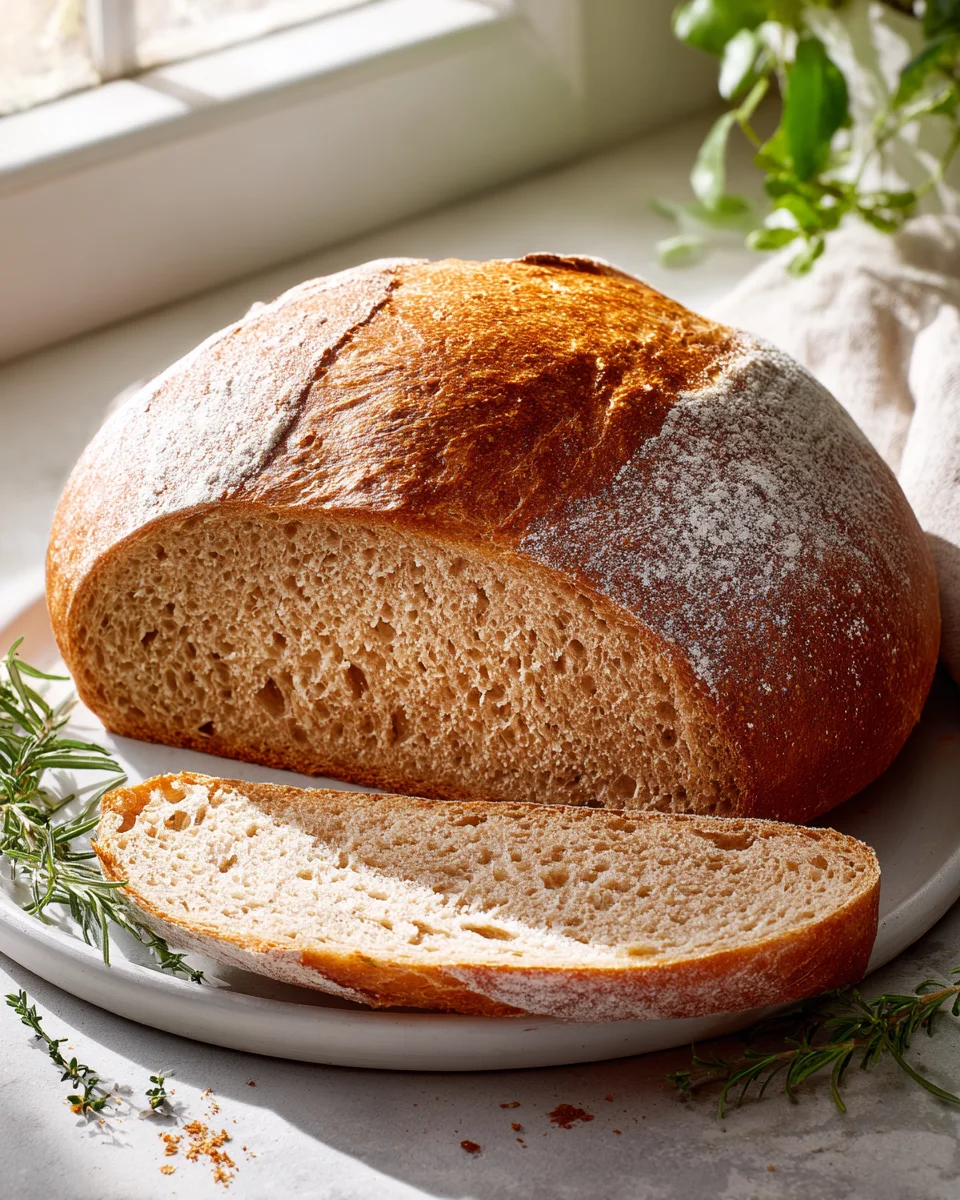
This isn’t just another whole wheat bread recipe; it’s the recipe that will change your perception of healthy baking. What makes it so special, you ask? Well, it’s all in the name – it’s incredibly light and fluffy, something you wouldn’t typically expect from a 100% whole wheat loaf. I’ve perfected the balance to give you a bread that’s got all the goodness of whole grains without any of the brick-like texture. You’ll love biting into a slice that’s airy, tender, and oh-so-satisfying, whether it’s toasted with your favorite spread or part of a hearty sandwich.
Get ready to bake a beautiful, golden-brown loaf that smells amazing and tastes even better. This recipe walks you through the simple steps to achieve a truly wholesome bread that’s soft on the inside with a lovely crust on the outside, proving that healthy can absolutely be delicious and wonderfully light.
Ingredient Notes
Making a whole wheat bread that isn’t dense is absolutely achievable, and it all starts with understanding your ingredients. I’ve refined this recipe over time to ensure that light, fluffy texture we all crave, even with the goodness of whole grains. Here are the key players and why they matter:
- Whole Wheat Flour: Of course, this is our star! For a truly non-dense loaf, I often recommend using a finely ground whole wheat flour if you can find it. The finer grind means less abrasive bran particles to cut the gluten strands, which helps create a more tender crumb. While you can use 100% whole wheat, some bakers (myself included!) find that a blend of about 75-80% whole wheat flour with 20-25% unbleached bread flour can yield an even lighter, chewier loaf without sacrificing too much of the whole grain goodness. For this specific recipe, I’m assuming 100% whole wheat, but keep that blend in mind for future experiments!
- Vital Wheat Gluten: This is my secret weapon for preventing dense whole wheat bread. Whole wheat flour has less gluten-forming protein than white flour, and the bran in it can actually inhibit gluten development. Adding vital wheat gluten boosts the protein content, giving the dough more elasticity and strength. This allows it to trap more gas from the yeast, resulting in a significantly higher rise and a much lighter, airier texture. Don’t skip this if you want truly non-dense whole wheat bread!
- Active Dry or Instant Yeast: Yeast is what makes our bread rise and gives it that wonderful airy structure. I usually opt for active dry yeast, proofing it first to ensure it’s alive and kicking. If you’re using instant yeast, you can often mix it directly with the dry ingredients, but I still like to give it a warm liquid bath to get it going.
- Warm Water (or Milk): The liquid hydrates the flour and activates the yeast. The temperature is crucial – aim for around 105-115°F (40-46°C). Too cold, and the yeast won’t activate; too hot, and you’ll kill it. Milk can add a bit more richness and tenderness to the crumb, but water works perfectly well for a classic, light loaf.
- Honey or Maple Syrup: This isn’t just for sweetness! It’s food for the yeast, helping it to become active and produce more gas, which means more lift for our bread. It also contributes to browning the crust and adds a lovely depth of flavor.
- Vegetable Oil (or Melted Butter): A little fat goes a long way in achieving a soft, non-dense crumb. It tenderizes the dough, making it more pliable and helping to keep the finished bread moist.
- Salt: Essential for flavor, but also plays a vital role in controlling yeast activity and strengthening the gluten structure. Don’t omit it, but also don’t let it come into direct contact with the yeast before mixing.
Step-by-Step Instructions
Ready to bake a whole wheat bread that will surprise you with its lightness? Follow these steps carefully, and you’ll be enjoying a delicious, airy loaf in no time.
- Activate the Yeast (if using active dry): In a large mixing bowl (or the bowl of your stand mixer), combine the warm water (or milk) with the honey or maple syrup. Sprinkle the active dry yeast over the top. Let it sit for 5-10 minutes until it looks foamy and smells yeasty. This confirms your yeast is active and ready to work its magic. If using instant yeast, you can proceed to the next step, but I still like to add it to the warm liquid first.
- Combine Wet and Dry: Once your yeast is activated, stir in the vegetable oil and salt. In a separate bowl, whisk together the whole wheat flour and vital wheat gluten. Gradually add the dry ingredients to the wet ingredients, mixing with a wooden spoon or dough hook on low speed until a shaggy dough forms.
- Knead the Dough: This is a critical step for developing the gluten structure that prevents density. Turn the dough out onto a lightly floured surface (use whole wheat flour if possible, but sparingly!). Knead for 8-10 minutes by hand, or 6-8 minutes with a stand mixer on medium-low speed. The dough should become smooth, elastic, and spring back when poked gently. Don’t be tempted to add too much extra flour during kneading; a slightly sticky dough is often better for a light texture.
- First Rise (Bulk Fermentation): Lightly grease a clean large bowl with a little oil. Place the kneaded dough in the bowl, turning it once to coat the top. Cover the bowl with plastic wrap or a clean kitchen towel. Place it in a warm, draft-free spot (like an oven with the light on) and let it rise for 1 to 1.5 hours, or until it has roughly doubled in size. This rise allows the yeast to produce gases, creating air pockets.
- Shape the Loaf: Gently punch down the risen dough to release the gases. Turn the dough out onto a lightly floured surface. Shape it into a rectangular loaf, being careful not to deflate it too much. My preferred method is to gently pat it into a rectangle, fold the long sides into the middle, then roll it up tightly from one end to the other, pinching the seam closed. Place the shaped loaf, seam-side down, into a lightly greased 9×5-inch loaf pan.
- Second Rise (Proofing): Cover the loaf pan loosely with plastic wrap or a towel. Return it to a warm, draft-free spot and let it rise for another 45-60 minutes, or until it has visibly risen above the rim of the pan and looks puffy. It should pass the “poke test” – when gently poked with a floured finger, the indentation should spring back slowly.
- Preheat Oven & Bake: About 15-20 minutes before the second rise is complete, preheat your oven to 375°F (190°C). Once preheated, place the loaf pan in the center of the oven. Bake for 30-40 minutes, or until the crust is deeply golden brown and the internal temperature reaches 200-210°F (93-99°C) with an instant-read thermometer.
- Cool Completely: This step is just as important as baking! Once out of the oven, immediately remove the bread from the pan and place it on a wire rack to cool completely. Slicing warm bread can lead to a gummy, dense texture, even if it baked up beautifully. Allow it to cool for at least 1-2 hours before slicing and enjoying.
Tips & Suggestions
Achieving a light and airy whole wheat loaf takes a little attention to detail. Here are my top tips to ensure your bread is never dense:
- Don’t Skimp on Kneading: I cannot stress this enough! Whole wheat flour needs extra kneading to develop its gluten network properly, especially with the added vital wheat gluten. A well-kneaded dough is elastic and smooth, which allows it to trap more gas and rise higher. If your dough feels stiff or resistant, keep kneading!
- Hydration is Key: Whole wheat flour absorbs more liquid than white flour. Pay attention to how your dough feels. It should be slightly sticky but manageable. If it feels too dry during kneading, add a teaspoon of water at a time until it reaches the right consistency. Too little water will result in a dry, dense loaf.
- Vital Wheat Gluten is Your Best Friend: Seriously, if you want consistently light whole wheat bread, vital wheat gluten is indispensable. It adds the protein needed to build a strong structure that can withstand the bran particles and lift the loaf beautifully.
- Respect the Rise: Give your dough ample time to rise in a warm, draft-free environment. Under-proofing will result in a dense, heavy loaf, while slight over-proofing (though less common with whole wheat) can lead to collapse. Look for the visual cues: doubled in size for the first rise, and visibly puffy for the second.
- Handle Gently During Shaping: After the first rise, gently deflate the dough. When shaping, try to preserve as many of those precious air bubbles as possible. Don’t aggressively punch it down or knead it vigorously during this stage.
- Check for Doneness with a Thermometer: The visual cues are good, but for perfect doneness and texture every time, an internal temperature of 200-210°F (93-99°C) is ideal. This ensures the bread is fully cooked through without being over-baked and dry.
- Cool Completely: This is truly non-negotiable for a non-dense texture. The internal structure of the bread continues to set as it cools. Slicing hot bread traps steam, leading to a gummy, heavy crumb. Patience here is rewarded!
Storage
Once you’ve baked that beautiful, non-dense whole wheat loaf, you’ll want to keep it fresh for as long as possible. Proper storage is key to maintaining its wonderful texture.
- Room Temperature: For the first 2-3 days, your homemade whole wheat bread will store beautifully at room temperature. Once it has completely cooled (this is critical!), store it in an airtight container, a large zip-top bag, or a specialized bread bag. This helps prevent it from drying out and becoming stale. I often find a clean, breathable linen bread bag followed by a plastic bag works wonders. Avoid refrigerating your bread, as this can actually speed up the staling process, making it dense and dry more quickly.
- Freezing for Longer Storage: If you won’t be eating the entire loaf within a few days, freezing is your best option for long-term freshness without compromising texture.
- Slice First: I highly recommend slicing the cooled loaf before freezing. This way, you can grab just a few slices at a time and defrost only what you need.
- Wrap Properly: Wrap individual slices or small portions tightly in plastic wrap, then place them in a freezer-safe bag or container. For a whole unsliced loaf, wrap it very tightly in plastic wrap, then in aluminum foil, or place it in a large freezer-safe bag.
- Freeze Time: Whole wheat bread can be stored in the freezer for up to 3 months.
- Thawing: To thaw individual slices, simply pop them into a toaster directly from the freezer, or let them sit on the counter for 10-15 minutes. For a whole loaf, remove it from the freezer packaging and let it thaw at room temperature for several hours. You can refresh a thawed loaf by warming it in a 300°F (150°C) oven for about 10-15 minutes.
Final Thoughts
And there you have it! I truly hope you’ve enjoyed baking along with me. This isn’t just any bread recipe; it’s a journey to creating something truly special. I know the common perception of whole wheat bread can be a bit daunting – often thought of as dense and heavy. But I promise you, this Whole Wheat Bread Recipe That’s Not Dense completely shatters that misconception.
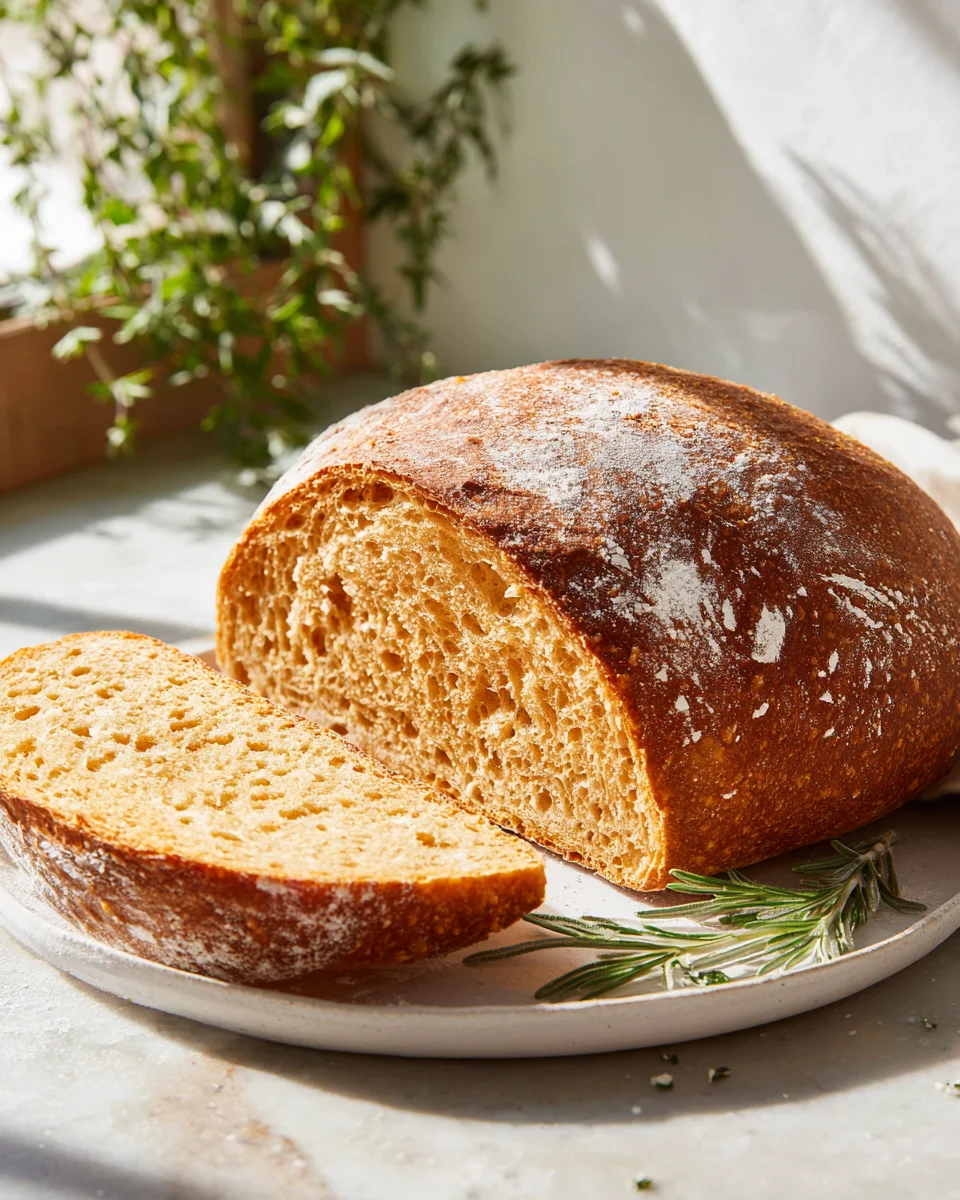
I’ve worked tirelessly to perfect this method, ensuring that every slice is wonderfully light, chewy, and bursting with that wholesome, nutty flavor we all love, without any of the brick-like texture. It’s a recipe that delivers on its promise, transforming simple ingredients into a loaf that’s perfect for sandwiches, toast, or simply enjoyed with a pat of butter. This Whole Wheat Bread Recipe That’s Not Dense is a must-try because it proves that healthy can also be incredibly delicious and delightfully soft. Give it a go, share it with your loved ones, and prepare to fall in love with whole wheat bread all over again!
Perfect Whole Wheat Bread: Light, Fluffy & Never Dense

This Whole Wheat Bread Recipe transforms the perception of healthy baking, delivering a light and fluffy loaf that’s perfect for any occasion. Enjoy a slice that’s airy, tender, and satisfying, whether toasted or as part of a hearty sandwich.
- Prep Time: 15 mins
- Cook Time: 40 mins
- Total Time: 55 minutes
- Yield: 1 loaf 1x
- Category: Bread
- Method: Baking
- Cuisine: American
Ingredients
- 3 cups whole wheat flour
- 1/4 cup vital wheat gluten
- 2 teaspoons active dry or instant yeast
- 1 1/4 cups warm water (or milk)
- 2 tablespoons honey or maple syrup
- 2 tablespoons vegetable oil (or melted butter)
- 1 teaspoon salt
Instructions
- In a large mixing bowl (or the bowl of your stand mixer), combine the warm water (or milk) with the honey or maple syrup. Sprinkle the active dry yeast over the top. Let it sit for 5-10 minutes until it looks foamy and smells yeasty.
- Once your yeast is activated, stir in the vegetable oil and salt. In a separate bowl, whisk together the whole wheat flour and vital wheat gluten. Gradually add the dry ingredients to the wet ingredients, mixing with a wooden spoon or dough hook on low speed until a shaggy dough forms.
- Turn the dough out onto a lightly floured surface. Knead for 8-10 minutes by hand, or 6-8 minutes with a stand mixer on medium-low speed until the dough becomes smooth, elastic, and springs back when poked gently.
- Lightly grease a clean large bowl with a little oil. Place the kneaded dough in the bowl, turning it once to coat the top. Cover the bowl with plastic wrap or a clean kitchen towel. Place it in a warm, draft-free spot and let it rise for 1 to 1.5 hours, or until it has roughly doubled in size.
- Gently punch down the risen dough to release the gases. Turn the dough out onto a lightly floured surface. Shape it into a rectangular loaf, being careful not to deflate it too much. Place the shaped loaf, seam-side down, into a lightly greased 9×5-inch loaf pan.
- Cover the loaf pan loosely with plastic wrap or a towel. Return it to a warm, draft-free spot and let it rise for another 45-60 minutes, or until it has visibly risen above the rim of the pan.
- About 15-20 minutes before the second rise is complete, preheat your oven to 375°F (190°C). Once preheated, place the loaf pan in the center of the oven. Bake for 30-40 minutes, or until the crust is deeply golden brown and the internal temperature reaches 200-210°F (93-99°C).
- Once out of the oven, immediately remove the bread from the pan and place it on a wire rack to cool completely. Allow it to cool for at least 1-2 hours before slicing and enjoying.
Nutrition
- Serving Size: 1 slice
- Calories: 120
- Sugar: 2 g
- Sodium: 150 mg
- Fat: 3 g
- Saturated Fat: 0.5 g
- Unsaturated Fat: 2.5 g
- Trans Fat: 0 g
- Carbohydrates: 20 g
- Fiber: 3 g
- Protein: 5 g
- Cholesterol: 0 mg
Keywords: Ensure to knead the dough well to develop the gluten structure. Whole wheat flour absorbs more liquid, so adjust water as needed during kneading. Vital wheat gluten is essential for a light texture.
Leave a Comment