Easy Gluten Free Pizza Dough: Craving a slice of pizza but avoiding gluten? You’re in the right place! Imagine sinking your teeth into a perfectly crisp, chewy pizza crust, piled high with your favorite toppings, all without a hint of gluten. Sounds too good to be true? It’s not!
Pizza, a culinary staple with roots stretching back to ancient civilizations, has evolved into a global phenomenon. From the wood-fired ovens of Naples to the bustling pizzerias of New York, its simple yet satisfying combination of dough, sauce, and cheese has captivated taste buds for centuries. While traditional pizza dough relies on wheat flour, those with gluten sensitivities or celiac disease often miss out on this beloved dish. But fear not, pizza lovers!
That’s where this easy gluten free pizza dough recipe comes in. People adore pizza for its versatility, its comforting flavors, and its ability to bring people together. This gluten-free version captures all of that magic, offering a delicious and satisfying alternative that everyone can enjoy. The texture is surprisingly similar to traditional pizza dough, boasting a delightful chewiness and a satisfying crispness when baked. Plus, it’s incredibly easy to make, requiring minimal ingredients and effort. Get ready to create your own gluten-free pizza masterpiece!
Ingredients:
- 1 ½ cups (180g) gluten-free all-purpose flour blend with xanthan gum
- 1 teaspoon salt
- 1 teaspoon sugar
- 1 packet (2 ¼ teaspoons) active dry yeast
- 1 cup (240ml) warm water (105-115°F or 40-46°C)
- 2 tablespoons olive oil, plus more for greasing
- Optional: 1 teaspoon Italian seasoning
Preparing the Dough:
- Activate the Yeast: In a large bowl, dissolve the sugar and yeast in the warm water. Let it sit for 5-10 minutes, or until foamy. This step is crucial to ensure your yeast is alive and active, which will give your pizza dough the rise it needs. If the mixture doesn’t foam, your yeast might be old or the water was too hot or cold, and you’ll need to start again with fresh yeast.
- Combine Dry Ingredients: In a separate bowl, whisk together the gluten-free flour blend, salt, and Italian seasoning (if using). Make sure the flour blend you’re using contains xanthan gum. Xanthan gum acts as a binder in gluten-free baking, mimicking the role of gluten in traditional dough. Without it, your dough might be crumbly and difficult to work with.
- Combine Wet and Dry Ingredients: Pour the yeast mixture and olive oil into the bowl with the dry ingredients. Using a stand mixer with a dough hook attachment or a sturdy spoon, mix until a shaggy dough forms. The dough will be quite sticky, which is normal for gluten-free dough. Don’t be tempted to add more flour at this stage, as it can make the pizza crust tough.
- Knead the Dough: If using a stand mixer, knead the dough on medium speed for 5-7 minutes. If kneading by hand, turn the dough out onto a lightly floured surface (using gluten-free flour) and knead for 8-10 minutes. The dough should become smoother and more elastic, but it will still be sticky.
- First Rise: Lightly grease a large bowl with olive oil. Place the dough in the bowl, turning to coat it with the oil. Cover the bowl with plastic wrap or a clean kitchen towel and let it rise in a warm place for 1-1.5 hours, or until doubled in size. The rising time may vary depending on the temperature of your environment. A warm spot will encourage the yeast to work faster.
Shaping and Pre-Baking the Crust:
- Preheat the Oven: Preheat your oven to 450°F (232°C). Place a pizza stone or baking sheet in the oven while it preheats. This will help create a crispy crust. If you don’t have a pizza stone, a regular baking sheet will work just fine.
- Prepare the Baking Surface: Generously dust a piece of parchment paper with gluten-free flour. This will prevent the dough from sticking and make it easier to transfer to the hot pizza stone or baking sheet.
- Shape the Dough: Gently punch down the risen dough to release any air bubbles. Turn the dough out onto the prepared parchment paper. Using your hands or a rolling pin, shape the dough into a 12-inch pizza crust. Gluten-free dough can be a bit more challenging to work with than traditional dough, so be patient and use a light touch. If the dough is too sticky, dust your hands and the rolling pin with more gluten-free flour.
- Pre-Bake the Crust: Carefully transfer the parchment paper with the pizza crust onto the preheated pizza stone or baking sheet. Bake for 8-10 minutes, or until the crust is lightly golden brown. Pre-baking the crust helps it to become firm and prevents it from becoming soggy when you add the toppings.
Adding Toppings and Baking:
- Remove from Oven: Remove the pre-baked crust from the oven.
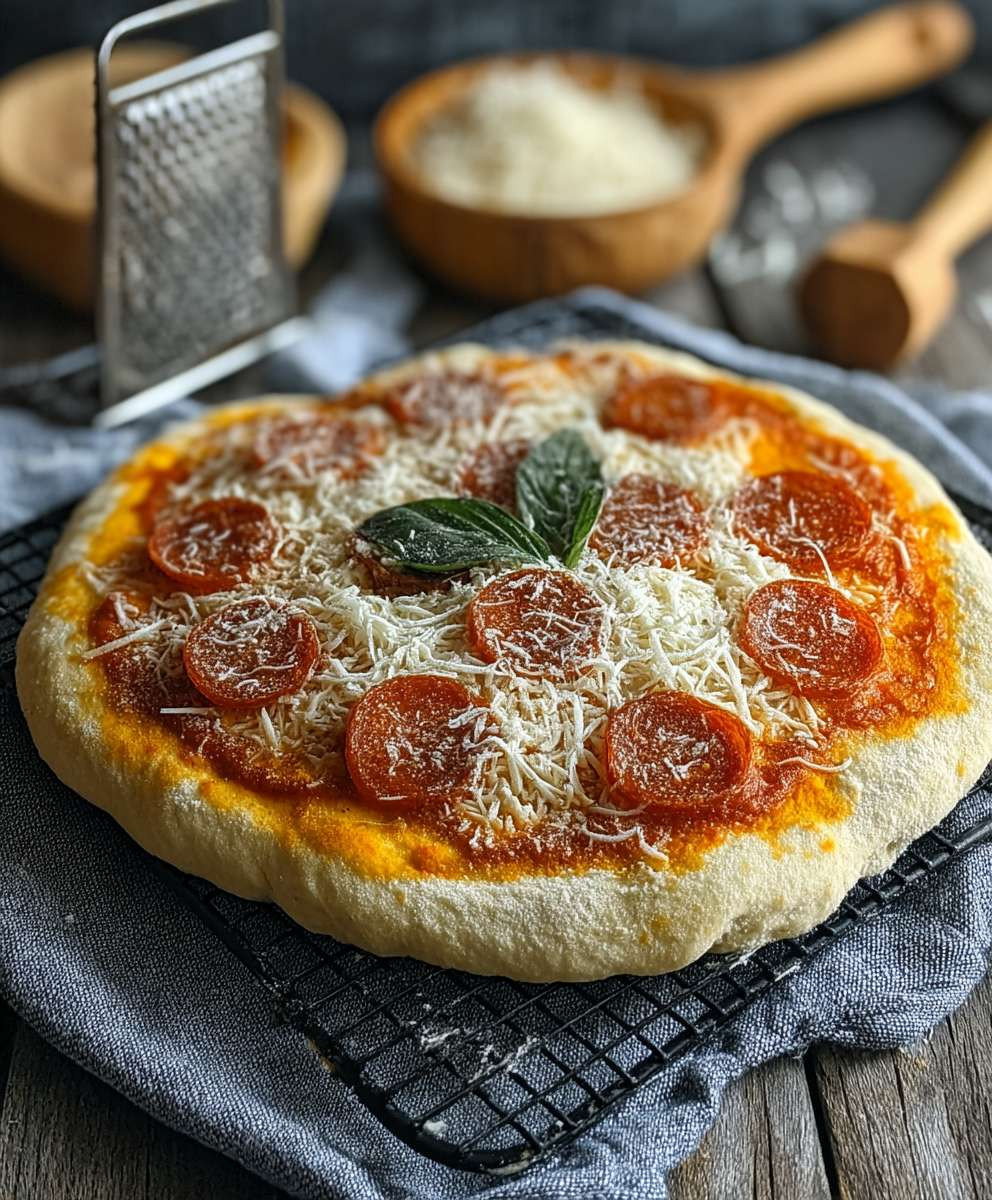
- Add Toppings: Spread your favorite pizza sauce evenly over the crust, leaving a small border for the edge. Sprinkle with your desired toppings, such as mozzarella cheese, pepperoni, vegetables, and herbs. Don’t overload the crust with toppings, as this can make it soggy.
- Bake Again: Return the pizza to the oven and bake for another 8-12 minutes, or until the cheese is melted and bubbly and the crust is golden brown. Keep a close eye on the pizza to prevent the crust from burning.
- Cool Slightly and Serve: Remove the pizza from the oven and let it cool for a few minutes before slicing and serving. This will allow the cheese to set slightly and make it easier to cut.
Tips and Variations:
- Flour Blend: The type of gluten-free flour blend you use can significantly impact the texture of your pizza crust. I recommend using a blend that contains xanthan gum and is specifically designed for baking.
- Yeast: Make sure your yeast is fresh and active. If it doesn’t foam when mixed with warm water and sugar, it’s likely dead and you’ll need to use a new packet.
- Water Temperature: The water temperature is crucial for activating the yeast. It should be warm (105-115°F or 40-46°C), but not too hot, as this can kill the yeast.
- Sticky Dough: Gluten-free dough is naturally stickier than traditional dough. Don’t be tempted to add too much flour, as this can make the crust tough. Instead, use a lightly floured surface and wet your hands to prevent the dough from sticking.
- Pre-Baking: Pre-baking the crust is essential for preventing a soggy pizza. It helps to firm up the dough and create a crispy base.
- Toppings: Feel free to customize your pizza with your favorite toppings. Get creative and experiment with different combinations of sauces, cheeses, meats, and vegetables.
- Herbs and Spices: Adding herbs and spices to the dough can enhance the flavor of your pizza crust. Try adding Italian seasoning, garlic powder, or onion powder to the dry ingredients.
- Cheese: Mozzarella cheese is a classic pizza topping, but you can also use other types of cheese, such as provolone, cheddar, or Parmesan.
- Sauce: Use your favorite pizza sauce or try making your own homemade sauce.
- Storage: Leftover pizza can be stored in the refrigerator for up to 3 days. Reheat in the oven or microwave before serving.
- Freezing: You can freeze the pre-baked pizza crust for later use. Wrap it tightly in plastic wrap and store it in the freezer for up to 2 months. When ready to use, thaw the crust completely and then add your toppings and bake as directed.
Conclusion:
This Easy Gluten Free Pizza Dough recipe isn’t just another gluten-free alternative; it’s a game-changer. I truly believe that once you try it, you’ll be making pizza night a regular occurrence again, regardless of your dietary needs. The texture is spot-on – delightfully chewy with a satisfying crispness on the bottom, and the flavor is fantastic, providing the perfect blank canvas for all your favorite toppings. Forget those store-bought, cardboard-like crusts; this homemade version is infinitely better and surprisingly simple to make.
But the best part? It’s incredibly versatile! While I’ve shared my go-to method, feel free to experiment and make it your own. For a richer flavor, try adding a tablespoon of olive oil directly to the dough. If you prefer a slightly sweeter crust, a teaspoon of honey or maple syrup can do the trick. And don’t limit yourself to just pizza! This dough also works beautifully for flatbreads, calzones, or even gluten-free breadsticks.
Serving Suggestions and Variations:
* Classic Margherita: Top with fresh tomato sauce, mozzarella, and basil leaves after baking. A drizzle of olive oil adds the perfect finishing touch.
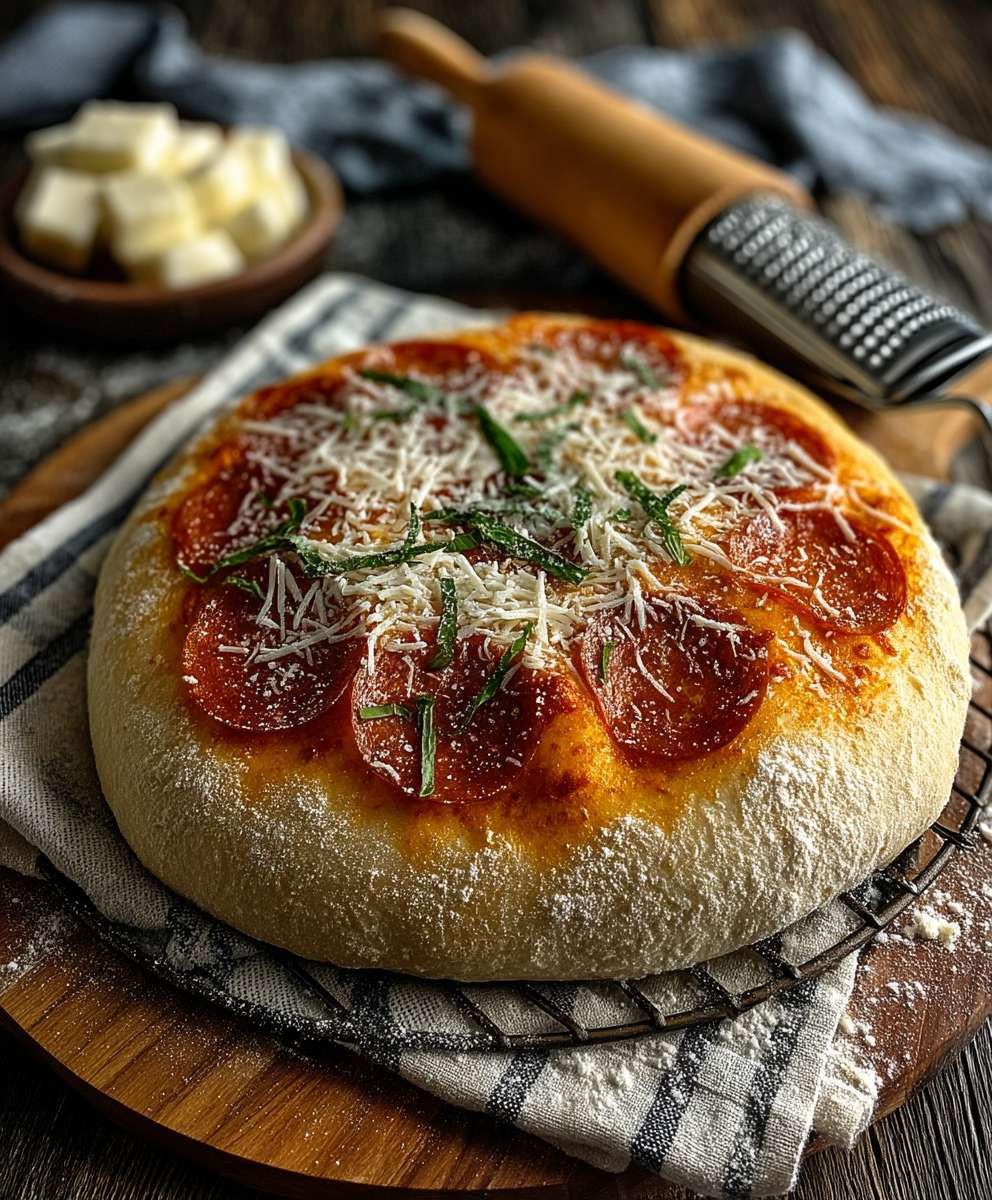
* Pepperoni Perfection: A timeless favorite! Load it up with your favorite pepperoni, mozzarella, and a sprinkle of oregano.
* Veggie Delight: Get creative with your vegetables! Roasted bell peppers, onions, mushrooms, zucchini, and olives make a delicious and healthy pizza.
* BBQ Chicken Pizza: Use BBQ sauce instead of tomato sauce, top with grilled chicken, red onion, cilantro, and a blend of cheddar and mozzarella cheese.
* Dessert Pizza: Spread Nutella or a similar chocolate hazelnut spread on the baked crust, top with sliced bananas, strawberries, and a dusting of powdered sugar.
Beyond toppings, consider different cheeses! Provolone, ricotta, parmesan, and even goat cheese can add unique flavors and textures to your pizza. Don’t be afraid to mix and match to create your perfect pizza masterpiece.
I’ve also found that pre-baking the crust for a few minutes before adding toppings helps to prevent a soggy bottom, especially if you’re using a lot of moisture-rich ingredients. Just bake the crust for about 5-7 minutes at 400°F (200°C) before adding your toppings and continuing to bake until the cheese is melted and bubbly.
This Easy Gluten Free Pizza Dough is more than just a recipe; it’s an invitation to rediscover the joy of homemade pizza. It’s about creating memories with family and friends, experimenting with flavors, and enjoying a delicious meal that everyone can enjoy.
So, what are you waiting for? Gather your ingredients, preheat your oven, and get ready to experience the best gluten-free pizza you’ve ever had. I’m confident that you’ll love this recipe as much as I do.
I’m so excited for you to try this recipe! Once you’ve made it, please come back and share your experience in the comments below. I’d love to hear about your favorite toppings, any variations you tried, and how it turned out for you. Your feedback is invaluable and helps me to continue creating recipes that you’ll love. Happy pizza making!
Easy Gluten Free Pizza Dough: The Ultimate Guide
Easy gluten-free pizza crust that's crispy, delicious, and perfect for all your favorite toppings! This recipe uses a gluten-free flour blend and simple techniques to create a satisfying pizza experience.
Ingredients
Instructions
Recipe Notes
- The type of gluten-free flour blend you use can significantly impact the texture of your pizza crust. I recommend using a blend that contains xanthan gum and is specifically designed for baking.
- Make sure your yeast is fresh and active. If it doesn’t foam when mixed with warm water and sugar, it’s likely dead and you’ll need to use a new packet.
- The water temperature is crucial for activating the yeast. It should be warm (105-115°F or 40-46°C), but not too hot, as this can kill the yeast.
- Gluten-free dough is naturally stickier than traditional dough. Don’t be tempted to add too much flour, as this can make the crust tough. Instead, use a lightly floured surface and wet your hands to prevent the dough from sticking.
- Pre-baking the crust is essential for preventing a soggy pizza. It helps to firm up the dough and create a crispy base.
- Feel free to customize your pizza with your favorite toppings. Get creative and experiment with different combinations of sauces, cheeses, meats, and vegetables.
- Adding herbs and spices to the dough can enhance the flavor of your pizza crust. Try adding Italian seasoning, garlic powder, or onion powder to the dry ingredients.
- Mozzarella cheese is a classic pizza topping, but you can also use other types of cheese, such as provolone, cheddar, or Parmesan.
- Use your favorite pizza sauce or try making your own homemade sauce.
- Leftover pizza can be stored in the refrigerator for up to 3 days. Reheat in the oven or microwave before serving.
- You can freeze the pre-baked pizza crust for later use. Wrap it tightly in plastic wrap and store it in the freezer for up to 2 months. When ready to use, thaw the crust completely and then add your toppings and bake as directed.


Leave a Comment