
Easy Garlic Bread Rolls, fresh from the oven, are the ultimate comfort food, and I’m thrilled to share my foolproof recipe with you! Imagine sinking your teeth into a warm, pillowy roll, bursting with the savory aroma of garlic and herbs, and dripping with melted butter. Sounds divine, right?
Garlic bread, in its various forms, has been a culinary staple for centuries. Its roots can be traced back to ancient civilizations where bread was a primary food source and garlic was prized for its medicinal and flavor-enhancing properties. While the modern version we know and love likely evolved alongside the rise of Italian-American cuisine, the simple combination of bread, garlic, and fat has resonated across cultures and generations.
What makes easy garlic bread rolls so irresistible? It’s the perfect marriage of textures – the soft, yielding interior of the roll contrasted with the slightly crisp, golden-brown crust. The garlicky, buttery flavor is undeniably addictive, making it a crowd-pleaser for any occasion. Plus, these rolls are incredibly versatile. Serve them as a side dish with pasta, soup, or salad, or enjoy them as a satisfying snack on their own. And the best part? They’re surprisingly easy to make, even for beginner bakers! So, let’s get started and fill your kitchen with the irresistible aroma of freshly baked garlic bread!

Ingredients:
- 1 package (0.25 ounce) active dry yeast
- 1/4 cup warm water (105-115°F)
- 1 cup warm milk (105-115°F)
- 1/4 cup granulated sugar
- 1 teaspoon salt
- 1/4 cup melted unsalted butter, plus more for brushing
- 3 1/4 – 3 3/4 cups all-purpose flour, plus more for dusting
Garlic Butter Topping:
- 1/2 cup (1 stick) unsalted butter, softened
- 4 cloves garlic, minced
- 1/4 cup chopped fresh parsley
- 1/4 teaspoon garlic powder
- 1/4 teaspoon salt
- 1/8 teaspoon black pepper
Instructions:
Preparing the Dough:
- Activate the Yeast: In a large bowl, dissolve the yeast in the warm water. Let it stand for 5-10 minutes, or until foamy. This step is crucial to ensure your yeast is alive and active, which will help your rolls rise properly. If the yeast doesn’t foam, it’s likely dead, and you’ll need to start with a fresh package.
- Combine Wet Ingredients: Add the warm milk, sugar, salt, and melted butter to the yeast mixture. Stir well to combine. The warmth of the milk is important for activating the yeast, but make sure it’s not too hot, as that can kill the yeast.
- Gradually Add Flour: Gradually add the flour, one cup at a time, mixing well after each addition. Start with 3 1/4 cups of flour. You may need to add more flour until the dough comes together and forms a soft, slightly sticky ball. The amount of flour needed can vary depending on the humidity and the type of flour you’re using.
- Knead the Dough: Turn the dough out onto a lightly floured surface. Knead the dough for 5-7 minutes, or until it is smooth and elastic. If the dough is too sticky, add a little more flour, one tablespoon at a time. Kneading develops the gluten in the flour, which gives the rolls their structure and chewiness. You can also use a stand mixer with a dough hook attachment to knead the dough.
- First Rise: Place the dough in a lightly greased bowl, turning to coat all sides. Cover the bowl with plastic wrap or a clean kitchen towel. Let the dough rise in a warm place for 1-1.5 hours, or until doubled in size. A warm environment helps the yeast to work its magic and allows the dough to rise properly. You can place the bowl in a slightly warmed oven (turned off) or near a sunny window.
Shaping the Rolls:
- Punch Down the Dough: Gently punch down the dough to release the air. This helps to redistribute the yeast and create a more even texture in the rolls.
- Divide the Dough: Turn the dough out onto a lightly floured surface. Divide the dough into 12 equal pieces. You can use a kitchen scale to ensure that each piece is the same size, which will result in evenly baked rolls.
- Shape the Rolls: Roll each piece of dough into a smooth ball. To do this, cup your hand over the dough and move it in a circular motion on the counter. This will create tension on the surface of the dough, resulting in a smooth, round ball.
- Arrange the Rolls: Place the rolls in a greased 9×13 inch baking dish. Arrange them evenly in the dish, leaving a little space between each roll. This will allow them to rise and bake evenly.
- Second Rise: Cover the baking dish with plastic wrap or a clean kitchen towel. Let the rolls rise in a warm place for 30-45 minutes, or until they have almost doubled in size. This second rise is important for creating light and fluffy rolls.
Preparing the Garlic Butter:
- Combine Ingredients: While the rolls are rising for the second time, prepare the garlic butter. In a small bowl, combine the softened butter, minced garlic, chopped parsley, garlic powder, salt, and pepper. Mix well until all ingredients are evenly distributed. Make sure your butter is softened to room temperature for easy mixing.
Baking the Rolls:
- Preheat Oven: Preheat your oven to 375°F (190°C). Make sure your oven is properly preheated before baking the rolls, as this will ensure that they bake evenly.
- Brush with Garlic Butter: Once the rolls have finished their second rise, brush them generously with the garlic butter. Be sure to get the garlic butter into all the nooks and crannies of the rolls.
- Bake: Bake the rolls for 20-25 minutes, or until they are golden brown and cooked through. The baking time may vary depending on your oven, so keep an eye on the rolls and check them for doneness.
- Optional: Brush with Melted Butter: Remove the rolls from the oven and brush them with melted butter. This will give them a beautiful shine and add extra flavor.
- Serve: Let the rolls cool slightly before serving. These garlic bread rolls are best served warm.
Tips and Variations:
- Cheese: Add shredded Parmesan cheese or mozzarella cheese to the garlic butter for extra flavor. Sprinkle the cheese over the rolls before baking.
- Herbs: Experiment with different herbs, such as oregano, basil, or thyme, in the garlic butter.
- Spicy: Add a pinch of red pepper flakes to the garlic butter for a little heat.
- Make Ahead: You can prepare the dough ahead of time and store it in the refrigerator for up to 24 hours. When you’re ready to bake the rolls, let the dough come to room temperature for about 30 minutes before shaping and baking.
- Freezing: Baked garlic bread rolls can be frozen for up to 2 months. Let them cool completely before wrapping them tightly in plastic wrap and then in foil. To reheat, thaw the rolls in the refrigerator overnight and then warm them in a low oven (300°F) for about 10-15 minutes.
- Garlic Infusion: For a more intense garlic flavor, you can infuse the butter with garlic before making the garlic butter. To do this, melt the butter in a saucepan over low heat. Add the minced garlic and cook for a few minutes, until fragrant. Remove from heat and let the garlic infuse the butter for about 30 minutes. Strain the butter through a fine-mesh sieve to remove the garlic solids.
- Using a Stand Mixer: If you have a stand mixer, you can use it to make the dough. Use the dough hook attachment and mix the ingredients on low speed until the dough comes together. Then, increase the speed to medium and knead the dough for 5-7 minutes, or until it is smooth and elastic.
- Ensuring a Warm Place for Rising: If you’re having trouble finding a warm place for the dough to rise, you can try placing it in a slightly warmed oven (turned off). Alternatively, you can place the bowl of dough on top of the refrigerator or near a sunny window. The key is to find a spot that is consistently warm but not too hot.
- Adjusting Sweetness: If you prefer a less sweet roll, you can reduce the amount of sugar in the dough. You can also use honey or maple syrup instead of granulated sugar.
- Salted Butter: If you only have salted butter on hand, you can use it. Just reduce the amount of salt in the dough and garlic butter accordingly.
- Milk Alternatives: You can use milk alternatives like almond milk, soy milk, or oat milk in this recipe. Just make sure the milk is warm before adding it to the yeast mixture.
- Flour Types: While all-purpose flour is recommended, you can experiment with other types of flour, such as bread flour or whole wheat flour. Bread flour will give the rolls a slightly chewier texture, while whole wheat flour will add a nutty flavor.
Conclusion:
These Easy Garlic Bread Rolls are more than just a side dish; they’re a warm, comforting hug in bread form, and I truly believe you need to experience them! The simplicity of the recipe combined with the incredible flavor payoff makes them an absolute must-try for any home cook, regardless of skill level. Seriously, if you’re looking for a guaranteed crowd-pleaser that requires minimal effort, look no further.
Think about it: perfectly soft, pillowy rolls, infused with the pungent aroma of garlic and the richness of butter, all baked to a golden-brown perfection. What’s not to love? They’re the ideal accompaniment to pasta night, a hearty soup, or even just enjoyed on their own as a satisfying snack. Plus, the recipe is so adaptable!
Serving Suggestions and Variations:
Don’t be afraid to get creative! For a cheesy twist, sprinkle some shredded Parmesan or mozzarella cheese on top during the last few minutes of baking. The melted cheese adds a delightful gooeyness that complements the garlic flavor perfectly. You could also add a pinch of red pepper flakes to the garlic butter mixture for a subtle kick of heat. If you’re feeling adventurous, try incorporating some fresh herbs like parsley, oregano, or rosemary into the butter for an extra layer of flavor.
Another fantastic variation is to use different types of rolls. While I personally love using soft dinner rolls, you could also experiment with sourdough rolls for a tangier flavor or even pretzel rolls for a chewier texture. The possibilities are endless!
These Easy Garlic Bread Rolls are also fantastic served warm with a side of marinara sauce for dipping. Imagine the warm, garlicky bread dunked into the tangy tomato sauce – pure bliss! They’re also a great addition to any potluck or barbecue, guaranteed to be a hit with everyone.
I’ve made these rolls countless times, and they always disappear in a flash. They’re the perfect way to elevate any meal and bring a little bit of joy to the table. And the best part? They’re so easy to make that even the busiest weeknight feels manageable.
So, what are you waiting for? Gather your ingredients, preheat your oven, and get ready to experience the magic of homemade garlic bread rolls. I promise you won’t be disappointed.
I’m so confident that you’ll love this recipe that I’m practically begging you to try it! And once you do, I’d absolutely love to hear about your experience. Did you try any of the variations I suggested? Did you serve them with a particular meal? What did your family and friends think?
Please, please, please leave a comment below and share your thoughts! Your feedback is invaluable, and it helps me to create even better recipes for you in the future. Plus, I just love hearing about your culinary adventures!
Don’t forget to snap a picture of your beautiful Easy Garlic Bread Rolls and tag me on social media! I can’t wait to see your creations. Happy baking!
Easy Garlic Bread Rolls: The Ultimate Recipe
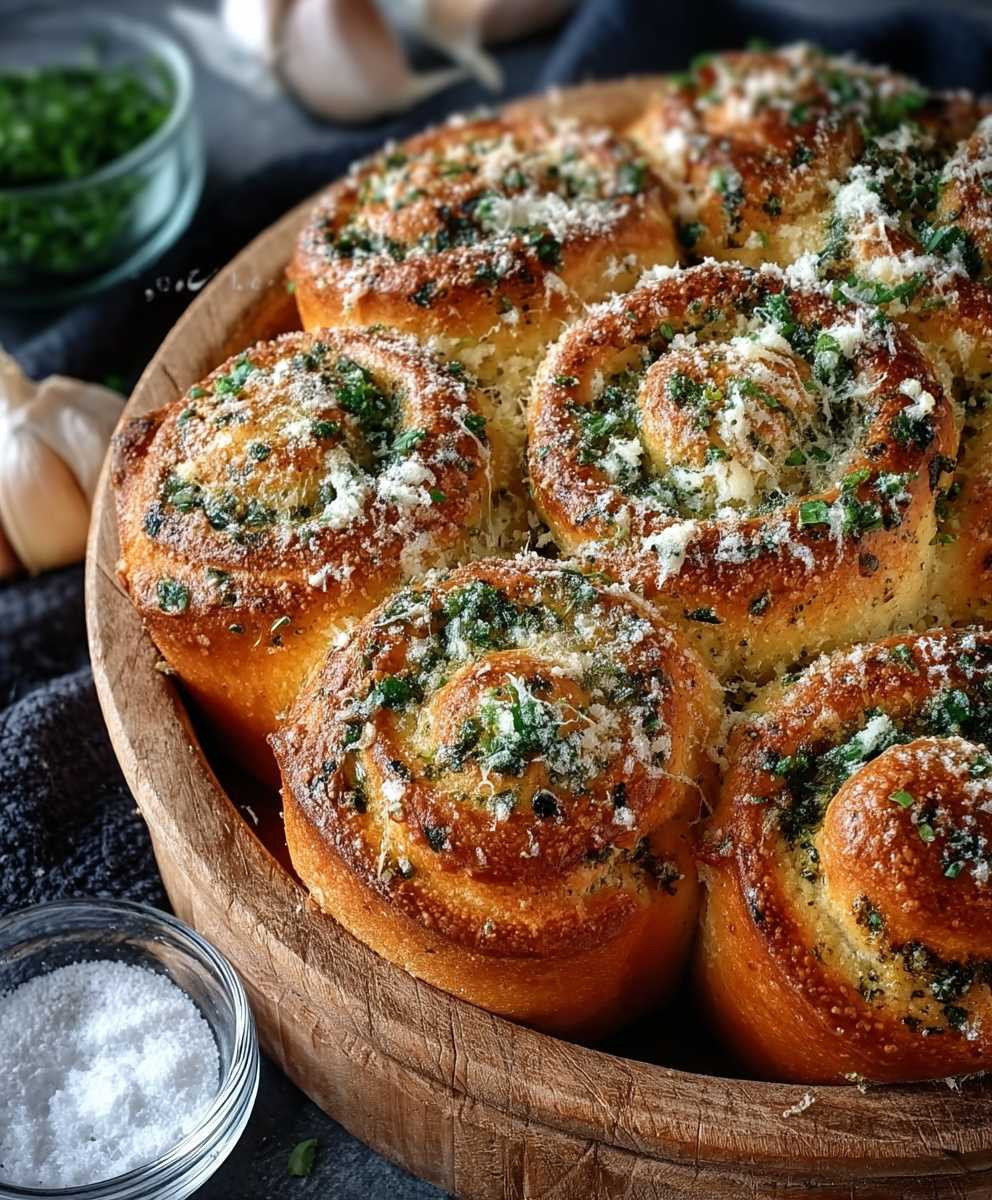
Soft, fluffy garlic bread rolls brushed with a flavorful garlic butter topping. Perfect as a side dish or appetizer!
Ingredients
Instructions
Recipe Notes
- Make sure your yeast is active by checking for foam after dissolving it in warm water. If it doesn’t foam, the yeast is likely dead.
- The amount of flour needed may vary depending on humidity and flour type.
- Kneading develops gluten, giving the rolls structure and chewiness.
- A warm environment is crucial for the dough to rise properly.
- Use a kitchen scale to divide the dough evenly for uniformly sized rolls.
- Soften the butter to room temperature for easy mixing of the garlic butter.
- Baking time may vary depending on your oven.
- For a more intense garlic flavor, infuse the butter with garlic before making the garlic butter.
- You can prepare the dough ahead of time and store it in the refrigerator for up to 24 hours.
- Baked garlic bread rolls can be frozen for up to 2 months.
- Experiment with different herbs, such as oregano, basil, or thyme, in the garlic butter.
- Add a pinch of red pepper flakes to the garlic butter for a little heat.
- Add shredded Parmesan cheese or mozzarella cheese to the garlic butter for extra flavor.


Leave a Comment