
Brown Sugar Pop Tarts: A Homemade Delight
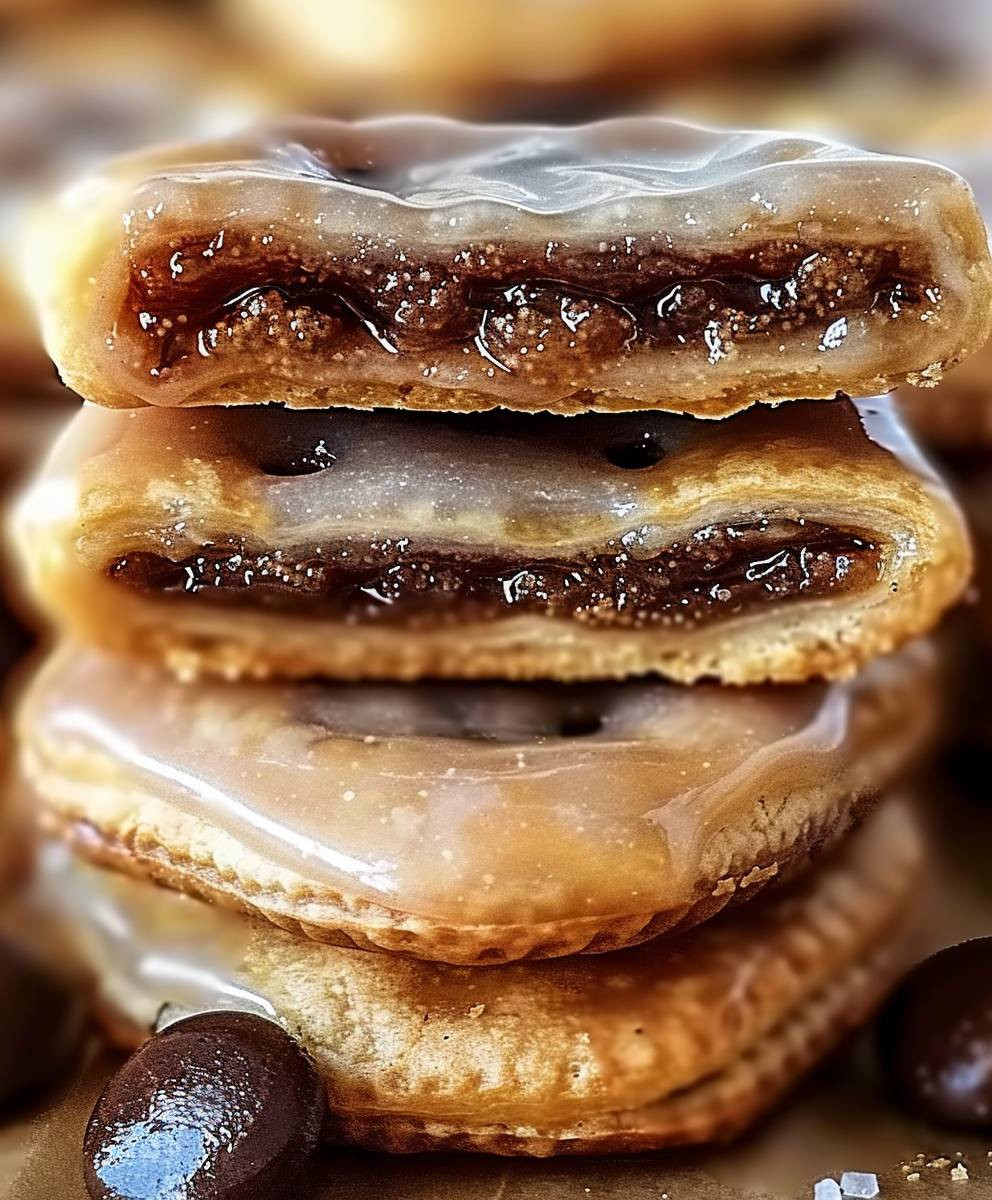
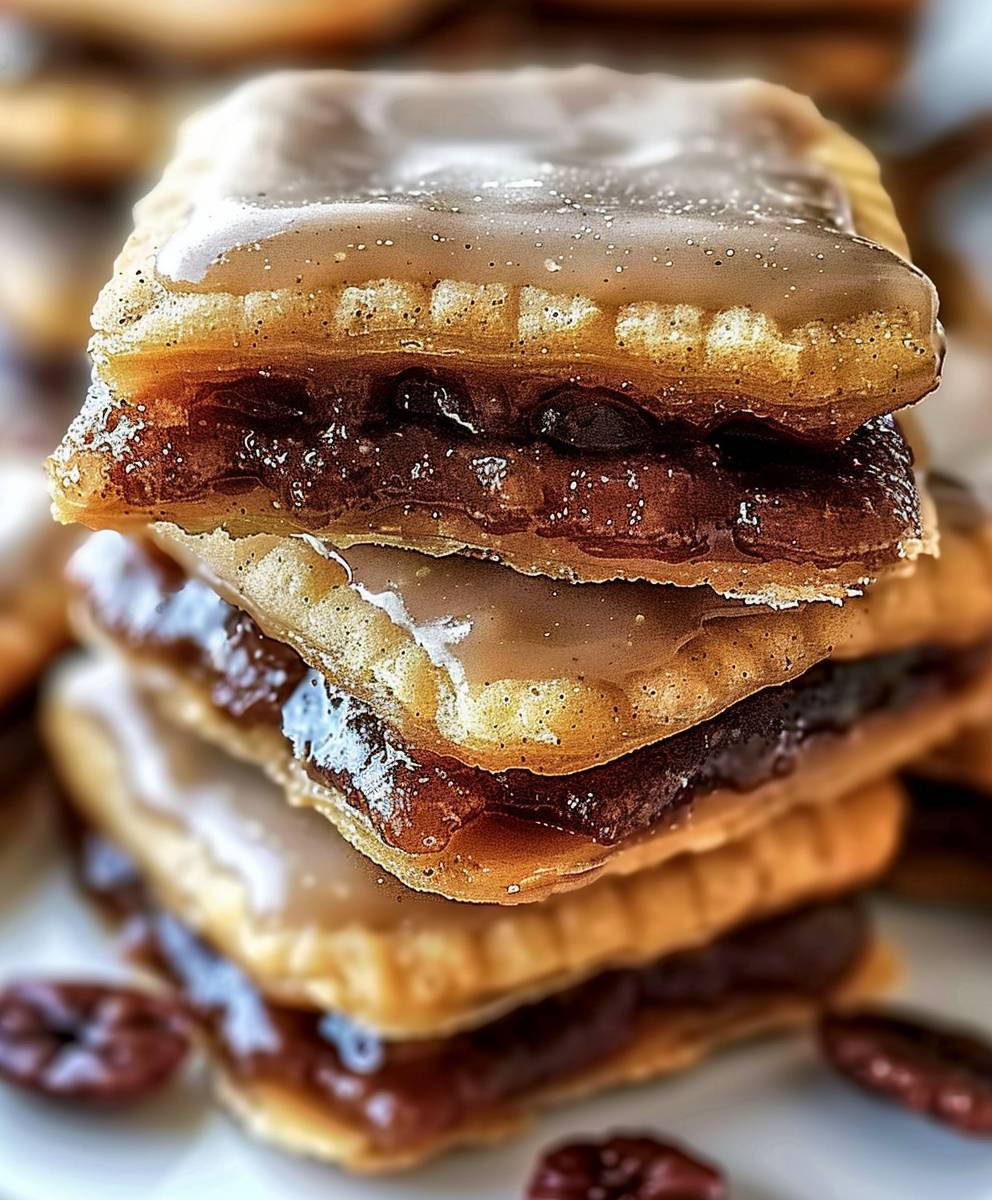
Brown Sugar Pop Tarts: Just the name conjures up images of warm, buttery pastry filled with a sweet, gooey brown sugar center. But these aren’t your average store-bought pop tarts; these are homemade, and they’re infinitely better. I’ve perfected this recipe over years, tweaking and tasting until I achieved the perfect balance of flaky crust and intensely flavorful filling. Forget those mass-produced imitations; prepare yourself for a taste sensation that will redefine your expectations.
While the pop tart itself is a relatively modern invention, the concept of a sweet, filled pastry has roots stretching back centuries. Think of the humble hand pies and turnovers enjoyed across various cultures – each a testament to the enduring human love for a delicious, portable treat. My Brown Sugar Pop Tarts recipe takes inspiration from these classic pastries, offering a modern twist on a timeless tradition.
What makes these Brown Sugar Pop Tarts so irresistible? It’s the perfect combination of factors. The buttery, slightly crisp pastry melts in your mouth, providing a delightful contrast to the warm, gooey brown sugar filling. The sweetness is balanced perfectly, avoiding any cloying aftertaste. And let’s be honest, the convenience factor is a huge plus! These are perfect for a quick breakfast, a satisfying afternoon snack, or even a delightful dessert. They’re also incredibly versatile; feel free to experiment with different fillings or glazes to create your own unique variations.
So, are you ready to embark on a culinary adventure and create your own batch of these delectable Brown Sugar Pop Tarts? Let’s get started!
Ingredients:
- For the Crust:
- 2 ½ cups all-purpose flour
- 1 tsp salt
- 1 cup (2 sticks) unsalted butter, very cold and cut into cubes
- ½ cup ice water
- For the Filling:
- 1 cup packed light brown sugar
- ½ cup granulated sugar
- 2 tbsp cornstarch
- ¼ tsp ground cinnamon
- ¼ tsp ground nutmeg
- Pinch of salt
- ½ cup water
- 1 tbsp unsalted butter
- For the Glaze:
- 1 cup powdered sugar
- 2-4 tbsp milk
- ½ tsp vanilla extract
Making the Pie Crust
- In a large bowl, whisk together the flour and salt. Cut in the cold butter using a pastry blender or your fingers until the mixture resembles coarse crumbs. I like to work quickly to keep the butter cold.
- Gradually add the ice water, a tablespoon at a time, mixing lightly until the dough just comes together. Don’t overmix! Overmixing will make the crust tough.
- Form the dough into two discs, one slightly larger than the other. Wrap each disc in plastic wrap and refrigerate for at least 30 minutes. This chilling step is crucial for preventing shrinkage during baking.
Preparing the Brown Sugar Filling
- In a medium saucepan, whisk together the brown sugar, granulated sugar, cornstarch, cinnamon, nutmeg, and salt. Make sure there are no lumps of cornstarch.
- Gradually whisk in the water until smooth. This prevents lumps from forming later.
- Cook over medium heat, stirring constantly, until the mixture comes to a boil and thickens, about 2-3 minutes. It’s important to stir constantly to prevent burning.
- Remove from heat and stir in the tablespoon of butter. Let the filling cool completely before assembling the pop tarts.
Assembling the Pop Tarts
- On a lightly floured surface, roll out the larger disc of dough into a 12×10 inch rectangle. I find it helpful to use a rolling pin with guides to ensure even thickness.
- Using a sharp knife or pizza cutter, cut the rectangle in half lengthwise, creating two 6×10 inch rectangles. These will be the bottom crusts of your pop tarts.
- Spread half of the cooled brown sugar filling evenly over each rectangle, leaving about a ½ inch border. Don’t overfill; otherwise, the filling might leak during baking.
- Roll out the second, smaller disc of dough into a slightly smaller rectangle, approximately 11×9 inches. Again, aim for even thickness.
- Cut this rectangle in half lengthwise, creating two 5.5×9 inch rectangles. These will be the top crusts of your pop tarts.
- Carefully place a top crust over each filled bottom crust. Press the edges firmly to seal. Use a fork to crimp the edges for a decorative finish and to ensure a good seal.
- Cut each pop tart into individual pastries using a sharp knife or pizza cutter. I usually cut each rectangle into three smaller rectangles, resulting in six pop tarts per batch.
- Use a sharp knife to cut several slits in the top of each pop tart to allow steam to escape during baking. This prevents them from puffing up too much.
Baking the Pop Tarts
- Preheat your oven to 375°F (190°C). Line a baking sheet with parchment paper.
- Place the assembled pop tarts onto the prepared baking sheet, leaving some space between each one.
- Bake for 20-25 minutes, or until the crust is golden brown and the filling is bubbly. Keep an eye on them to prevent burning. Oven temperatures can vary.
- Remove from the oven and let the pop tarts cool completely on a wire rack before glazing.
Making and Applying the Glaze
- In a small bowl, whisk together the powdered sugar, milk, and vanilla extract until smooth. Add more milk, one teaspoon at a time, if needed to reach your desired consistency. I prefer a slightly thicker glaze.
- Once the pop tarts are completely cool, drizzle the glaze over the top of each one. You can use a spoon or a piping bag for a more elegant look.
- Let the glaze set completely before serving. Enjoy your homemade brown sugar pop tarts!
Conclusion:
So there you have it – my recipe for the ultimate Brown Sugar Pop Tarts! I truly believe this recipe is a must-try for several reasons. First, the flavor is simply irresistible. That rich, warm brown sugar filling, perfectly balanced with a touch of cinnamon, is a taste sensation that will transport you back to childhood (or create some wonderfully nostalgic new memories!). Second, these pop tarts are surprisingly easy to make. While they involve a few steps, each one is straightforward and manageable, even for beginner bakers. You’ll be amazed at how rewarding it is to create something so delicious from scratch.
Third, and perhaps most importantly, these Brown Sugar Pop Tarts offer a level of customization that’s hard to beat. You’re in complete control of the ingredients, allowing you to tailor the recipe to your preferences. Want a little more cinnamon? Go for it! Prefer a different type of sugar? Experiment! The beauty of homemade baking lies in its flexibility, and these pop tarts are a perfect example of that.
Serving Suggestions & Variations:
These Brown Sugar Pop Tarts are fantastic on their own, enjoyed warm or at room temperature with a cup of coffee or tea. However, I encourage you to get creative with your serving suggestions! A scoop of vanilla ice cream or a dollop of whipped cream elevates them to a truly decadent dessert. For a fun twist, try serving them slightly warmed with a drizzle of caramel sauce or a sprinkle of powdered sugar. The possibilities are endless!
Feeling adventurous? Why not experiment with different fillings? A brown sugar and pecan filling would be divine, or perhaps a brown sugar and cream cheese swirl. You could even incorporate other spices like nutmeg or cardamom for a unique flavor profile. If you’re feeling particularly ambitious, try making a gluten-free version using your favorite gluten-free pastry dough. The possibilities are truly endless!
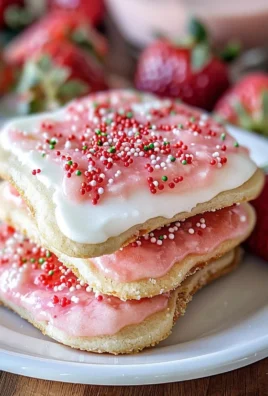
Another fantastic variation is to play with the glaze. Instead of a simple powdered sugar glaze, try a cream cheese glaze, a lemon glaze, or even a chocolate glaze. Each glaze will add a different dimension of flavor and texture to your Brown Sugar Pop Tarts, making each batch a unique culinary experience.
Don’t Forget the Frosting!
While the recipe provides a simple powdered sugar glaze, don’t be afraid to experiment with different frostings. A cream cheese frosting would add a tangy contrast to the sweet filling, while a chocolate ganache would create a rich and decadent treat. You could even get creative with colored frostings to match a holiday or special occasion.
Share Your Baking Journey!
I genuinely hope you enjoy making these Brown Sugar Pop Tarts as much as I enjoyed creating this recipe for you. It’s incredibly rewarding to bake something delicious from scratch, and these pop tarts are a perfect example of that. Once you’ve had a chance to try them, I’d love to hear about your experience! Share your photos and feedback on social media using #BrownSugarPopTarts – I can’t wait to see your creations!
So, what are you waiting for? Gather your ingredients, preheat your oven, and get ready to embark on a delicious baking adventure. These Brown Sugar Pop Tarts are waiting to be made, and I know you won’t be disappointed. Happy baking!
Brown Sugar Pop Tarts: A Delicious Breakfast Treat
Crispy, flaky homemade pop tarts filled with a sweet and spiced brown sugar filling and topped with a creamy vanilla glaze.
Ingredients
Instructions
Recipe Notes
- Chilling the dough is crucial for preventing shrinkage.
- Don’t overfill the pop tarts, or the filling may leak.
- Oven temperatures vary; adjust baking time as needed.
- A thicker glaze is recommended.


Leave a Comment