
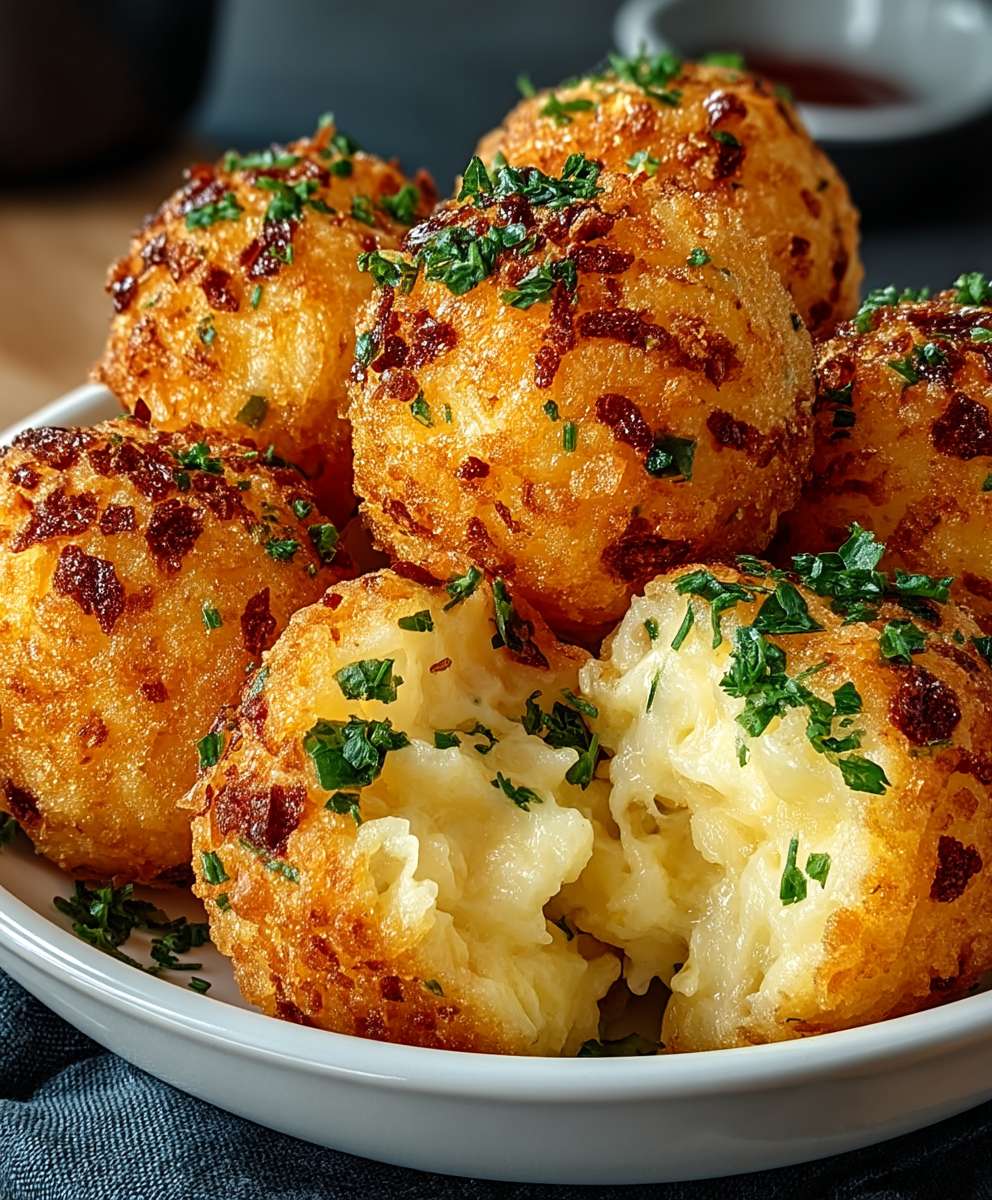
Air Fryer Mashed Potato Balls: Prepare to be amazed! What if I told you that you could transform leftover mashed potatoes into crispy, golden-brown spheres of pure deliciousness with minimal effort? These aren’t your grandma’s mashed potatoes (unless your grandma is a culinary genius with an air fryer!). We’re taking comfort food to a whole new level.
While the exact origins of fried mashed potato balls are a bit hazy, the concept of repurposing leftovers is as old as cooking itself. Cultures around the world have long found creative ways to transform humble ingredients into something special. Think of Italian arancini or Spanish croquetas – these are culinary cousins to our delightful air fryer mashed potato balls. The beauty of this recipe lies in its simplicity and adaptability.
People adore this dish for several reasons. First, the texture is simply irresistible: a satisfyingly crunchy exterior gives way to a soft, creamy interior. Second, the flavor is pure comfort – the familiar taste of mashed potatoes elevated with a touch of seasoning and that irresistible fried goodness. Finally, it’s incredibly convenient! Got leftover mashed potatoes? Great! You’re halfway to a fantastic appetizer, side dish, or even a fun snack. Plus, using the air fryer means less oil and a healthier take on a classic indulgence. So, let’s get started and turn those leftover mashed potatoes into something truly extraordinary!
Ingredients:
- 2 lbs Russet Potatoes, peeled and quartered
- 1/2 cup Milk (whole milk recommended for richness)
- 4 tbsp Butter, unsalted
- 1/4 cup Sour Cream
- 1/4 cup Grated Parmesan Cheese
- 1/4 cup All-Purpose Flour
- 1 large Egg, beaten
- 1 cup Panko Bread Crumbs
- 1/2 tsp Garlic Powder
- 1/4 tsp Onion Powder
- 1/4 tsp Paprika
- Salt and Black Pepper to taste
- Vegetable Oil Spray
- Optional: Chopped fresh chives or parsley for garnish
Preparing the Mashed Potatoes:
Okay, let’s start with the heart of our dish – the mashed potatoes! This is where the magic begins, and trust me, good mashed potatoes are key to amazing mashed potato balls.
- Boil the Potatoes: Place the peeled and quartered potatoes in a large pot. Cover them with cold water – make sure the water level is a couple of inches above the potatoes. Add a generous pinch of salt to the water. This seasons the potatoes from the inside out. Bring the water to a boil over high heat. Once boiling, reduce the heat to medium and let the potatoes simmer for about 15-20 minutes, or until they are fork-tender. You should be able to easily pierce them with a fork without much resistance.
- Drain and Dry: Carefully drain the potatoes in a colander. Return the drained potatoes to the pot. Place the pot back on the burner over low heat for about a minute or two. This helps to evaporate any excess moisture, resulting in fluffier mashed potatoes. Keep a close eye on them to prevent burning!
- Mash the Potatoes: Remove the pot from the heat. Add the butter, milk, and sour cream to the potatoes. Using a potato masher or an electric mixer, mash the potatoes until they are smooth and creamy. Be careful not to overmix, as this can make them gummy. If using an electric mixer, start on low speed and gradually increase to medium.
- Season and Flavor: Stir in the grated Parmesan cheese, garlic powder, onion powder, salt, and black pepper. Taste and adjust the seasonings as needed. Remember, you can always add more, but you can’t take it away! I usually add a little extra salt and pepper to really bring out the flavors.
- Cool the Mashed Potatoes: This is a crucial step! Cover the mashed potatoes with plastic wrap, pressing the wrap directly onto the surface to prevent a skin from forming. Refrigerate the mashed potatoes for at least 2 hours, or preferably overnight. This allows them to firm up, making them easier to handle and shape into balls. Trust me, trying to roll warm, soft mashed potatoes into balls is a recipe for disaster (and a sticky mess!).
Preparing the Coating:
Now, let’s get our coating station ready. This is what gives our mashed potato balls that crispy, golden-brown exterior that we all crave.
- Set up the Dredging Station: In three separate shallow dishes, prepare the following:
- Dish 1: All-purpose flour
- Dish 2: Beaten egg
- Dish 3: Panko bread crumbs mixed with paprika
- Mix the Bread Crumbs: In the dish with the panko bread crumbs, add the paprika. Mix well to evenly distribute the spice. The paprika adds a touch of color and a subtle smoky flavor that complements the mashed potatoes perfectly.
Forming and Coating the Mashed Potato Balls:
Alright, the fun part! Time to transform our chilled mashed potatoes into adorable, bite-sized balls of deliciousness.
- Scoop the Mashed Potatoes: Using a spoon or a small ice cream scoop, scoop out portions of the chilled mashed potatoes. I usually aim for about 1-inch balls, but you can adjust the size to your preference.
- Roll into Balls: Gently roll each portion of mashed potatoes between your palms to form a smooth ball. If the mashed potatoes are sticking to your hands, lightly dampen your hands with water.
- Dredge in Flour: Roll each mashed potato ball in the all-purpose flour, making sure it’s evenly coated. Shake off any excess flour. The flour helps the egg adhere to the mashed potato ball.
- Dip in Egg: Dip the floured mashed potato ball into the beaten egg, ensuring it’s completely coated. Let any excess egg drip off.
- Coat in Bread Crumbs: Finally, roll the egg-coated mashed potato ball in the panko bread crumbs, pressing gently to ensure the bread crumbs adhere well. Make sure the entire surface is covered in bread crumbs for maximum crispiness.
- Repeat: Repeat steps 1-5 until all the mashed potatoes have been formed and coated.
Air Frying the Mashed Potato Balls:
Now for the grand finale – air frying! This is where the magic happens, transforming our coated mashed potato balls into crispy, golden-brown delights.
- Preheat the Air Fryer: Preheat your air fryer to 375°F (190°C). This ensures that the mashed potato balls cook evenly and get nice and crispy.
- Prepare the Air Fryer Basket: Lightly spray the air fryer basket with vegetable oil spray. This prevents the mashed potato balls from sticking and helps them to brown evenly.
- Arrange the Mashed Potato Balls: Place the coated mashed potato balls in the air fryer basket in a single layer, making sure they are not touching. Overcrowding the basket can prevent them from crisping up properly. You may need to cook them in batches.
- Air Fry: Air fry for 8-10 minutes, or until the mashed potato balls are golden brown and crispy. Flip them halfway through the cooking time to ensure even browning. Keep a close eye on them, as air fryers can vary in cooking time.
- Check for Doneness: To ensure they are heated through, you can insert a toothpick into the center of a ball. It should feel warm.
- Remove and Serve: Carefully remove the air-fried mashed potato balls from the air fryer basket and place them on a serving plate.
Serving Suggestions:
These air fryer mashed potato balls are incredibly versatile and can be served as a side dish, appetizer, or even a snack. Here are a few serving suggestions:
- Garnish: Sprinkle with chopped fresh chives or parsley for a pop of color and freshness.
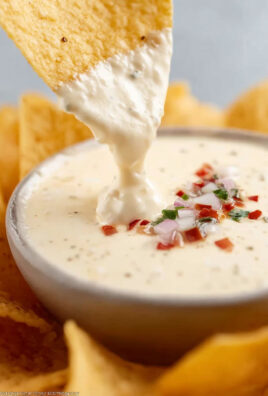
- Dipping Sauces: Serve with your favorite dipping sauces, such as ranch dressing, ketchup, barbecue sauce, or a creamy garlic aioli.
- Side Dish: Pair them with roasted chicken, steak, or pork for a comforting and satisfying meal.
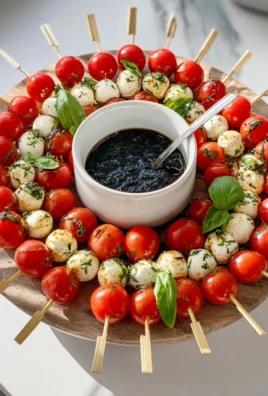
- Appetizer: Arrange them on a platter with other appetizers for a party or gathering.
Enjoy! These air fryer mashed potato balls are best served immediately while they are still warm and crispy. They are a guaranteed crowd-pleaser and a fun twist on classic mashed potatoes.
Conclusion:
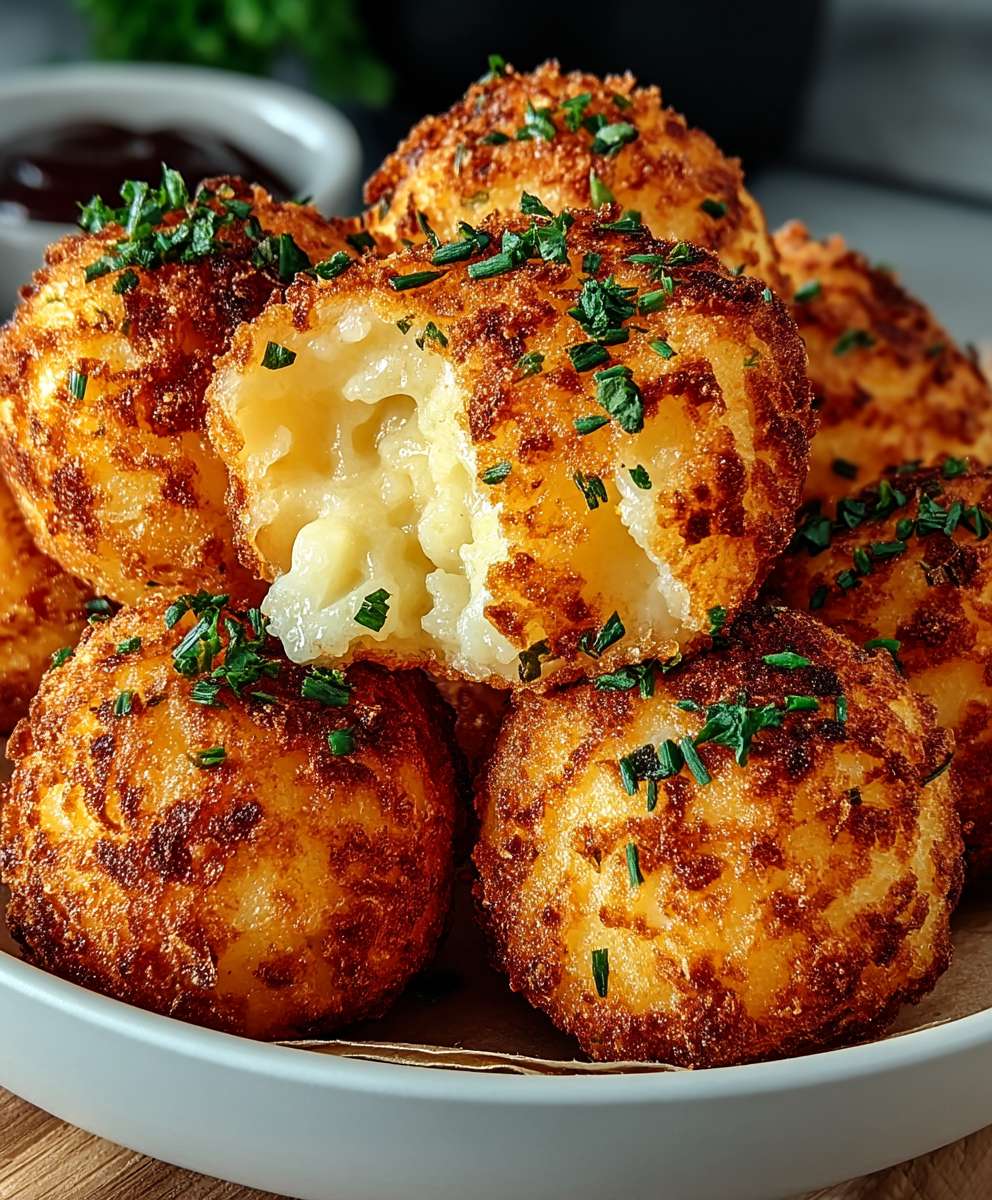
And there you have it! These Air Fryer Mashed Potato Balls are truly a game-changer. If you’re looking for a way to elevate your leftover mashed potatoes, or simply want a fun and delicious appetizer, this recipe is an absolute must-try. The crispy, golden-brown exterior gives way to a creamy, comforting interior that’s simply irresistible. Trust me, once you make these, you’ll be finding excuses to make extra mashed potatoes just so you can whip up another batch!
But the best part? The versatility! These little balls of potato perfection are just begging to be customized. For a truly decadent experience, try adding a small cube of cheese, like cheddar or mozzarella, to the center of each ball before air frying. The melted cheese adds a gooey, savory surprise that will have everyone reaching for more. Alternatively, you could mix in some finely chopped crispy bacon or chives into the mashed potato mixture for an extra layer of flavor.
Serving suggestions are endless! These Air Fryer Mashed Potato Balls make a fantastic appetizer for parties or gatherings. Serve them with a variety of dipping sauces, such as ranch dressing, sour cream, or even a spicy sriracha mayo. They’re also a wonderful side dish to accompany grilled meats, roasted vegetables, or even a simple salad. For a complete meal, consider serving them alongside a hearty bowl of soup or chili.
Don’t be afraid to experiment with different seasonings and flavor combinations. A sprinkle of garlic powder, onion powder, or paprika can add a subtle but noticeable difference. For a spicier kick, try adding a pinch of cayenne pepper or some finely chopped jalapeños. The possibilities are truly endless!
I’m so excited for you to try this recipe and experience the joy of these crispy, creamy delights. I know you’ll love them as much as I do. They are incredibly easy to make, require minimal ingredients, and are guaranteed to be a crowd-pleaser. Plus, using the air fryer means they’re healthier than traditional deep-fried versions.
So, what are you waiting for? Head to your kitchen, gather your ingredients, and get ready to create some magic. I promise you won’t be disappointed. And most importantly, have fun with it! Cooking should be an enjoyable experience, so don’t be afraid to get creative and put your own spin on this recipe.
Once you’ve tried these Air Fryer Mashed Potato Balls, I’d love to hear about your experience! Share your photos and comments on social media using [Your Hashtag Here] or leave a review on the blog. I’m always eager to see your creations and hear about your variations. Let me know what dipping sauces you paired them with, what seasonings you added, and any other tips or tricks you discovered along the way. Your feedback is invaluable and helps me continue to create recipes that you’ll love. Happy cooking!
Air Fryer Mashed Potato Balls: The Crispiest, Easiest Recipe
Crispy outside, creamy inside! Air fryer mashed potato balls: a fun, delicious twist on classic comfort food.
Ingredients
Instructions
Recipe Notes
- Cooling the mashed potatoes is crucial for easy handling.
- Don’t overcrowd the air fryer basket for optimal crisping.
- Serve immediately for the best taste and texture.
- Garnish with chopped fresh chives or parsley.
- Serve with your favorite dipping sauces.

Leave a Comment