
S’mores crack bars: Prepare to be utterly addicted! Imagine the gooey, chocolatey, marshmallowy goodness of a campfire s’more, but amplified and transformed into an irresistible bar cookie. These aren’t your average dessert; they’re a symphony of textures and flavors that will have everyone begging for more. Seriously, consider yourself warned – one bite and you’ll be hooked!
While the classic s’more boasts a rustic charm rooted in campfire traditions, with its earliest known recipe appearing in a Girl Scout guidebook in the 1920s, s’mores crack bars take that beloved combination to a whole new level of decadence. They offer the same comforting flavors in a convenient, shareable, and arguably even more delicious form.
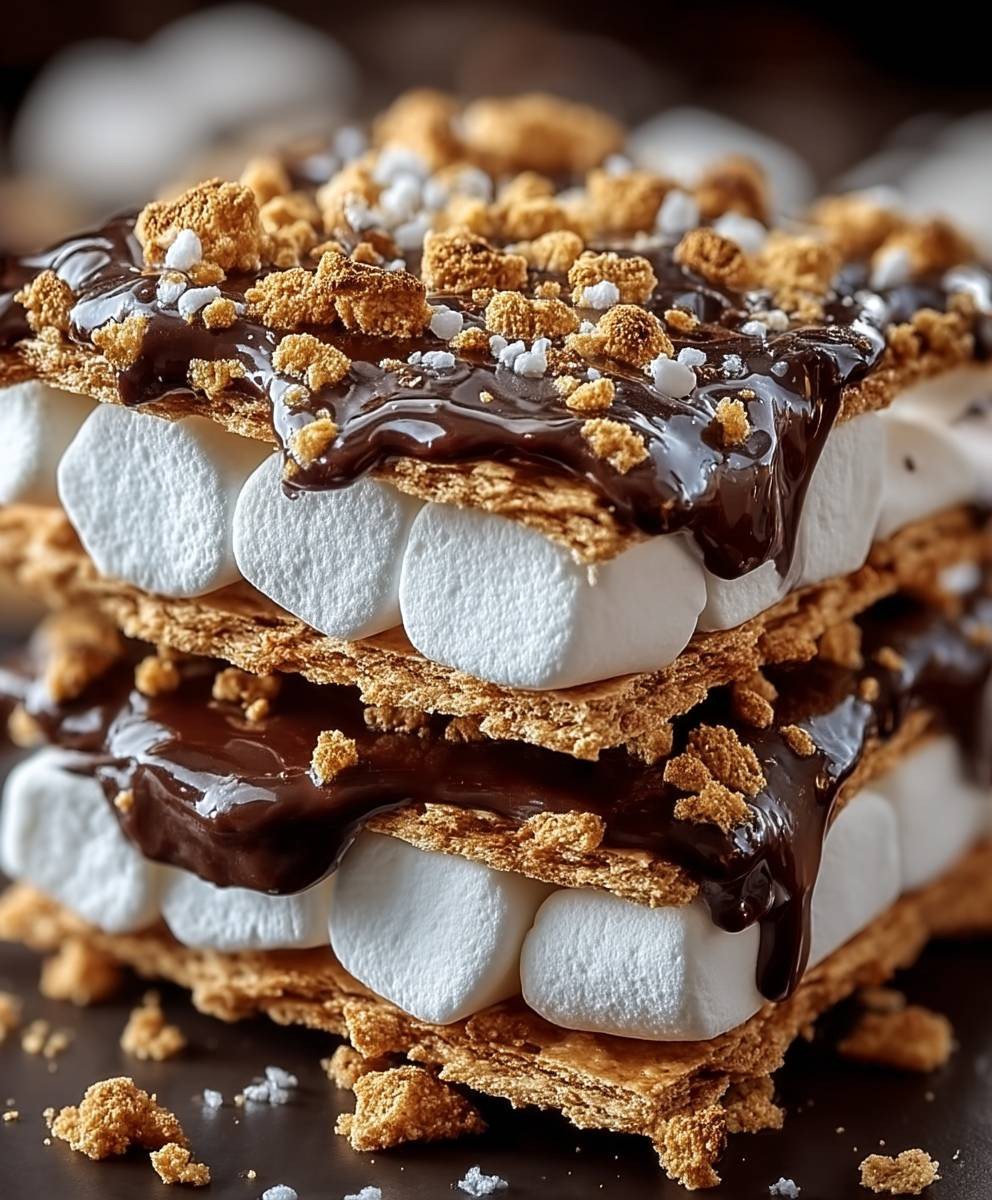
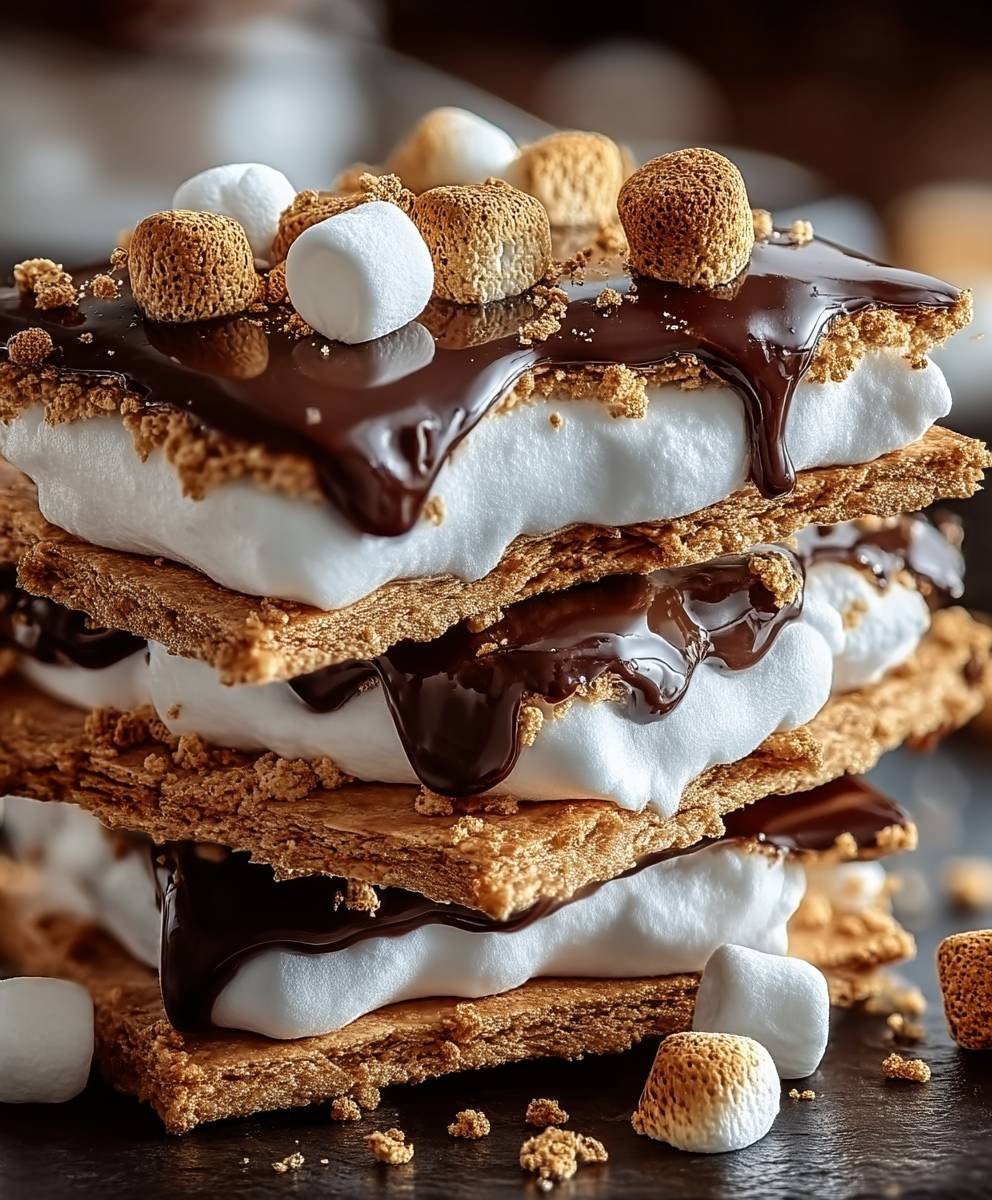
What makes these bars so universally appealing? It’s the perfect marriage of textures: the crisp, buttery graham cracker base, the molten chocolate layer, and the soft, pillowy marshmallows toasted to golden perfection. The salty-sweet combination is simply divine, and the ease of preparation makes them ideal for potlucks, bake sales, or a simple weeknight treat. Plus, who can resist the nostalgic charm of s’mores? These s’mores crack bars are a guaranteed crowd-pleaser, bringing smiles and satisfied sighs with every single bite. Get ready to experience dessert bliss!
Ingredients:
- 1 cup (2 sticks) unsalted butter, softened
- 1 cup granulated sugar
- 1 cup packed light brown sugar
- 2 large eggs
- 1 teaspoon vanilla extract
- 2 cups all-purpose flour
- 1 teaspoon baking soda
- 1/2 teaspoon salt
- 1 1/2 cups graham cracker crumbs (about 12 full graham crackers)
- 1 1/2 cups semi-sweet chocolate chips
- 1 1/2 cups mini marshmallows
- 1/4 cup coarse sea salt, for sprinkling (optional, but highly recommended!)
Preparing the Graham Cracker Base
- Preheat your oven to 350°F (175°C). This is crucial for even baking! Make sure your oven is properly preheated before you even think about putting the bars in.
- Prepare your baking pan. Grease a 9×13 inch baking pan really well. I like to use baking spray with flour in it, but you can also grease it with butter and then dust it with flour. This will prevent the bars from sticking and make them easy to remove later. You can also line the pan with parchment paper, leaving an overhang on the sides, which will act as handles to lift the bars out easily.
- Cream together the butter and sugars. In a large bowl (or the bowl of your stand mixer), cream together the softened butter, granulated sugar, and brown sugar until light and fluffy. This usually takes about 3-5 minutes. The mixture should be pale and airy. Don’t rush this step; it’s important for the texture of the bars.
- Beat in the eggs and vanilla. Add the eggs one at a time, beating well after each addition. Then, stir in the vanilla extract. Make sure everything is well combined.
- Combine the dry ingredients. In a separate medium bowl, whisk together the flour, baking soda, and salt. Whisking ensures that the baking soda and salt are evenly distributed throughout the flour.
- Gradually add the dry ingredients to the wet ingredients. Add the dry ingredients to the wet ingredients in two or three additions, mixing until just combined. Be careful not to overmix, as this can result in tough bars. A few streaks of flour are okay at this point.
- Stir in the graham cracker crumbs. Gently fold in the graham cracker crumbs until they are evenly distributed throughout the dough. This will give the bars that signature graham cracker flavor and texture.
- Press the dough into the prepared pan. Press the dough evenly into the prepared baking pan. I find it easiest to use my hands to do this. You can also use the bottom of a measuring cup or a spatula to help spread the dough evenly. Make sure the dough is packed firmly into the pan.
Baking and Adding the Toppings
- Bake the base. Bake in the preheated oven for 20-25 minutes, or until the edges are golden brown and the center is set. The top should look slightly puffed up.
- Remove from oven and immediately sprinkle with chocolate chips. As soon as you take the pan out of the oven, sprinkle the chocolate chips evenly over the hot base. The heat from the base will melt the chocolate chips slightly.
- Let the chocolate chips sit for a minute or two. Allow the chocolate chips to sit for a minute or two to soften. This will make them easier to spread.
- Spread the melted chocolate. Spread the melted chocolate evenly over the base. You can use a spatula or the back of a spoon to do this.
- Sprinkle with mini marshmallows. Sprinkle the mini marshmallows evenly over the melted chocolate. Make sure to cover the entire surface.
- Broil the marshmallows (optional, but recommended!). Place the pan under the broiler for 1-2 minutes, or until the marshmallows are golden brown and toasted. Watch them very carefully, as they can burn quickly! I usually stand right in front of the oven and keep a close eye on them.
- Remove from oven and sprinkle with sea salt (optional). Remove the pan from the oven and immediately sprinkle with coarse sea salt, if desired. The sea salt adds a nice salty-sweet contrast to the bars.
- Let cool completely. Let the bars cool completely in the pan before cutting. This will allow the chocolate and marshmallows to set up properly. This usually takes about 1-2 hours. If you’re impatient, you can put the pan in the refrigerator to speed up the cooling process.
Cutting and Serving
- Cut into squares. Once the bars are completely cool, cut them into squares. I usually cut them into 24 squares, but you can cut them into smaller or larger squares depending on your preference.
- Serve and enjoy! Serve the S’mores Crack Bars and enjoy! These bars are best served fresh, but they can also be stored in an airtight container at room temperature for up to 3 days.
Tips for Perfect S’mores Crack Bars:
- Use softened butter. Make sure your butter is softened to room temperature before you start. This will make it easier to cream together with the sugars.
- Don’t overmix the dough. Overmixing the dough can result in tough bars. Mix until just combined.
- Watch the marshmallows carefully when broiling. Marshmallows can burn quickly under the broiler, so keep a close eye on them.
- Let the bars cool completely before cutting. This will allow the chocolate and marshmallows to set up properly.
- Add your own twist! Feel free to add your own twist to these bars. You can add nuts, pretzels, or other candies to the dough or toppings.
Variations:
- Peanut Butter S’mores Crack Bars: Add 1/2 cup of peanut butter to the batter for a peanut butter twist.
- Dark Chocolate S’mores Crack Bars: Use dark chocolate chips instead of semi-sweet chocolate chips.
- Pretzel S’mores Crack Bars: Add 1 cup of crushed pretzels to the batter or sprinkle them on top of the marshmallows.
- Nutella S’mores Crack Bars: Swirl Nutella into the melted chocolate before adding the marshmallows.
Storage Instructions:
Store the S’mores Crack Bars in an airtight container at room temperature for up to 3 days. They can also be stored in the refrigerator for up to a week.
Make Ahead Instructions:
You can make the graham cracker base ahead of time and store it in the refrigerator for up to 2 days. When you’re ready to bake the bars, simply remove the base from the refrigerator and let it come to room temperature before adding the toppings and baking.
Why This Recipe Works:
This recipe works because it combines the classic flavors of s’mores – graham crackers, chocolate, and marshmallows – in a convenient and delicious bar form. The graham cracker base provides a sturdy foundation for the chocolate and marshmallows, and the sea salt adds a nice salty-sweet contrast. The recipe is also easy to customize with your own favorite toppings and flavors.
Troubleshooting:
- Bars are too dry: Make sure you’re using softened butter and that you’re not overbaking the bars.
- Bars are too sticky: Make sure you’re letting the bars cool completely before cutting them.
- Marshmallows burned: Watch the marshmallows carefully when broiling and remove the pan from the oven as soon as they are golden brown.
- Chocolate didn’t melt: Make sure the base is hot enough when you sprinkle the chocolate chips on top. You can also microwave the chocolate chips for a few seconds to help them melt.
Conclusion:
So, there you have it! These S’mores Crack Bars are truly irresistible, and I genuinely believe they’re a must-try for anyone with a sweet tooth. The combination of the buttery, salty cracker base, the gooey marshmallow, and the rich chocolate topping creates a symphony of flavors and textures that will have you reaching for seconds (and maybe thirds!). It’s the perfect treat for potlucks, bake sales, or simply a cozy night in.
But what makes these bars so special? It’s the ease of preparation combined with the incredible taste. You don’t need any fancy equipment or complicated techniques to achieve bakery-worthy results. Plus, the recipe is incredibly versatile!
Serving Suggestions and Variations:
These S’mores Crack Bars are delicious on their own, but here are a few ideas to elevate them even further:
* Warm it up: Gently warm a bar in the microwave for a few seconds to make the marshmallow extra gooey. Top with a scoop of vanilla ice cream for an indulgent dessert.
* Add a sprinkle: Before the chocolate sets, sprinkle with sea salt, chopped nuts (like pecans or walnuts), or even mini chocolate chips for added texture and flavor.
* Get creative with the chocolate: Use dark chocolate for a richer, more intense flavor, or white chocolate for a sweeter twist. You could even swirl different types of chocolate together for a marbled effect.
* Seasonal variations: During the holidays, add a sprinkle of crushed candy canes or gingerbread spice to the chocolate topping. In the fall, a dash of cinnamon or pumpkin spice would be divine.
* Peanut Butter Power: Drizzle peanut butter over the marshmallow layer before adding the chocolate for a peanut butter s’mores experience.
* Espresso Boost: Add a teaspoon of instant espresso powder to the melted chocolate for a mocha-flavored kick.
* Make it Gluten-Free: Use gluten-free crackers to make this treat accessible to everyone.
I’ve made these bars countless times, and they’re always a hit. I’ve experimented with different variations, and each one has been delicious in its own way. The possibilities are truly endless!
Now, it’s your turn! I wholeheartedly encourage you to try this recipe for S’mores Crack Bars. I promise you won’t be disappointed. It’s a fun and easy recipe that’s perfect for bakers of all skill levels.
Once you’ve made them, I’d love to hear about your experience! Did you try any of the variations I suggested? Did you come up with your own creative twist? Share your photos and stories in the comments below. I can’t wait to see what you create! Happy baking! And remember, the best part of baking is sharing your creations with the people you love. So, go ahead, whip up a batch of these S’mores Crack Bars and spread some joy! Let me know what you think, and happy baking!
Smores Crack Bars: The Ultimate No-Bake Dessert Recipe
Irresistible S'mores Crack Bars with a graham cracker crust, melted chocolate, and toasted marshmallows. A sweet and salty treat that's easy to make and impossible to resist!
Ingredients
- 1 cup (2 sticks) unsalted butter, softened
- 1 cup granulated sugar
- 1 cup packed light brown sugar
- 2 large eggs
- 1 teaspoon vanilla extract
- 2 cups all-purpose flour
- 1 teaspoon baking soda
- 1/2 teaspoon salt
- 1 1/2 cups graham cracker crumbs (about 12 full graham crackers)
- 1 1/2 cups semi-sweet chocolate chips
- 1 1/2 cups mini marshmallows
- 1/4 cup coarse sea salt, for sprinkling (optional, but highly recommended!)
Instructions
- Preheat your oven to 350°F (175°C).
- Grease a 9×13 inch baking pan really well with baking spray or butter and flour. Alternatively, line with parchment paper, leaving an overhang.
- In a large bowl, cream together the softened butter, granulated sugar, and brown sugar until light and fluffy (3-5 minutes).
- Add the eggs one at a time, beating well after each addition. Stir in the vanilla extract.
- In a separate medium bowl, whisk together the flour, baking soda, and salt.
- Gradually add the dry ingredients to the wet ingredients in two or three additions, mixing until just combined. Be careful not to overmix.
- Gently fold in the graham cracker crumbs until evenly distributed.
- Press the dough evenly into the prepared baking pan.
- Bake in the preheated oven for 20-25 minutes, or until the edges are golden brown and the center is set.
- Remove from oven and immediately sprinkle with chocolate chips.
- Let the chocolate chips sit for a minute or two to soften.
- Spread the melted chocolate evenly over the base.
- Sprinkle with mini marshmallows evenly over the melted chocolate.
- Place the pan under the broiler for 1-2 minutes, or until the marshmallows are golden brown and toasted. Watch carefully to prevent burning.
- Remove from oven and sprinkle with coarse sea salt, if desired.
- Let cool completely in the pan before cutting (1-2 hours).
- Cut into squares.
- Serve and enjoy! Store in an airtight container at room temperature for up to 3 days.
Notes
- Use softened butter for easier creaming.
- Don’t overmix the dough to avoid tough bars.
- Watch the marshmallows carefully when broiling, as they burn quickly.
- Let the bars cool completely before cutting for best results.
- Add your own twist with nuts, pretzels, or other candies.
Leave a Comment