
Red Velvet Crinkle Cookies
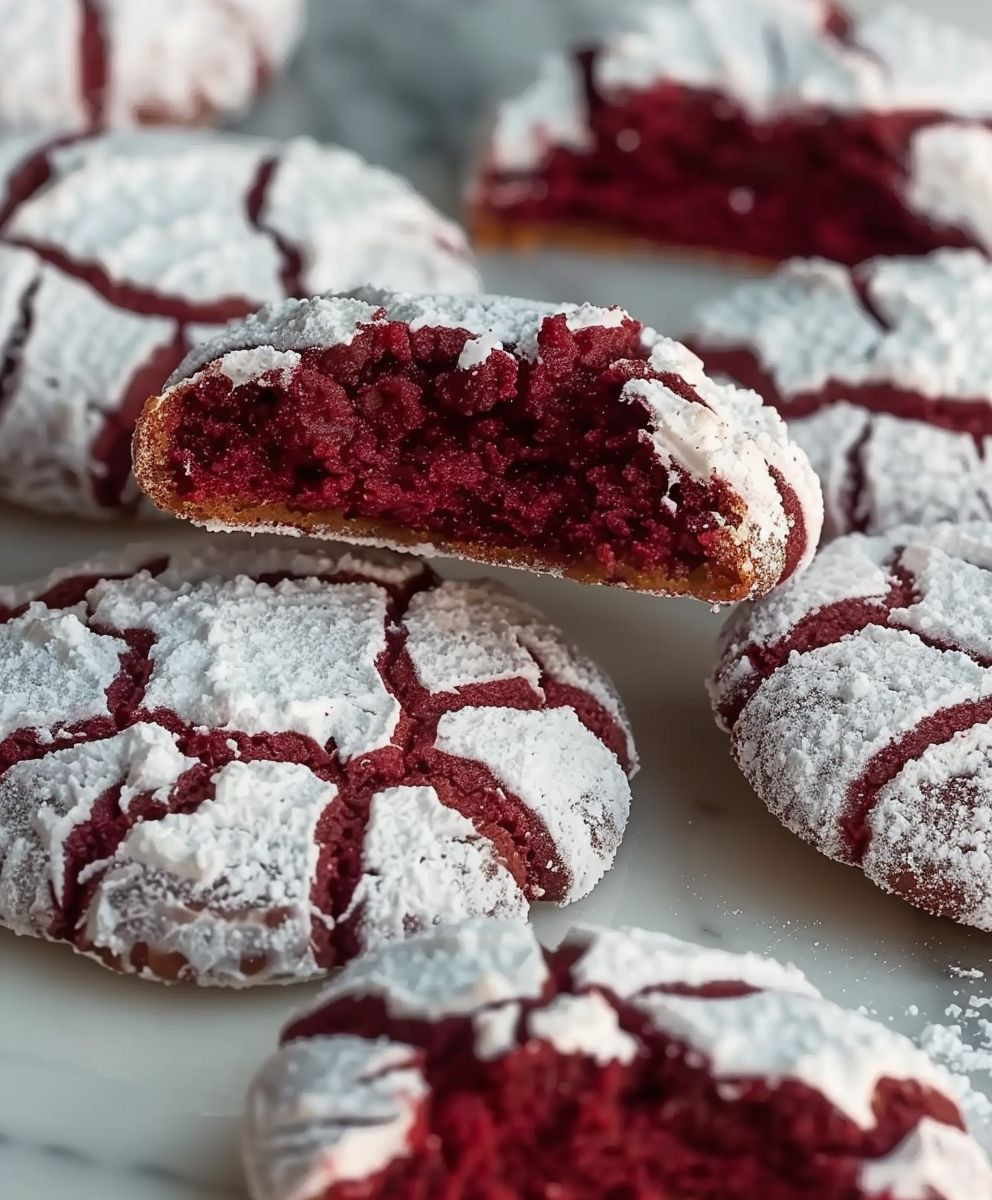
Red Velvet Crinkle Cookies: Just the name conjures up images of rich, decadent treats, doesn’t it? These aren’t your average chocolate chip cookies; oh no, these are something truly special. Prepare to be amazed by their intensely moist centers, their delightfully crackled exteriors, and that unmistakable red velvet flavor that’s both intensely chocolatey and subtly tangy. I’ve been baking for years, and these Red Velvet Crinkle Cookies consistently rank among my most requested recipes.
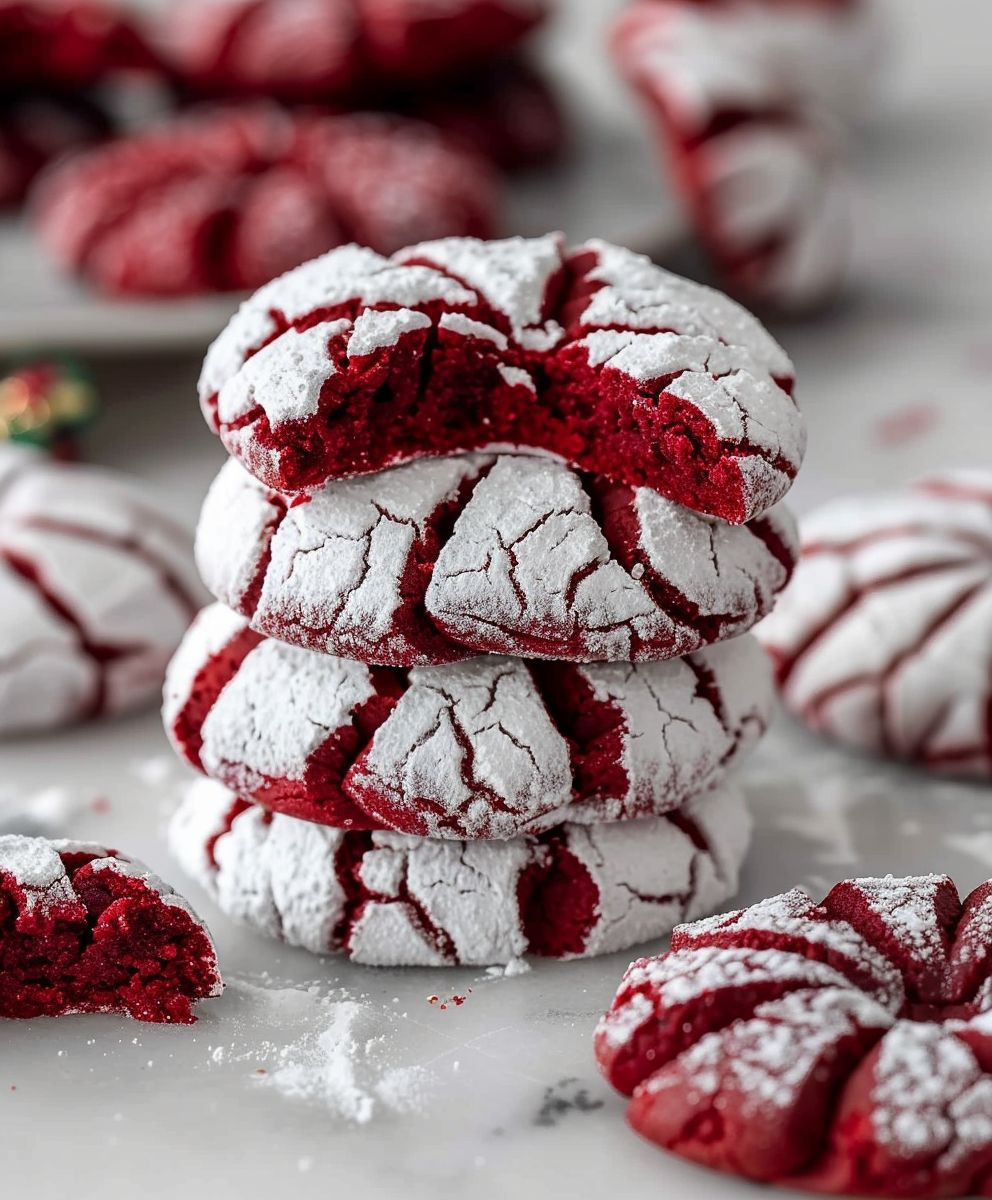
While the exact origins of red velvet cake (and subsequently, these cookies) are a bit shrouded in mystery, many believe its vibrant red hue originated from the reaction of acidic ingredients with cocoa powder, creating a naturally reddish color long before artificial food coloring was widely available. Regardless of its precise history, the allure of red velvet has endured, captivating bakers and dessert lovers for generations. The beautiful crimson color alone makes these cookies a showstopper, perfect for holidays, parties, or simply a special treat for yourself.
What makes these Red Velvet Crinkle Cookies so irresistible? It’s the perfect balance of textures and flavors. The slightly crisp exterior gives way to a wonderfully soft and chewy interior, a delightful contrast that keeps you coming back for more. The deep, rich chocolate flavor is complemented by a subtle tang, a hint of vinegar or buttermilk adding a complexity that elevates this cookie above the ordinary. And let’s not forget the convenience! While they seem fancy, these cookies are surprisingly easy to make, requiring no special skills or equipment. So, gather your ingredients and prepare to embark on a baking adventure that will leave you with a batch of cookies that are as visually stunning as they are delicious.
Ingredients:
- 2 1/2 cups all-purpose flour
- 2 teaspoons baking soda
- 1 teaspoon salt
- 1 cup (2 sticks) unsalted butter, softened
- 1 3/4 cups granulated sugar
- 2 large eggs
- 2 teaspoons vanilla extract
- 1 cup buttermilk
- 2 tablespoons red food coloring (gel or liquid)
- 1 cup powdered sugar, for coating
Preparing the Dry Ingredients:
- In a medium bowl, whisk together the flour, baking soda, and salt. Set aside. This ensures that the leavening agents are evenly distributed, resulting in a more consistent rise in your cookies.
Creaming the Butter and Sugar:
- In a large bowl, cream together the softened butter and granulated sugar using an electric mixer. I like to cream the mixture until it’s light and fluffy – this usually takes about 3-5 minutes. This step incorporates air into the batter, which contributes to the tender crumb of the cookies.
- Beat in the eggs one at a time, then stir in the vanilla extract. Make sure to scrape down the sides of the bowl to ensure everything is well combined. Don’t rush this step; proper mixing is key to a delicious result.
Adding the Wet Ingredients:
- In a small bowl, gently whisk together the buttermilk and red food coloring. The buttermilk adds a lovely tang to the cookies, balancing the sweetness. If using liquid food coloring, start with a tablespoon and add more until you reach your desired shade of red. Gel food coloring is more concentrated, so start with less.
- Gradually add the dry ingredients to the wet ingredients, alternating with the buttermilk mixture, beginning and ending with the dry ingredients. Mix on low speed until just combined. Overmixing can lead to tough cookies, so be careful not to mix for too long.
- Important Note: The batter will be quite thick. Don’t worry if it seems a little stiff; that’s how it should be for these crinkle cookies. If it seems too dry, you can add a tablespoon or two of additional buttermilk, but add it slowly.
Chilling the Dough:
- Cover the bowl and refrigerate the dough for at least 2 hours, or preferably overnight. Chilling the dough is crucial for preventing the cookies from spreading too much during baking. This allows the gluten to relax and the flavors to meld together.
- While the dough is chilling, prepare your powdered sugar coating. Place the powdered sugar in a shallow dish. I find a pie plate works perfectly.
Shaping and Baking the Cookies:
- Preheat your oven to 350°F (175°C). Line baking sheets with parchment paper. This prevents sticking and makes cleanup a breeze.
- Once the dough is chilled, roll the dough into 1-inch balls. I find using a cookie scoop is the easiest and most consistent way to do this. If you don’t have a cookie scoop, use a spoon to measure out the dough.
- Roll each dough ball in the powdered sugar, ensuring it’s completely coated. Press gently to help the sugar adhere. This coating is what creates the signature crinkled texture of these cookies.
- Place the coated dough balls onto the prepared baking sheets, leaving about 2 inches between each cookie. They will spread slightly during baking.
- Bake for 10-12 minutes, or until the edges are set and the centers are still slightly soft. Keep a close eye on them, as oven temperatures can vary. Start checking for doneness around the 10-minute mark.
- Remove the baking sheets from the oven and let the cookies cool on the baking sheets for a few minutes before transferring them to a wire rack to cool completely. This prevents them from becoming soggy.
Troubleshooting and Tips:
Why are my cookies flat?
This usually happens if the dough wasn’t chilled long enough. Make sure to chill the dough for at least 2 hours, or preferably overnight, to allow the butter to firm up. Also, avoid overmixing the dough.
My cookies are too dry.
This could be due to overbaking. Start checking for doneness around 10 minutes and remove them from the oven as soon as the edges are set. Also, ensure your oven temperature is accurate.
My cookies are too crumbly.
This might be because the butter wasn’t soft enough when you started creaming it. Make sure your butter is at room temperature and easily spreadable.
Can I freeze the dough?
Yes! You can freeze the unbaked dough balls for up to 3 months. Just thaw them overnight in the refrigerator before baking.
Can I use different food coloring?
Absolutely! You can use any color of food coloring you like. Just keep in mind that the intensity of the color will depend on the type and amount of food coloring you use.
How can I store the cookies?
Store the cooled cookies in an airtight container at room temperature for up to a week. They’ll stay fresh and delicious for several days.
Conclusion:
So there you have it – my recipe for the ultimate Red Velvet Crinkle Cookies! I truly believe this recipe is a must-try for several reasons. First, the flavor is simply divine. That rich, tangy red velvet cake flavor, perfectly balanced with the sweetness of the cookie, is an irresistible combination. The crackled exterior gives way to a wonderfully soft and chewy interior – the best of both worlds! And let’s not forget the stunning visual appeal; those gorgeous, deep red cookies are a feast for the eyes as well as the stomach. They’re perfect for any occasion, from a casual weeknight treat to a sophisticated holiday gathering.
I’ve spent years perfecting this recipe, tweaking and testing until I achieved the ideal balance of flavor and texture. I’m incredibly proud of the result, and I’m so excited to share it with you. It’s a recipe that consistently delivers amazing results, even for beginner bakers. The simple steps and readily available ingredients make it accessible to everyone, regardless of their baking experience. This is a recipe you can confidently rely on to impress your friends and family.
Beyond the classic version, there are endless possibilities for variations. Feel free to experiment with different types of chocolate chips – dark chocolate, milk chocolate, or even white chocolate would all be delicious additions. You could also add a sprinkle of chopped nuts, like pecans or walnuts, for added texture and flavor. For a more intense red velvet flavor, consider adding a teaspoon or two of red velvet cake extract. Or, if you prefer a less sweet cookie, simply reduce the amount of sugar by a tablespoon or two.
For serving suggestions, these Red Velvet Crinkle Cookies are fantastic on their own, enjoyed with a glass of cold milk or a warm cup of coffee or tea. They also pair beautifully with a scoop of vanilla ice cream or a dollop of whipped cream. They make a stunning addition to a dessert platter, especially during the holiday season. Imagine them nestled amongst other festive treats, their vibrant red color adding a pop of cheer to your table. They also travel well, making them perfect for potlucks, bake sales, or gifting to loved ones.
I genuinely hope you’ll give this recipe a try. I’m confident that you’ll fall in love with these Red Velvet Crinkle Cookies just as much as I have. Once you’ve baked them, I’d love to hear about your experience! Share your photos and feedback on social media using the hashtag #RedVelvetCrinkleCookies – I can’t wait to see your creations. Let’s connect and share our love for delicious, homemade treats! Don’t forget to rate the recipe below and leave a comment letting me know how yours turned out. Happy baking!
Remember, baking is a journey of discovery and experimentation. Don’t be afraid to get creative and personalize this recipe to your own liking. The most important thing is to have fun and enjoy the process of creating something delicious. So, gather your ingredients, preheat your oven, and get ready to bake up a batch of these irresistible Red Velvet Crinkle Cookies. You won’t regret it!
Red Velvet Crinkle Cookies: The Ultimate Holiday Recipe
Chewy, intensely red velvet cookies with a delightful crinkled texture and a hint of tang.
Ingredients
Instructions
Recipe Notes
- Avoid overmixing the dough, as this can lead to tough cookies.
- Chilling the dough is crucial for preventing spreading and enhancing flavor.
- Adjust the amount of food coloring to achieve your desired shade of red. Gel food coloring is more concentrated than liquid.
- Store cooled cookies in an airtight container at room temperature for up to a week.
- Unbaked dough balls can be frozen for up to 3 months. Thaw overnight in the refrigerator before baking.
Leave a Comment