
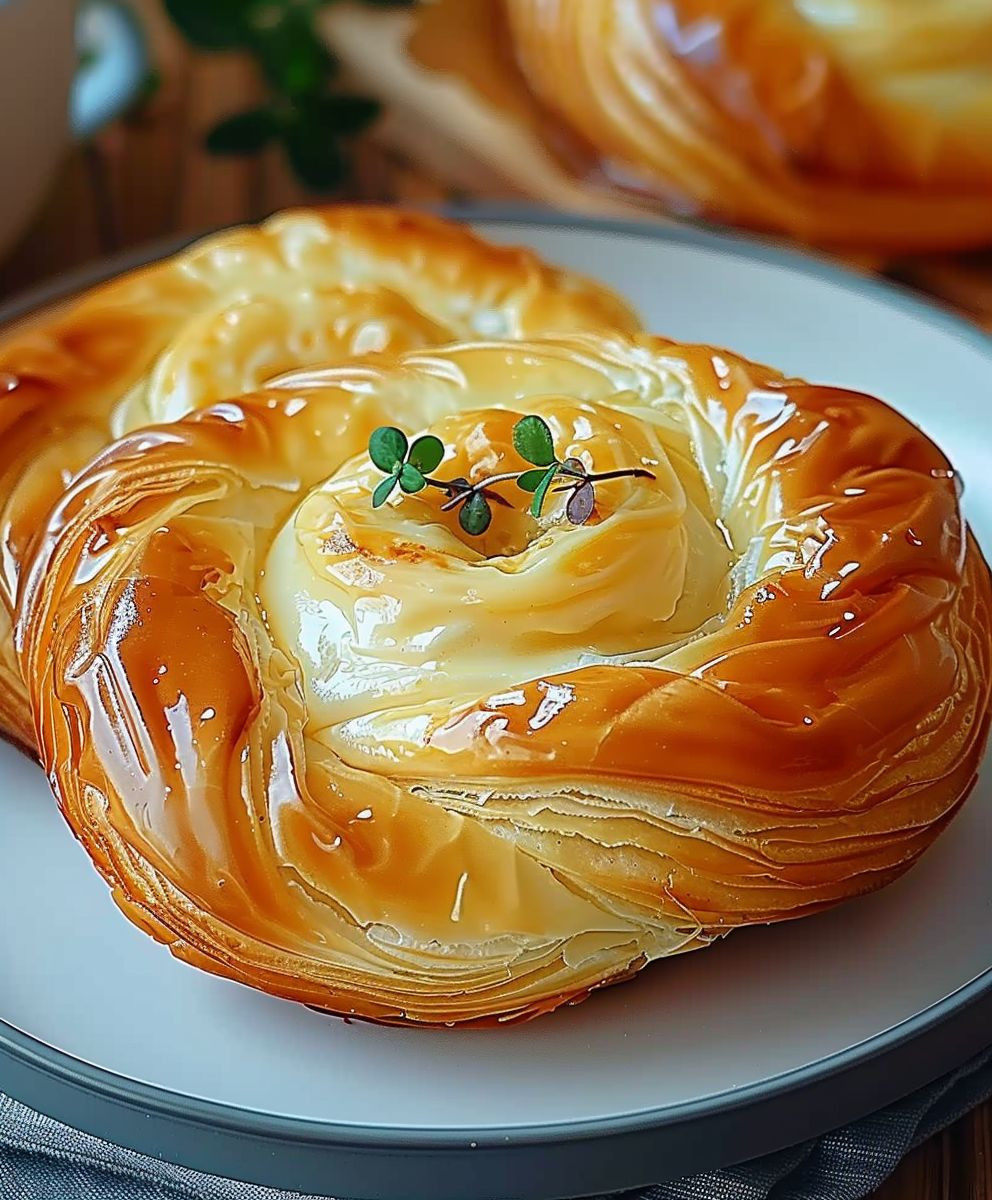
Cheese Danish, oh, where do I even begin? Imagine biting into a flaky, golden pastry, the delicate layers shattering to reveal a creamy, sweet cheese filling that melts in your mouth. It’s a symphony of textures and flavors, a perfect balance of richness and lightness that makes it utterly irresistible. Have I got your attention yet?
The Cheese Danish, or “Wienerbrød” as it’s known in Denmark, boasts a fascinating history. While often associated with Denmark, its origins can be traced back to Austrian bakers who brought their techniques to Denmark in the mid-19th century. The Danes, ever the culinary innovators, adapted and perfected the recipe, creating the delectable pastry we know and love today. It quickly became a staple in Danish bakeries and a beloved treat enjoyed during “hygge” moments – those cozy, comforting times spent with loved ones.
But what is it about the Cheese Danish that makes it so universally appealing? For me, it’s the combination of the buttery, flaky pastry and the smooth, sweet cheese filling. The slight tang of the cheese cuts through the richness of the pastry, creating a flavor profile that’s both satisfying and addictive. Plus, they’re incredibly versatile! Enjoy them warm from the oven for a truly decadent experience, or grab one on the go for a quick and delicious breakfast. Whether you’re a seasoned baker or a novice in the kitchen, this recipe is sure to impress. So, let’s get baking and create some magic!
Ingredients:
- For the Dough:
- 3 ½ cups (420g) all-purpose flour, plus more for dusting
- ¼ cup (50g) granulated sugar
- 1 teaspoon salt
- 1 packet (2 ¼ teaspoons) active dry yeast
- ½ cup (120ml) lukewarm milk (about 110°F/43°C)
- ¼ cup (60ml) lukewarm water (about 110°F/43°C)
- 2 large eggs, lightly beaten
- ½ teaspoon vanilla extract
- 1 cup (2 sticks, 226g) unsalted butter, very cold
- For the Cheese Filling:
- 8 ounces (226g) cream cheese, softened
- ¼ cup (50g) granulated sugar
- 1 large egg yolk
- 1 teaspoon vanilla extract
- 1 tablespoon all-purpose flour
- Zest of ½ lemon (optional, but highly recommended!)
- For the Egg Wash:
- 1 large egg, beaten
- 1 tablespoon milk or water
- For the Glaze (optional):
- 1 cup (120g) powdered sugar
- 2-3 tablespoons milk or lemon juice
Preparing the Dough:
Alright, let’s get started on the dough! This is the most time-consuming part, but trust me, it’s worth it. We’re making a laminated dough, similar to croissants, which gives the Danish that flaky, buttery texture we all love.
- Combine Dry Ingredients: In a large bowl, whisk together the flour, sugar, and salt. Make sure everything is evenly distributed.
- Activate the Yeast: In a separate small bowl, combine the lukewarm milk, lukewarm water, and yeast. Let it sit for about 5-10 minutes, or until it gets foamy. This means the yeast is active and ready to go! If it doesn’t foam, your yeast might be old, and you’ll need to get a new packet.
- Combine Wet and Dry Ingredients: Pour the yeast mixture into the bowl with the dry ingredients. Add the beaten eggs and vanilla extract. Mix with a wooden spoon or spatula until a shaggy dough forms. Don’t overmix at this point; just make sure everything is combined.
- First Rise (Bulk Fermentation): Cover the bowl with plastic wrap or a damp towel and let it rise in a warm place for about 1-1.5 hours, or until doubled in size. This allows the yeast to do its magic and develop the flavor of the dough.
- Prepare the Butter Block: While the dough is rising, prepare the butter block. This is crucial for creating those flaky layers. Place the cold butter between two sheets of parchment paper. Using a rolling pin, pound and roll the butter into a 6×8 inch rectangle. It’s important that the butter stays cold and doesn’t melt. If it starts to get too soft, put it back in the refrigerator for a few minutes. The butter should be pliable but firm.
- Chill the Dough: Once the dough has doubled, gently punch it down to release the air. Wrap it in plastic wrap and refrigerate for at least 30 minutes. This will make it easier to roll out.
Laminating the Dough:
Now comes the fun part – creating those beautiful layers! This process involves folding the butter into the dough multiple times, creating hundreds of thin layers of butter and dough that will puff up in the oven.
- First Fold: On a lightly floured surface, roll the chilled dough into a 12×16 inch rectangle. Place the butter block in the center of the dough. Fold one side of the dough over the butter, and then fold the other side over, like you’re closing a book. Pinch the edges to seal the butter inside.
- First Turn: Rotate the dough 90 degrees so that the short end is facing you. Gently roll the dough into a 12×16 inch rectangle again. Be careful not to press too hard, or you’ll squeeze the butter out. Fold the dough into thirds, like you’re folding a letter. This is called a “book fold” or “single fold.” Wrap the dough in plastic wrap and refrigerate for 30 minutes.
- Second Turn: Repeat the rolling and folding process. Roll the chilled dough into a 12×16 inch rectangle. Fold the dough into thirds again. Wrap the dough in plastic wrap and refrigerate for another 30 minutes.
- Third Turn: Repeat the rolling and folding process one more time. Roll the chilled dough into a 12×16 inch rectangle. Fold the dough into thirds again. Wrap the dough in plastic wrap and refrigerate for at least 1 hour, or preferably overnight. This allows the gluten to relax and makes the dough easier to work with.
Preparing the Cheese Filling:
While the dough is chilling for the last time, let’s make the cheese filling. This is a simple but delicious mixture that complements the flaky dough perfectly.
- Combine Ingredients: In a medium bowl, beat the softened cream cheese and sugar together until smooth and creamy.
- Add Egg Yolk and Vanilla: Add the egg yolk and vanilla extract and beat until well combined.
- Add Flour and Lemon Zest: Stir in the flour and lemon zest (if using) until just combined. Be careful not to overmix.
- Chill: Cover the bowl with plastic wrap and refrigerate until ready to use. This will help the filling firm up and make it easier to work with.
Assembling the Cheese Danishes:
Now for the fun part – shaping the Danishes! There are many different ways to shape them, but I’ll show you a simple and classic method.
- Roll Out the Dough: On a lightly floured surface, roll the chilled dough into a 12×18 inch rectangle. The dough should be about ¼ inch thick.
- Cut into Squares: Using a sharp knife or pizza cutter, cut the dough into 12 equal squares (about 3×3 inches each).
- Add Filling: Place a spoonful (about 1-2 tablespoons) of the cheese filling in the center of each square.
- Fold the Corners: Fold two opposite corners of each square towards the center, overlapping slightly. Press gently to seal. You can also fold all four corners towards the center for a different look.
- Place on Baking Sheet: Place the shaped Danishes on a baking sheet lined with parchment paper, leaving some space between each one.
- Second Rise (Proofing): Cover the baking sheet with plastic wrap or a damp towel and let the Danishes rise in a warm place for about 30-45 minutes, or until they have puffed up slightly. This is an important step that allows the Danishes to become light and airy.
Baking the Cheese Danishes:
Almost there! Now it’s time to bake these beauties until they’re golden brown and irresistible.
- Preheat Oven: Preheat your oven to 375°F (190°C).
- Prepare Egg Wash: In a small bowl, whisk together the egg and milk or water.
- Brush with Egg Wash: Gently brush the tops of the risen Danishes with the egg wash. This will give them a beautiful golden color.
- Bake: Bake for 18-22 minutes, or until the Danishes are golden brown and the filling is set. Keep an eye on them, as baking times may vary depending on your oven.
- Cool: Remove the Danishes from the oven and let them cool on the baking sheet for a few minutes before transferring them to a wire rack to cool completely.
Glazing (Optional):
If you want to add a little extra sweetness, you can drizzle the cooled Danishes with a simple glaze.
- Combine Ingredients: In a small bowl, whisk together the powdered sugar and milk or lemon juice until smooth. Add more milk or lemon juice if needed to reach your desired consistency. The glaze should be thin enough to drizzle but not too runny.
- Drizzle: Drizzle the glaze over the cooled Danishes. You can use a

Conclusion:
Okay, friends, let’s be honest: you’ve read this far, and that means you’re seriously considering making these Cheese Danish pastries. And trust me, you absolutely should! From the flaky, golden-brown crust to the creamy, sweet cheese filling, every bite is pure bliss. It’s the kind of treat that elevates your morning coffee, impresses brunch guests, and satisfies that late-night sweet craving. It’s not just a pastry; it’s an experience.
But why is this recipe a must-try, you ask? Well, beyond the incredible flavor, it’s surprisingly achievable. I’ve broken down each step to be as clear and straightforward as possible, so even if you’re a baking novice, you can confidently create these bakery-worthy delights. Plus, the satisfaction of pulling a tray of warm, homemade Cheese Danish from the oven is simply unmatched. It’s a labor of love, yes, but a love that pays off in delicious dividends.
And the best part? You can totally customize them to your liking! Feeling fruity? Add a layer of your favorite jam – raspberry, apricot, or strawberry would be divine. Want to add a little crunch? Sprinkle some chopped nuts on top before baking. For a citrusy twist, add a bit of lemon or orange zest to the cheese filling. You could even drizzle them with a simple glaze made from powdered sugar and milk for an extra touch of sweetness. The possibilities are endless!
Here are a few serving suggestions to get you started:
Serving Suggestions:
- Warm with Coffee: The classic pairing! The richness of the Cheese Danish complements the bitterness of coffee perfectly.
- Brunch Centerpiece: Arrange them beautifully on a platter alongside fresh fruit and other pastries for a stunning brunch spread.
- Dessert Delight: Serve them warm with a scoop of vanilla ice cream for an indulgent dessert.
- Afternoon Treat: Enjoy them with a cup of tea for a relaxing afternoon break.
Don’t be intimidated by the thought of making your own pastries. This recipe is designed to be approachable and rewarding. I’ve poured my heart into creating a guide that will help you succeed, and I’m confident that you’ll be thrilled with the results.
So, what are you waiting for? Gather your ingredients, preheat your oven, and get ready to embark on a baking adventure. I promise you, the aroma of these Cheese Danish baking in your kitchen will be enough to make your mouth water.
And once you’ve tried this recipe, I’d absolutely love to hear about your experience! Did you make any variations? What did you think of the flavor? Share your photos and stories in the comments below. Let’s create a community of Cheese Danish enthusiasts! Happy baking! I can’t wait to see what you create. Remember, the best part of baking is sharing the delicious results with loved ones. Enjoy!
Cheese Danish: The Ultimate Guide to Baking & Enjoying This Pastry
Flaky, buttery homemade cheese danishes with a sweet cream cheese filling and optional glaze. A labor of love that's worth every bite!
By: Bluebella JuneCategory: BreakfastDifficulty: EasyCuisine: AmericanYield: 12 DanishesDietary: VegetarianIngredients
Instructions
Recipe Notes
- The dough requires multiple chilling periods, so plan accordingly.
- Ensure the butter remains cold during lamination to create flaky layers.
- Proofing the danishes before baking is crucial for a light and airy texture.
- Baking times may vary depending on your oven.
Frequently Asked Questions
→ How do I ensure the bread stays moist?Use fresh, ripe ingredients and avoid overmixing the batter. Store in an airtight container.→ Can I substitute ingredients?Yes, you can substitute similar ingredients while maintaining the basic ratios for best results.→ How long does this bread keep?Store tightly wrapped at room temperature for 2-3 days, or refrigerate for up to a week.→ What if I don't have all the spices?You can adjust spices to taste or substitute with similar warming spices.→ Can I freeze this bread?Yes, wrap individual slices and freeze for up to 3 months. Thaw at room temperature before serving.

Leave a Comment