
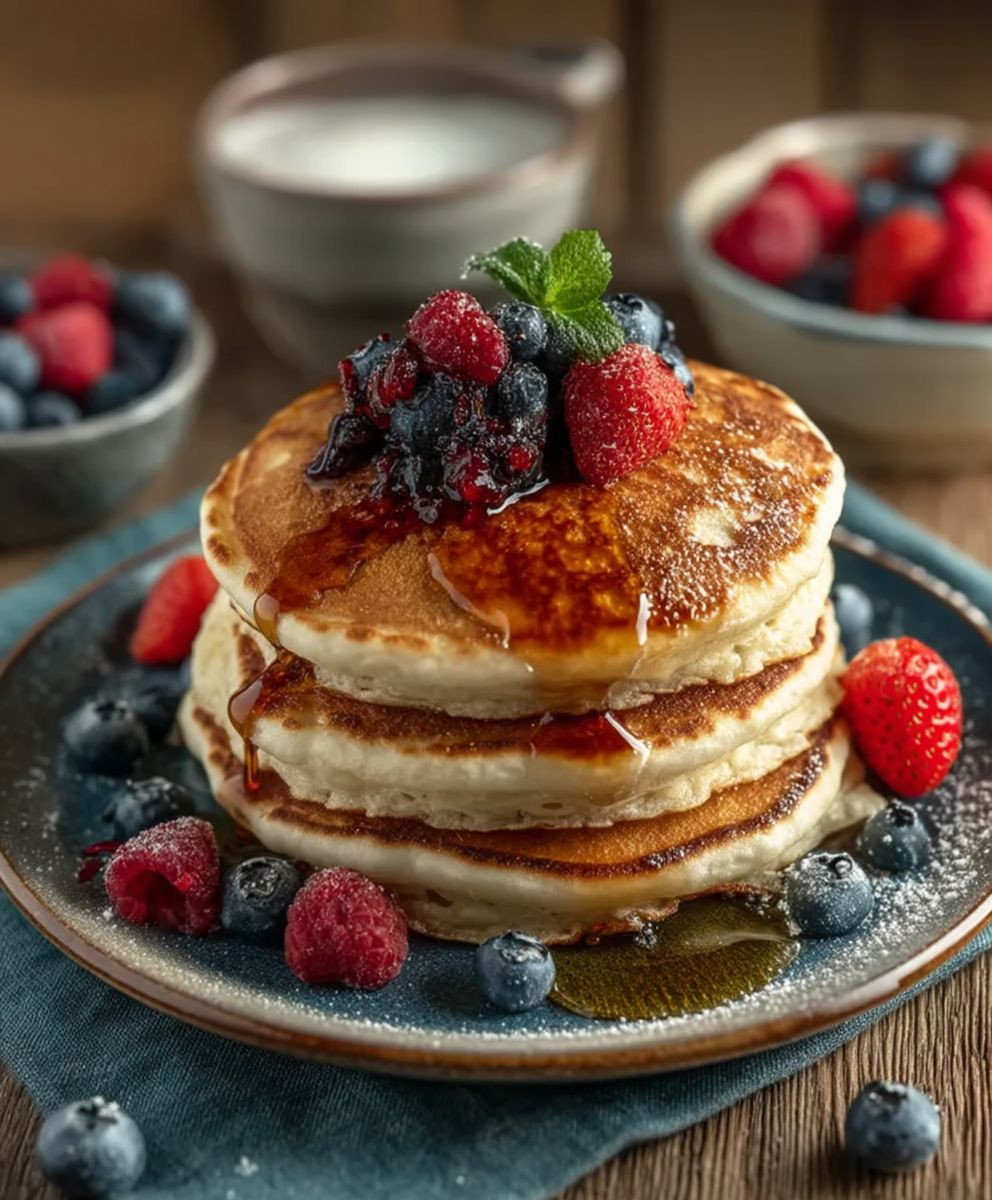
Old Fashioned Pancakes: Is there anything that evokes a sense of cozy nostalgia quite like a stack of perfectly golden, fluffy pancakes? I think not! These aren’t just any pancakes; they’re a trip down memory lane, a taste of simpler times, and a guaranteed way to start your day with a smile. Forget those trendy, complicated breakfast recipes for a moment, and let’s rediscover the pure joy of a classic.
Pancakes, in their various forms, have been gracing breakfast tables for centuries. From ancient Roman flatbreads to the buckwheat galettes of Brittany, the concept of a simple batter cooked on a hot surface is universal. But the Old Fashioned Pancakes we know and love in America have a particular charm, often associated with comforting family breakfasts and weekend traditions. They represent a connection to our culinary heritage, a reminder of home-cooked goodness passed down through generations.
So, what makes these pancakes so irresistible? It’s the perfect balance of textures – a slightly crisp edge giving way to a soft, airy interior. The subtle sweetness is just right, providing a blank canvas for your favorite toppings, from maple syrup and berries to whipped cream and chocolate chips. Plus, let’s be honest, they’re incredibly easy to make! With just a few simple ingredients and minimal effort, you can whip up a batch of these delightful Old Fashioned Pancakes and transform an ordinary morning into something special. Get ready to experience breakfast bliss!
Ingredients:
- 1 1/2 cups all-purpose flour
- 3 1/2 teaspoons baking powder
- 1 teaspoon salt
- 1 tablespoon white sugar
- 1 1/4 cups milk
- 1 egg
- 3 tablespoons butter, melted
- Optional: 1 teaspoon vanilla extract
- Optional: Fresh berries, maple syrup, whipped cream for serving
Preparing the Pancake Batter:
- Combine Dry Ingredients: In a large mixing bowl, whisk together the flour, baking powder, salt, and sugar. Make sure to get rid of any lumps in the flour or baking powder. This ensures a light and fluffy pancake. I like to use a whisk for this step to really aerate the dry ingredients.
- Add Wet Ingredients: In a separate bowl, whisk together the milk, egg, and melted butter. If you’re using vanilla extract, add it now. The butter should be cooled slightly before adding it to the egg mixture to prevent cooking the egg.
- Combine Wet and Dry: Pour the wet ingredients into the dry ingredients. Gently fold the mixture together until just combined. Be careful not to overmix! A few lumps are okay. Overmixing will develop the gluten in the flour, resulting in tough pancakes. I find that using a rubber spatula works best for this step.
- Let the Batter Rest: Allow the batter to rest for 5-10 minutes. This allows the baking powder to activate and the gluten to relax, resulting in a lighter, fluffier pancake. While the batter rests, you can prepare your griddle or frying pan.
Cooking the Pancakes:
- Prepare the Cooking Surface: Heat a lightly oiled griddle or frying pan over medium heat. You can use butter, oil, or cooking spray. I prefer using a non-stick pan for easy flipping and cleanup. To test if the pan is hot enough, sprinkle a few drops of water onto the surface. If the water sizzles and evaporates quickly, the pan is ready.
- Pour the Batter: Pour 1/4 cup of batter onto the hot griddle for each pancake. Adjust the amount of batter depending on your desired pancake size. Leave enough space between pancakes so they don’t run together.
- Cook the First Side: Cook for 2-3 minutes, or until bubbles start to form on the surface and the edges look set. The bubbles are a key indicator that the pancake is ready to be flipped.
- Flip the Pancakes: Carefully flip the pancakes with a spatula.
- Cook the Second Side: Cook for another 2-3 minutes, or until golden brown. Gently press down on the pancake with the spatula to ensure even cooking.
- Check for Doneness: The pancakes are done when they are golden brown on both sides and cooked through. You can test for doneness by inserting a toothpick into the center of the pancake. If the toothpick comes out clean, the pancake is cooked.
- Keep Warm (Optional): If you’re making a large batch of pancakes, you can keep them warm in a preheated oven (200°F or 93°C) until ready to serve. Place the cooked pancakes on a baking sheet lined with parchment paper.
Serving Suggestions:
- Stack and Serve: Stack the pancakes on a plate and serve immediately.
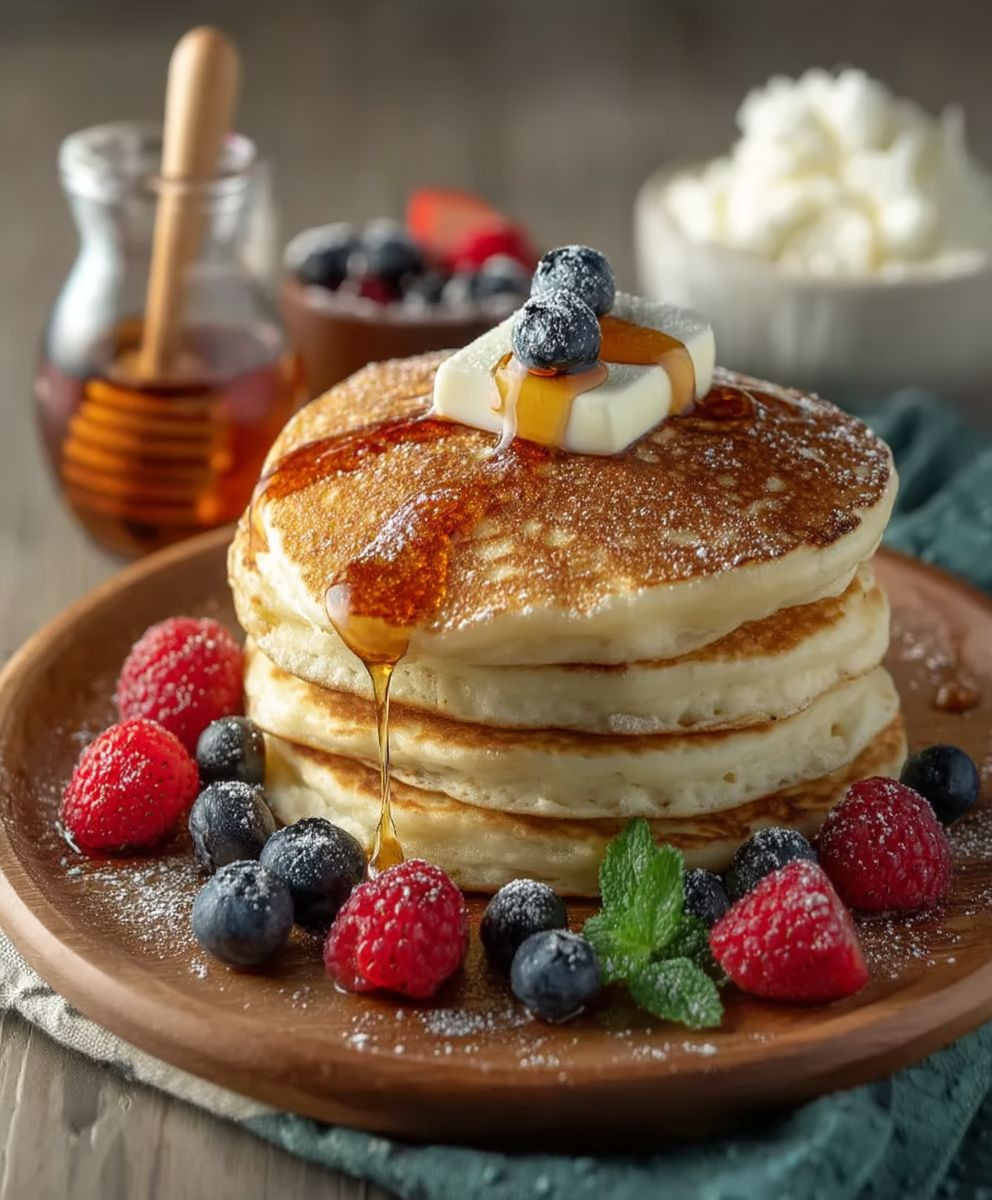
- Add Toppings: Top with your favorite toppings, such as fresh berries, maple syrup, whipped cream, chocolate chips, or nuts. I personally love adding a dollop of whipped cream and a handful of fresh blueberries.
- Enjoy! Enjoy your delicious homemade pancakes!
Tips for Perfect Pancakes:
- Don’t Overmix: Overmixing the batter will result in tough pancakes. Mix until just combined, leaving a few lumps.
- Use a Hot Griddle: A hot griddle is essential for achieving golden brown pancakes. Test the temperature by sprinkling a few drops of water onto the surface.
- Don’t Flip Too Early: Wait until bubbles form on the surface and the edges look set before flipping the pancakes.
- Adjust Heat as Needed: If the pancakes are browning too quickly, reduce the heat. If they’re not browning enough, increase the heat.
- Use Fresh Ingredients: Fresh baking powder is essential for light and fluffy pancakes.
- Experiment with Flavors: Add different extracts, spices, or fruits to the batter to create your own unique pancake flavors. I sometimes add a pinch of cinnamon or nutmeg for a warm, comforting flavor.
- Make Ahead: You can prepare the batter ahead of time and store it in the refrigerator for up to 24 hours. Just be sure to give it a good stir before cooking.
- Freezing Pancakes: Cooked pancakes can be frozen for later use. Let them cool completely, then place them in a single layer on a baking sheet lined with parchment paper. Freeze for 30 minutes, then transfer them to a freezer bag or container. Reheat in the microwave, oven, or toaster.
Troubleshooting:
- Pancakes are too flat: This could be due to using old baking powder, overmixing the batter, or not using enough batter.
- Pancakes are too thick: This could be due to using too much flour or not enough liquid.
- Pancakes are burning: This could be due to the griddle being too hot or cooking the pancakes for too long.
- Pancakes are sticking to the griddle: This could be due to not using enough oil or butter, or the griddle not being hot enough.
Variations:
- Blueberry Pancakes: Gently fold 1 cup of fresh or frozen blueberries into the batter before cooking.
- Chocolate Chip Pancakes: Gently fold 1/2 cup of chocolate chips into the batter before cooking.
- Banana Pancakes: Mash 1 ripe banana and add it to the wet ingredients.
- Whole Wheat Pancakes: Substitute half of the all-purpose flour with whole wheat flour.
- Buttermilk Pancakes: Substitute the milk with buttermilk for a tangy flavor.
- Vegan Pancakes: Substitute the milk with plant-based milk (such as almond milk or soy milk), the egg with a flax egg (1 tablespoon ground flaxseed mixed with 3 tablespoons water), and the butter with vegan butter or oil.
Detailed Explanation of Ingredients:
- All-Purpose Flour: This is the standard flour used for most baking recipes. It provides structure to the pancakes.
- Baking Powder: This is a leavening agent that helps the pancakes rise and become fluffy. It’s important to use fresh baking powder for the best results.
- Salt: Salt enhances the flavor of the pancakes and balances the sweetness.
- White Sugar: Sugar adds sweetness and helps the pancakes brown. You can adjust the amount of sugar to your liking.
- Milk: Milk provides moisture and helps to create a smooth batter. You can use any type of milk, including dairy or plant-based milk.
- Egg: The egg binds the ingredients together and adds richness to the pancakes.
- Butter: Melted butter adds flavor and moisture to the pancakes. You can use unsalted or salted butter. If using salted butter, you may want to reduce the amount of salt in the recipe.
- Vanilla Extract (Optional): Vanilla extract adds a subtle flavor to the pancakes.
- Toppings (Optional): Toppings are a great way to customize your pancakes. Some popular toppings include fresh berries, maple syrup, whipped cream, chocolate chips, and nuts.
Why These Pancakes Are the Best:
These old-fashioned pancakes are the best because they are:
- Easy to make: The recipe is simple and straightforward, making it perfect for beginners.
- Fluffy and delicious: The pancakes are light, airy, and full of flavor.
- Versatile: You can easily customize the recipe to your liking by adding different flavors and toppings.
- Perfect for any occasion: These pancakes are perfect for breakfast, brunch, or even dessert.
Nutritional Information (Approximate):
Please note that the nutritional information is an estimate and may vary depending on the specific ingredients used and portion sizes.
- Calories: Approximately 200-250 per pancake (without toppings)
- Fat: 8-12 grams
- Saturated Fat: 4-6

Conclusion:
And there you have it! These Old Fashioned Pancakes are more than just a breakfast item; they’re a warm hug on a plate, a nostalgic trip to simpler times, and a guaranteed crowd-pleaser. I truly believe this recipe is a must-try because it delivers that classic pancake flavor and texture we all crave, without any complicated steps or fancy ingredients. It’s the kind of recipe you’ll find yourself reaching for again and again, whether it’s a lazy Sunday morning or a quick weekday breakfast before the school run.
But the best part? The versatility! While these pancakes are absolutely divine on their own, drizzled with maple syrup and a pat of butter, the possibilities are endless. Feeling fruity? Top them with fresh berries, sliced bananas, or a homemade berry compote. Craving something a little richer? Add a dollop of whipped cream and a sprinkle of chocolate shavings. For a truly decadent treat, try a scoop of vanilla ice cream and a drizzle of caramel sauce.
And don’t even get me started on variations! Want to add a little extra flavor to the batter? A teaspoon of vanilla extract, a pinch of cinnamon, or a dash of nutmeg will do the trick. For a more substantial pancake, stir in some chopped nuts, chocolate chips, or even blueberries. If you’re feeling adventurous, try adding a tablespoon of lemon zest for a bright and zesty twist.
For a savory option, consider adding some cooked bacon crumbles or shredded cheese to the batter. Serve with a fried egg on top for a complete and satisfying breakfast. You can even experiment with different flours! Whole wheat flour will give your pancakes a nuttier flavor and a slightly denser texture, while buckwheat flour will add a unique, earthy taste.
These Old Fashioned Pancakes are also perfect for meal prepping. Simply cook a batch ahead of time and store them in the refrigerator or freezer. When you’re ready to eat, just pop them in the toaster or microwave for a quick and easy breakfast. They’re also great for packing in lunchboxes or taking on road trips.
I’ve poured my heart and soul into perfecting this recipe, and I’m confident that you’ll love it as much as I do. It’s a recipe that’s been passed down through generations in my family, and I’m so excited to share it with you.
So, what are you waiting for? Grab your ingredients, dust off your griddle, and get ready to whip up a batch of these incredibly delicious Old Fashioned Pancakes. I promise you won’t be disappointed.
And most importantly, I want to hear about your experience! Did you try the recipe? What variations did you make? What toppings did you use? Share your photos and stories in the comments below. I can’t wait to see what you create! Happy cooking, and happy eating! Let me know if you have any questions, I am always happy to help. I hope you enjoy these pancakes as much as my family and I do. They are truly a special treat.
Old Fashioned Pancakes: The Ultimate Guide to Fluffy Perfection
Classic, fluffy pancakes perfect for breakfast, brunch, or a sweet treat. Easy to make and endlessly customizable with your favorite toppings!
By: Bluebella JuneCategory: BreakfastDifficulty: EasyCuisine: AmericanYield: 8-10 pancakesDietary: VegetarianIngredients
Instructions
Recipe Notes
- Don’t overmix the batter. A few lumps are okay.
- Use a hot griddle for golden brown pancakes.
- Wait until bubbles form before flipping.
- Adjust heat as needed to prevent burning.
- Fresh baking powder is essential.
- Experiment with flavors by adding extracts, spices, or fruits.
- Batter can be made ahead and stored in the refrigerator for up to 24 hours.
- Cooked pancakes can be frozen for later use.
Frequently Asked Questions
→ How do I ensure the bread stays moist?Use fresh, ripe ingredients and avoid overmixing the batter. Store in an airtight container.→ Can I substitute ingredients?Yes, you can substitute similar ingredients while maintaining the basic ratios for best results.→ How long does this bread keep?Store tightly wrapped at room temperature for 2-3 days, or refrigerate for up to a week.→ What if I don't have all the spices?You can adjust spices to taste or substitute with similar warming spices.→ Can I freeze this bread?Yes, wrap individual slices and freeze for up to 3 months. Thaw at room temperature before serving.
Leave a Comment