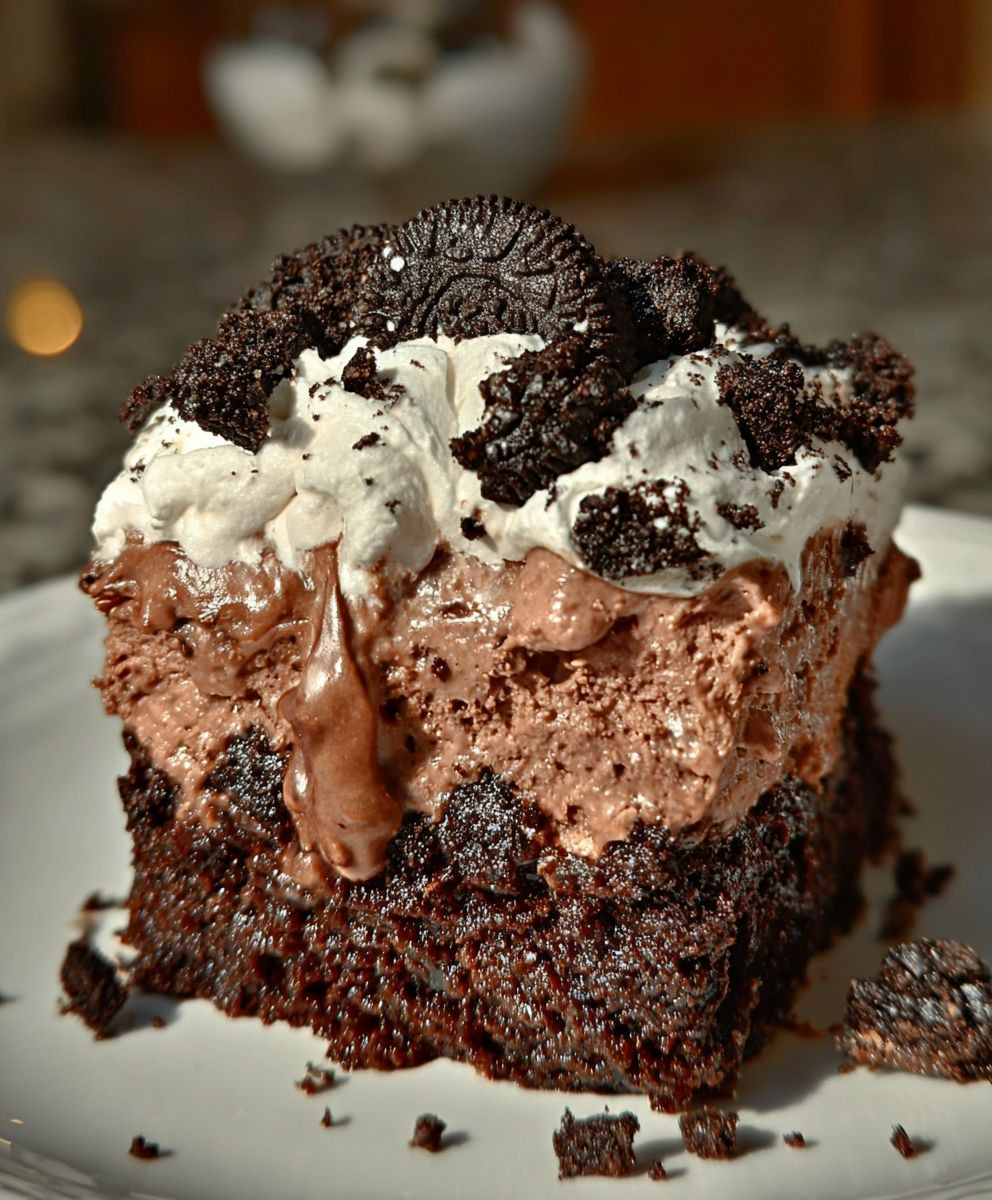
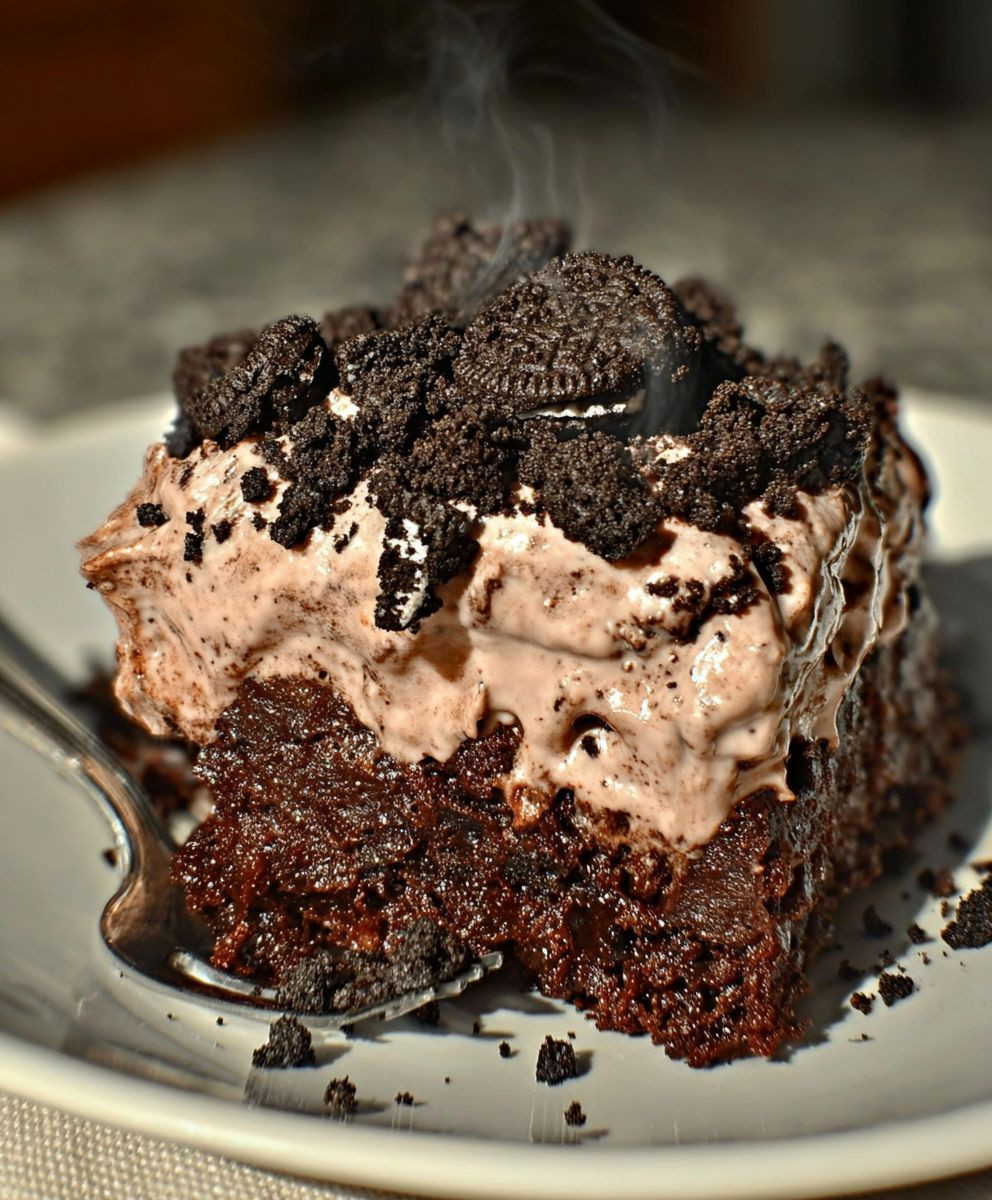
Oreo Dirt Cake: Prepare to unearth a dessert sensation that will transport you back to childhood! Remember the thrill of digging into a cup of “dirt” filled with gummy worms? Well, this isn’t your average playground treat. We’re elevating that nostalgic joy with a decadent, layered dessert that’s perfect for parties, potlucks, or simply satisfying your sweet tooth.
While the exact origins of dirt cake are shrouded in a bit of mystery, its playful presentation and irresistible combination of creamy pudding, crushed Oreos, and gummy worms have made it a beloved dessert across generations. It’s a whimsical take on classic layered desserts, offering a delightful contrast of textures and flavors that appeal to both kids and adults alike.
What makes Oreo Dirt Cake so irresistible? It’s the perfect marriage of creamy, dreamy pudding, the satisfying crunch of Oreo cookies, and the playful addition of gummy worms. The rich chocolate flavor of the Oreos complements the smooth vanilla pudding beautifully, creating a symphony of flavors that dance on your palate. Plus, it’s incredibly easy to make, requiring minimal baking and readily available ingredients. This makes it a fantastic option for busy weeknights or when you need a crowd-pleasing dessert in a pinch. Get ready to dig in!
Ingredients:
- 1 package (14.3 ounces) Oreo cookies, regular or Double Stuf
- 1/2 cup (1 stick) unsalted butter, softened
- 8 ounces cream cheese, softened
- 3 1/2 cups powdered sugar
- 4 cups cold milk
- 2 packages (3.4 ounces each) instant vanilla pudding mix
- 12 ounces whipped topping, thawed (like Cool Whip)
- Gummy worms, for decoration
- Chocolate rocks, for decoration (optional)
- Fresh mint leaves, for decoration (optional)
- A new, clean flower pot (optional, for presentation)
Preparing the Oreo Crumbs:
Okay, let’s get started! The first thing we need to do is transform those delicious Oreo cookies into a crumbly “dirt” base. This is super easy and kind of therapeutic, if you ask me!
- Separate the Oreos: Gently twist apart each Oreo cookie. We want to separate the creamy filling from the chocolate wafers. Don’t worry if some of the filling sticks to the wafers – it’s all going to be delicious in the end!
- Scrape the Filling: Using a butter knife or small spatula, scrape the creamy filling from all the Oreo wafers. Place the filling in a large mixing bowl. We’ll be using this later for the creamy layer.
- Crush the Wafers: Now for the fun part! You have a couple of options here. You can use a food processor for a quick and even crumb, or you can go the old-fashioned route with a resealable plastic bag and a rolling pin.
- Food Processor Method: Place the Oreo wafers in the food processor and pulse until they are finely crushed into crumbs. Be careful not to over-process them into a paste.
- Plastic Bag Method: Place the Oreo wafers in a large resealable plastic bag. Seal the bag tightly, removing as much air as possible. Use a rolling pin or a heavy object (like a can of beans) to crush the wafers into fine crumbs. Roll back and forth over the bag until you achieve the desired consistency.
- Set Aside: Once you have your Oreo crumbs, set them aside in a separate bowl. We’ll be using these to create the “dirt” layers in our cake.
Making the Creamy Layer:
Next up, we’re going to create the rich and decadent creamy layer that will make this dirt cake truly irresistible. This is where the cream cheese and Oreo filling come into play!
- Cream Butter and Cream Cheese: In the large mixing bowl with the Oreo filling, add the softened butter and cream cheese. Using an electric mixer (either a stand mixer or a hand mixer), beat the ingredients together until they are smooth and creamy. Make sure there are no lumps of cream cheese remaining. This step is crucial for a smooth and even texture.
- Add Powdered Sugar: Gradually add the powdered sugar to the cream cheese mixture, one cup at a time. Beat on low speed until the powdered sugar is fully incorporated. Be careful not to add the powdered sugar too quickly, or it will create a cloud of dust! Once all the powdered sugar is added, increase the speed to medium and beat until the mixture is light and fluffy.
- Set Aside: Once the creamy layer is ready, set it aside. We’ll be using it later to layer with the Oreo crumbs and pudding.
Preparing the Pudding:
Now, let’s get the pudding ready! This is a super simple step, but it’s essential for adding moisture and flavor to our dirt cake.
- Whisk Milk and Pudding Mix: In a separate large bowl, pour in the cold milk. Add both packages of instant vanilla pudding mix. Using a whisk, vigorously whisk the milk and pudding mix together for about 2 minutes, or until the pudding starts to thicken.
- Let it Set: Let the pudding sit for about 5 minutes to allow it to fully thicken. You’ll know it’s ready when it has a nice, creamy consistency.
- Fold in Whipped Topping: Gently fold in the thawed whipped topping into the thickened pudding. Be careful not to overmix, as this can deflate the whipped topping. We want to keep it light and airy.
Assembling the Oreo Dirt Cake:
Alright, the moment we’ve been waiting for! It’s time to assemble our Oreo Dirt Cake. This is where the magic happens, and you get to see all your hard work come together.
- Choose Your Dish: Select the dish you want to use for your dirt cake. A 9×13 inch baking dish works perfectly, but you can also use a trifle bowl or even individual serving cups. For a fun and unique presentation, you can use a new, clean flower pot! Just make sure it’s food-safe.
- First Layer: Oreo Crumbs: Spread a layer of Oreo crumbs evenly across the bottom of your chosen dish. This will be the foundation of our dirt cake. Use about 1/3 of the Oreo crumbs for this first layer.
- Second Layer: Creamy Layer: Spread the creamy layer evenly over the Oreo crumb layer. Use all of the creamy layer for this step. This layer adds richness and sweetness to the cake.
- Third Layer: Pudding Mixture: Spread the pudding mixture evenly over the creamy layer. Use all of the pudding mixture for this layer. This layer adds moisture and a light, airy texture.
- Fourth Layer: Oreo Crumbs: Sprinkle another layer of Oreo crumbs over the pudding mixture. Use about half of the remaining Oreo crumbs for this layer.
- Final Layer: Oreo Crumbs: Sprinkle the remaining Oreo crumbs over the top of the cake. This will create the “dirt” effect that gives the cake its name.
Decorating the Dirt Cake:
Now for the final touch – decorating! This is where you can get creative and add your own personal flair to the dirt cake. The classic decorations are gummy worms and chocolate rocks, but feel free to add anything you like!
- Add Gummy Worms: Arrange gummy worms on top of the Oreo crumbs to resemble worms crawling through the dirt. You can bury some of the worms partially in the crumbs for a more realistic effect.
- Add Chocolate Rocks (Optional): Sprinkle chocolate rocks around the gummy worms to add a bit of texture and visual interest.
- Add Fresh Mint Leaves (Optional): For a touch of freshness and color, you can add a few fresh mint leaves to the top of the cake.
- Chill Before Serving: Cover the dirt cake with plastic wrap and refrigerate for at least 2 hours, or preferably overnight. This will allow the flavors to meld together and the cake to set properly.
Serving and Storage:
Finally, it’s time to serve and enjoy your delicious Oreo Dirt Cake! This cake is best served cold, so make sure it’s been properly chilled before serving.
- Serving: To serve, simply scoop out portions of the dirt cake and enjoy! You can serve it in bowls, cups, or even directly from the baking dish.
- Storage: Store any leftover dirt cake in the refrigerator, covered with plastic wrap or in an airtight container. It will keep for up to 3 days. The Oreo crumbs may soften slightly over time, but the cake will still be delicious.
Tips and Variations:
Here are a few tips and variations to help you customize your Oreo Dirt Cake and make it your own:
- Use Different Flavors of Oreos: Experiment with different flavors of Oreos, such as Golden Oreos, Mint Oreos, or Peanut Butter Oreos. Each flavor will add a unique twist to the cake.
- Add Chocolate Pudding: Substitute one of the vanilla pudding packages with chocolate pudding for a richer, more chocolatey flavor.
- Add Crushed Candy Bars: Sprinkle crushed candy bars, such as Snickers or Reese’s Peanut Butter Cups, on top of the Oreo crumbs for added sweetness and texture.
- Make Individual Dirt Cups: Instead of making a large cake, you can make individual dirt cups by layering the ingredients in small cups or glasses. This is a great option for parties or gatherings.
- Add a Layer of Brownie: For an extra decadent treat, bake a layer of brownie in the bottom of the dish before adding the Oreo crumbs.
- Use a Flower Pot: For a super cute presentation, layer the ingredients in a new, clean flower pot. Top with gummy worms and a few artificial flowers for a realistic “dirt” look.
Enjoy!
I hope you enjoy making and
Conclusion:
And there you have it! Our Oreo Dirt Cake recipe is more than just a dessert; it’s a nostalgic trip back to childhood, a guaranteed crowd-pleaser, and surprisingly simple to make. I truly believe this is a must-try for anyone looking for a fun, delicious, and visually appealing treat. The combination of the creamy pudding, the crunchy Oreo “dirt,” and the gummy worms creates a textural and flavor explosion that’s simply irresistible.
What makes this recipe so special, in my opinion, is its versatility. While the classic gummy worm topping is always a hit, feel free to get creative! Consider adding crushed peanut butter cups for a richer, more decadent flavor. Or, for a festive touch, swap out the gummy worms for seasonal candies like candy corn in the fall or mini chocolate eggs in the spring. You could even layer in some fresh berries for a burst of freshness and color.
Serving suggestions are just as flexible. This Oreo Dirt Cake is perfect for birthday parties, potlucks, barbecues, or even just a fun weekend treat. For a more elegant presentation, consider serving individual portions in clear glass cups or mason jars. This not only looks beautiful but also makes it easier for guests to enjoy. If you’re serving a large crowd, you can prepare the cake ahead of time and store it in the refrigerator until you’re ready to serve. Just be sure to add the gummy worms right before serving to prevent them from getting soggy.
Another variation I’ve experimented with is using different flavors of pudding. Chocolate pudding adds an extra layer of richness, while banana pudding complements the Oreo flavor beautifully. You could even try using sugar-free pudding to reduce the sugar content without sacrificing the delicious taste. The possibilities are truly endless!
Don’t be intimidated by the layered appearance of the cake. It’s actually incredibly easy to assemble. The key is to make sure each layer is evenly distributed and that you allow enough time for the pudding to set properly. I usually recommend chilling the cake for at least two hours, but overnight is even better. This allows the flavors to meld together and the pudding to firm up, resulting in a perfectly textured and flavorful dessert.
I’m confident that you’ll love this Oreo Dirt Cake recipe as much as I do. It’s a guaranteed hit with kids and adults alike, and it’s sure to become a new family favorite. So, gather your ingredients, put on your apron, and get ready to create some delicious memories.
I’m so excited for you to try this recipe! Once you do, I would absolutely love to hear about your experience. Did you make any variations? Did you serve it at a special occasion? What did your family and friends think? Please share your photos and comments in the comments section below. Your feedback is invaluable, and it helps me to continue creating recipes that you’ll love. Happy baking!
Oreo Dirt Cake: Delicious Recipe & Easy Instructions
Easy no-bake dessert with Oreo crumbs, creamy filling, and vanilla pudding, decorated with gummy worms for a fun "dirt" effect. Perfect for parties and kids!
Ingredients
Instructions
Recipe Notes
- For a richer flavor, substitute one vanilla pudding package with chocolate pudding.
- Experiment with different Oreo flavors like Golden, Mint, or Peanut Butter.
- Add crushed candy bars for extra sweetness and texture.
- For individual servings, layer ingredients in small cups or glasses.
- For a super cute presentation, layer the ingredients in a new, clean flower pot. Top with gummy worms and a few artificial flowers for a realistic “dirt” look.



Leave a Comment