
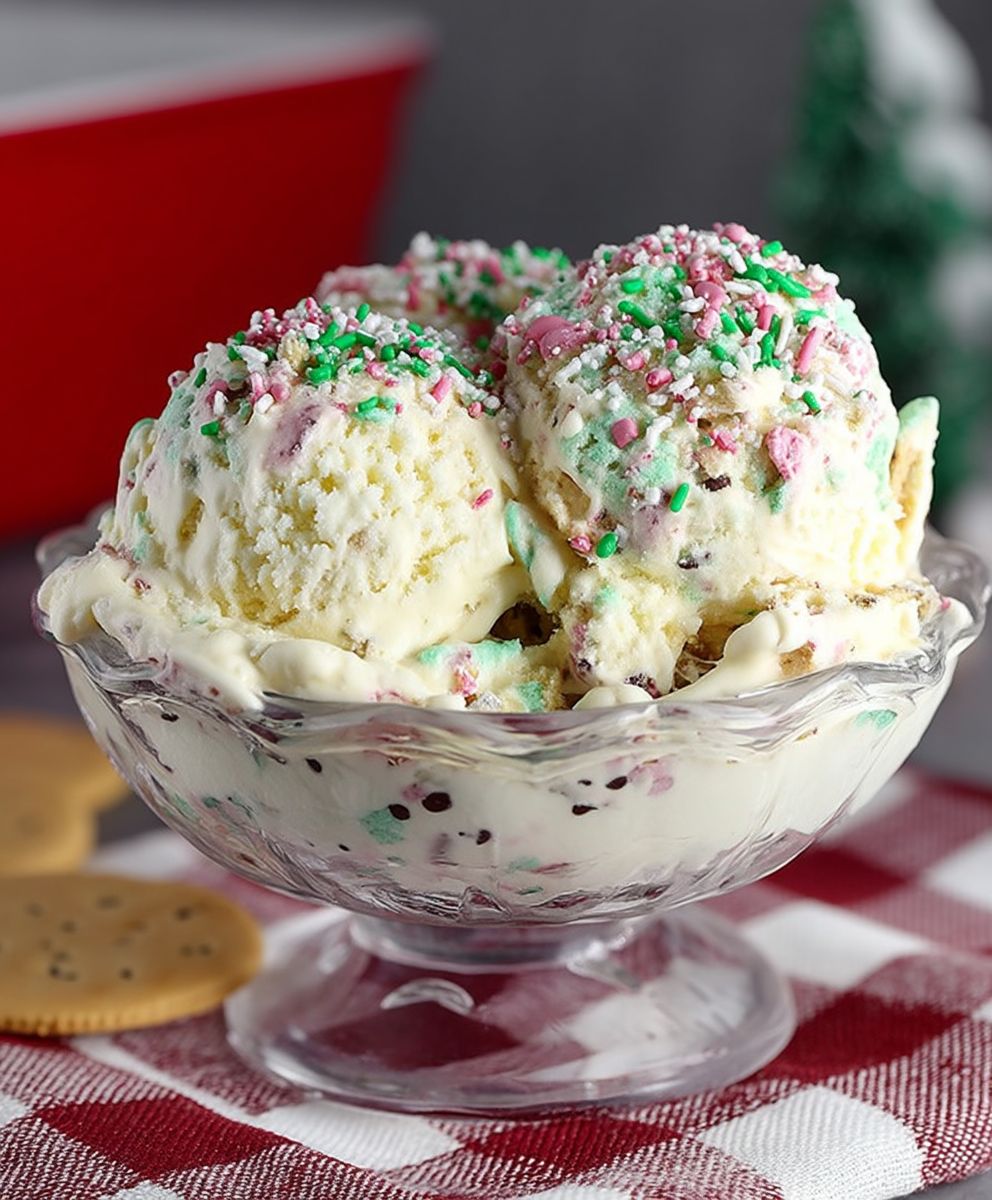
Christmas Cookie Ice Cream: the very words conjure up images of twinkling lights, cozy fireplaces, and the irresistible aroma of freshly baked cookies. But what if you could capture all that holiday magic in a single, delightful scoop? I’m thrilled to share a recipe that does just that – transforming your favorite Christmas cookies into a creamy, dreamy frozen dessert that will have everyone singing carols of joy!
While the exact origins of combining cookies and ice cream are shrouded in delicious mystery, the concept speaks to a universal love of sweet indulgence. Think about it: cookies, with their comforting textures and diverse flavors, have been a staple of holiday celebrations for centuries. Ice cream, a symbol of pure pleasure, offers a cool and refreshing contrast. Marrying the two? Pure genius! This Christmas Cookie Ice Cream recipe is more than just a dessert; it’s a celebration of tradition, a nod to innovation, and a guaranteed crowd-pleaser.
People adore this dish for its incredible versatility. You can use your family’s cherished cookie recipes – gingerbread, sugar cookies, chocolate chip – the possibilities are endless! The creamy texture of the ice cream perfectly complements the satisfying crunch of the cookies, creating a symphony of flavors and sensations that dance on your palate. Plus, it’s incredibly convenient. Got leftover cookies? Turn them into a show-stopping dessert! Want to impress your holiday guests? This recipe is your secret weapon. Get ready to experience the ultimate Christmas treat!
Ingredients:
- For the Christmas Cookies:
- 3 cups all-purpose flour
- 1 teaspoon baking powder
- 1/2 teaspoon baking soda
- 1/4 teaspoon salt
- 1 cup (2 sticks) unsalted butter, softened
- 1 1/2 cups granulated sugar
- 2 large eggs
- 1 teaspoon vanilla extract
- 1/2 teaspoon almond extract (optional, but adds a nice touch!)
- Assorted sprinkles and colored sugar for decorating
- For the Ice Cream Base:
- 2 cups heavy cream
- 1 cup whole milk
- 3/4 cup granulated sugar
- 1/4 teaspoon salt
- 1 teaspoon vanilla extract
Making the Christmas Cookies
Okay, let’s start with the cookies! These are the stars of our ice cream show, so we want them to be delicious and festive. Don’t be afraid to get creative with your decorating!
- Combine Dry Ingredients: In a medium bowl, whisk together the flour, baking powder, baking soda, and salt. This ensures everything is evenly distributed, which is key for a good cookie texture.
- Cream Butter and Sugar: In a large bowl (or the bowl of your stand mixer), cream together the softened butter and granulated sugar until light and fluffy. This usually takes about 3-5 minutes. You want it to be nice and airy!
- Add Eggs and Extracts: Beat in the eggs one at a time, then stir in the vanilla extract and almond extract (if using). Make sure each egg is fully incorporated before adding the next.
- Gradually Add Dry Ingredients: Gradually add the dry ingredients to the wet ingredients, mixing on low speed until just combined. Be careful not to overmix, as this can lead to tough cookies. A few streaks of flour are okay at this point.
- Chill the Dough: Wrap the dough in plastic wrap and chill in the refrigerator for at least 1 hour, or preferably 2 hours. This chilling time is crucial! It prevents the cookies from spreading too much in the oven and allows the flavors to meld together.
- Preheat Oven and Prepare Baking Sheets: Preheat your oven to 375°F (190°C). Line baking sheets with parchment paper. Parchment paper is your best friend for easy cleanup and prevents the cookies from sticking.
- Roll Out and Cut Cookies: On a lightly floured surface, roll out the dough to about 1/4 inch thickness. Use your favorite Christmas cookie cutters to cut out shapes.
- Bake the Cookies: Place the cookies on the prepared baking sheets, leaving about 1 inch of space between each cookie. Bake for 8-10 minutes, or until the edges are lightly golden brown. Keep a close eye on them, as they can burn easily.
- Cool and Decorate: Let the cookies cool on the baking sheets for a few minutes before transferring them to a wire rack to cool completely. Once cooled, decorate with your favorite sprinkles and colored sugar. Let the decorations set before using the cookies in the ice cream.
Making the Ice Cream Base
Now for the ice cream! This is a simple, classic vanilla base that will perfectly complement the Christmas cookies. If you don’t have an ice cream maker, don’t worry, I’ll give you instructions for a no-churn version too!
- Combine Ingredients: In a medium saucepan, combine the heavy cream, whole milk, granulated sugar, and salt.
- Heat and Dissolve Sugar: Heat the mixture over medium heat, stirring constantly, until the sugar is completely dissolved. Do not boil! You just want the sugar to dissolve.
- Chill the Mixture: Remove the saucepan from the heat and stir in the vanilla extract. Pour the mixture into a bowl, cover with plastic wrap (pressing the plastic wrap directly onto the surface of the mixture to prevent a skin from forming), and chill in the refrigerator for at least 4 hours, or preferably overnight. This chilling time is essential for a smooth and creamy ice cream.
Churning the Ice Cream (If Using an Ice Cream Maker)
If you have an ice cream maker, this part is super easy! Just follow the manufacturer’s instructions for your specific machine.
- Prepare Ice Cream Maker: Make sure your ice cream maker bowl is properly frozen according to the manufacturer’s instructions.
- Churn the Ice Cream: Pour the chilled ice cream base into the ice cream maker and churn according to the manufacturer’s instructions. This usually takes about 20-30 minutes. The ice cream should be thick and creamy.
No-Churn Ice Cream Method (If You Don’t Have an Ice Cream Maker)
Don’t have an ice cream maker? No problem! You can still make delicious ice cream at home with this easy no-churn method.
- Whip the Cream: In a large bowl, use an electric mixer to whip the heavy cream until stiff peaks form. Be careful not to overwhip!
- Combine and Freeze: Gently fold the chilled milk mixture into the whipped cream until just combined. Pour the mixture into a freezer-safe container and freeze for at least 6 hours, or preferably overnight.
Assembling the Christmas Cookie Ice Cream
This is the fun part! Now we get to combine the cookies and ice cream to create our masterpiece.
- Soften the Ice Cream: Let the ice cream (whether churned or no-churn) soften slightly at room temperature for about 10-15 minutes. This will make it easier to scoop and mix.
- Chop the Cookies: Roughly chop the Christmas cookies into bite-sized pieces. You want a variety of sizes for texture.
- Layer Ice Cream and Cookies: In a freezer-safe container, layer the softened ice cream with the chopped Christmas cookies. Repeat the layers until all the ice cream and cookies are used, ending with a layer of ice cream.
- Freeze: Gently press down on the top layer to compact the ice cream and cookies. Cover the container tightly and freeze for at least 2 hours, or preferably longer, to allow the ice cream to firm up.
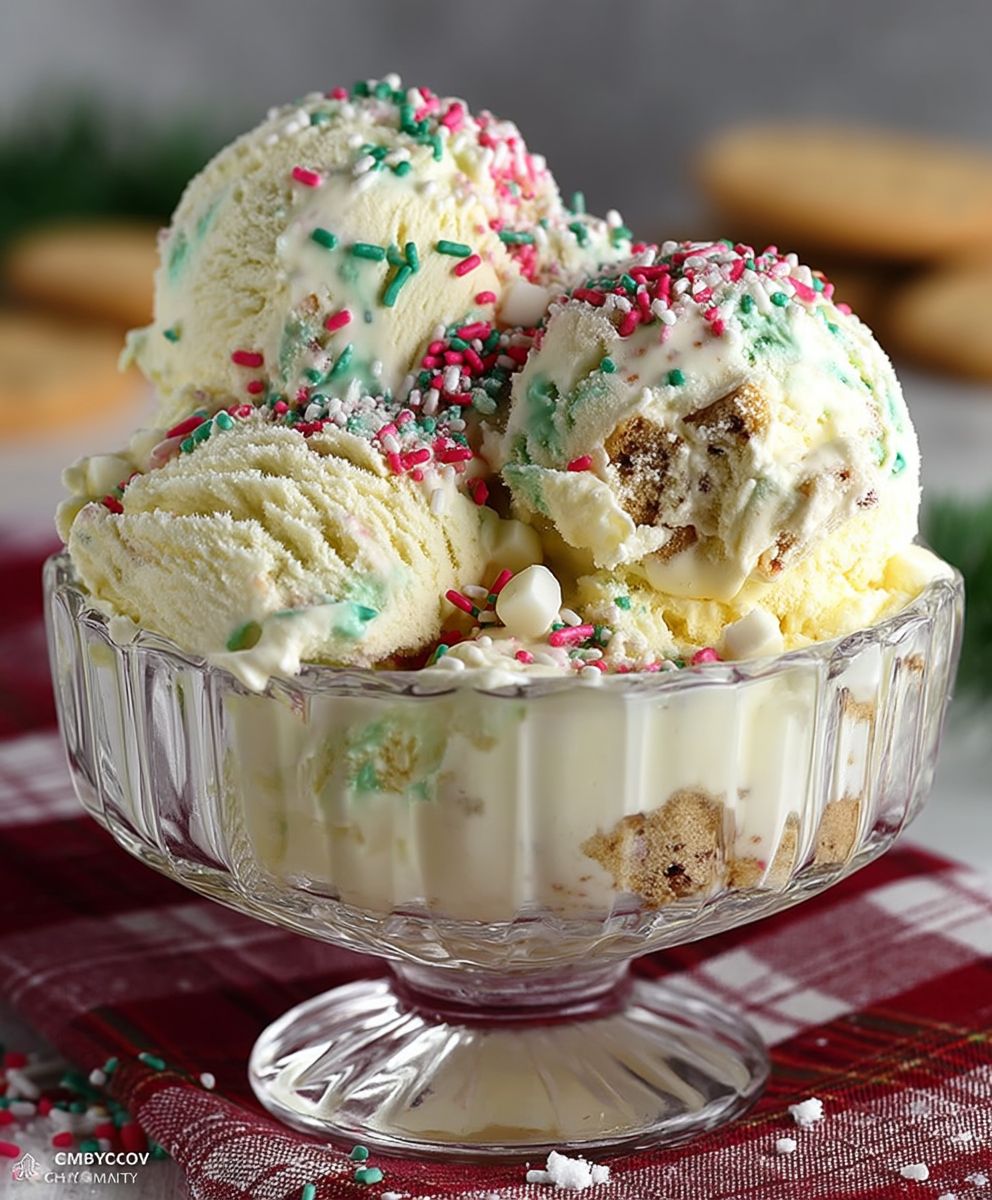
- Serve and Enjoy: Scoop the Christmas cookie ice cream into bowls or cones and enjoy! You can add extra sprinkles or a drizzle of chocolate sauce for an extra festive touch.
Conclusion:
This Christmas Cookie Ice Cream isn’t just a dessert; it’s a holiday experience in every spoonful! The creamy, vanilla-infused base, studded with chunks of festive, spiced cookies, creates a symphony of textures and flavors that will transport you straight to a cozy Christmas Eve. It’s the perfect way to use up leftover Christmas cookies (if there are any!), but honestly, it’s so good you might just bake a batch specifically for this recipe.
Why is this a must-try? Because it’s incredibly easy to make, requires no special equipment beyond a standard ice cream maker, and delivers a wow factor that will impress your family and friends. Forget store-bought ice cream this holiday season; this homemade version is infinitely better, bursting with fresh, authentic flavors that you simply can’t replicate from a carton. Plus, the aroma that fills your kitchen as the cookies churn into the ice cream is pure holiday magic!
But the best part? The possibilities are endless! Serve this delightful Christmas Cookie Ice Cream in a variety of ways to elevate your holiday celebrations. For a classic treat, scoop it into waffle cones or sugar cones. For a more decadent experience, create an ice cream sundae bar with toppings like hot fudge, caramel sauce, whipped cream, sprinkles, and chopped nuts. Imagine the smiles as everyone customizes their own perfect bowl!
Looking for variations? Get creative! Try using different types of Christmas cookies. Gingerbread cookies, shortbread, or even chocolate peppermint cookies would all be fantastic additions. You could also add a swirl of cranberry sauce or a drizzle of melted white chocolate for an extra touch of holiday flair. For a boozy twist, consider adding a tablespoon or two of your favorite Christmas liqueur, like Irish cream or peppermint schnapps, to the ice cream base before churning. Just remember to adjust the amount depending on your preference.
Another fun idea is to make ice cream sandwiches using the same Christmas cookies you used in the ice cream. Simply slice the cookies in half and sandwich a scoop of ice cream between them. These are perfect for parties or as a special treat for the kids (and adults!). You can even roll the edges of the ice cream sandwiches in sprinkles or chopped nuts for an extra festive touch.
Don’t be intimidated by the thought of making homemade ice cream. This recipe is foolproof, and the results are well worth the effort. I promise, once you taste this Christmas Cookie Ice Cream, you’ll never go back to store-bought again. It’s the perfect way to add a personal touch to your holiday celebrations and create memories that will last a lifetime.
So, what are you waiting for? Gather your ingredients, dust off your ice cream maker, and get ready to create a holiday masterpiece. I’m confident that this recipe will become a new family favorite. And most importantly, I want to hear about your experience! Did you try any variations? What were your favorite cookies to use? Share your photos and stories in the comments below. I can’t wait to see what you create! Happy holidays and happy ice cream making!
Christmas Cookie Ice Cream: The Ultimate Holiday Dessert Recipe
Homemade vanilla ice cream swirled with delicious, decorated Christmas cookies. A perfect holiday treat!
Ingredients
Instructions
Recipe Notes
- Chilling the cookie dough is crucial to prevent spreading.
- Don’t overmix the cookie dough for tender cookies.
- Chilling the ice cream base is essential for a smooth and creamy texture.
- Adjust the amount of cookies to your preference.
- Get creative with your cookie decorations!
Leave a Comment