
Reeses Peanut Butter No Bake Bars: Prepare to be amazed! Imagine sinking your teeth into a decadent, creamy, peanut butter dream, all without ever turning on your oven. Yes, you read that right! These bars are the ultimate indulgence for peanut butter lovers, and the best part? They require absolutely no baking.
While the exact origins of no-bake bars are a bit hazy, their popularity exploded in the mid-20th century, coinciding with the rise of convenience foods. They perfectly captured the spirit of the era – delicious treats made with minimal effort. These Reeses Peanut Butter No Bake Bars take that convenience to the next level, infusing the classic no-bake concept with the irresistible flavor of Reese’s Peanut Butter Cups.
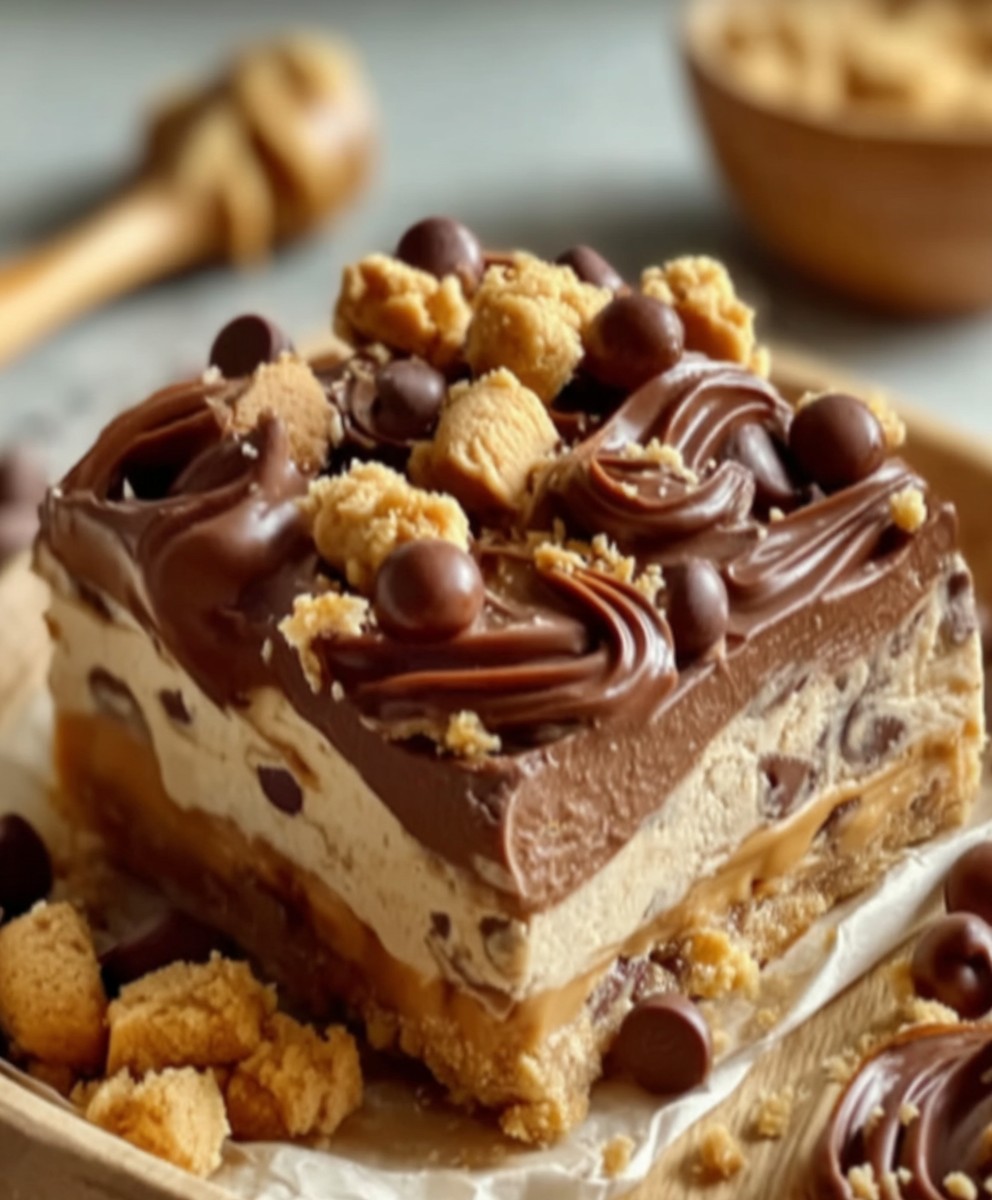
What’s not to love? The combination of the smooth, rich peanut butter filling, the satisfyingly crunchy graham cracker crust, and the optional (but highly recommended!) chocolate topping creates a symphony of textures and flavors that’s simply irresistible. They’re perfect for potlucks, bake sales (ironically!), or just a simple weeknight treat. Plus, they’re so easy to make that even the most novice baker can whip them up in a flash. Get ready to experience peanut butter bliss!
Ingredients:
- For the Crust:
- 1 ½ cups graham cracker crumbs (about 12 full sheets)
- ½ cup (1 stick) unsalted butter, melted
- ¼ cup granulated sugar
- For the Peanut Butter Filling:
- 1 cup (2 sticks) unsalted butter, softened
- 3 cups powdered sugar
- 1 ½ cups creamy peanut butter (I recommend using a brand like Jif or Skippy for best results)
- 1 teaspoon vanilla extract
- Pinch of salt
- For the Chocolate Topping:
- 12 ounces semi-sweet chocolate chips
- 2 tablespoons unsalted butter
Preparing the Graham Cracker Crust
- First, let’s get that crust ready! If you don’t already have graham cracker crumbs, you’ll need to crush your graham crackers. The easiest way to do this is to place them in a large zip-top bag and use a rolling pin to crush them into fine crumbs. You can also use a food processor if you have one. Just pulse them until they’re finely ground.
- In a medium bowl, combine the graham cracker crumbs, melted butter, and granulated sugar. Mix everything together really well until all the crumbs are moistened and the mixture resembles wet sand. This is important because it helps the crust hold together.
- Now, press the graham cracker mixture into the bottom of a 9×13 inch baking pan. I like to use the bottom of a measuring cup or a flat-bottomed glass to press it down firmly and evenly. This will create a nice, solid base for our peanut butter filling. Make sure you get into the corners!
- Once the crust is pressed firmly, place the pan in the refrigerator to chill while you prepare the peanut butter filling. This will help the crust set and prevent it from crumbling when you add the filling.
Making the Peanut Butter Filling
- Alright, let’s move on to the best part – the peanut butter filling! In a large bowl, cream together the softened butter and powdered sugar using an electric mixer (either a stand mixer or a hand mixer works great). Beat them on medium speed until the mixture is light and fluffy. This usually takes about 2-3 minutes. Make sure to scrape down the sides of the bowl occasionally to ensure everything is evenly combined.
- Add the creamy peanut butter, vanilla extract, and a pinch of salt to the butter and sugar mixture. Continue to beat on medium speed until everything is well combined and the filling is smooth and creamy. Again, scrape down the sides of the bowl as needed.
- Now, take the chilled graham cracker crust out of the refrigerator. Spread the peanut butter filling evenly over the crust. I find it easiest to dollop the filling across the crust and then use an offset spatula or the back of a spoon to spread it out smoothly. Try to get it as even as possible for a nice presentation.
- Once the peanut butter filling is spread evenly, return the pan to the refrigerator to chill while you prepare the chocolate topping. This will help the filling firm up and make it easier to spread the chocolate on top.
Creating the Chocolate Topping
- Time for the chocolate! In a microwave-safe bowl, combine the semi-sweet chocolate chips and the remaining butter. Microwave in 30-second intervals, stirring after each interval, until the chocolate is completely melted and smooth. Be careful not to overheat the chocolate, as it can burn easily. If you prefer, you can also melt the chocolate and butter in a double boiler over simmering water.
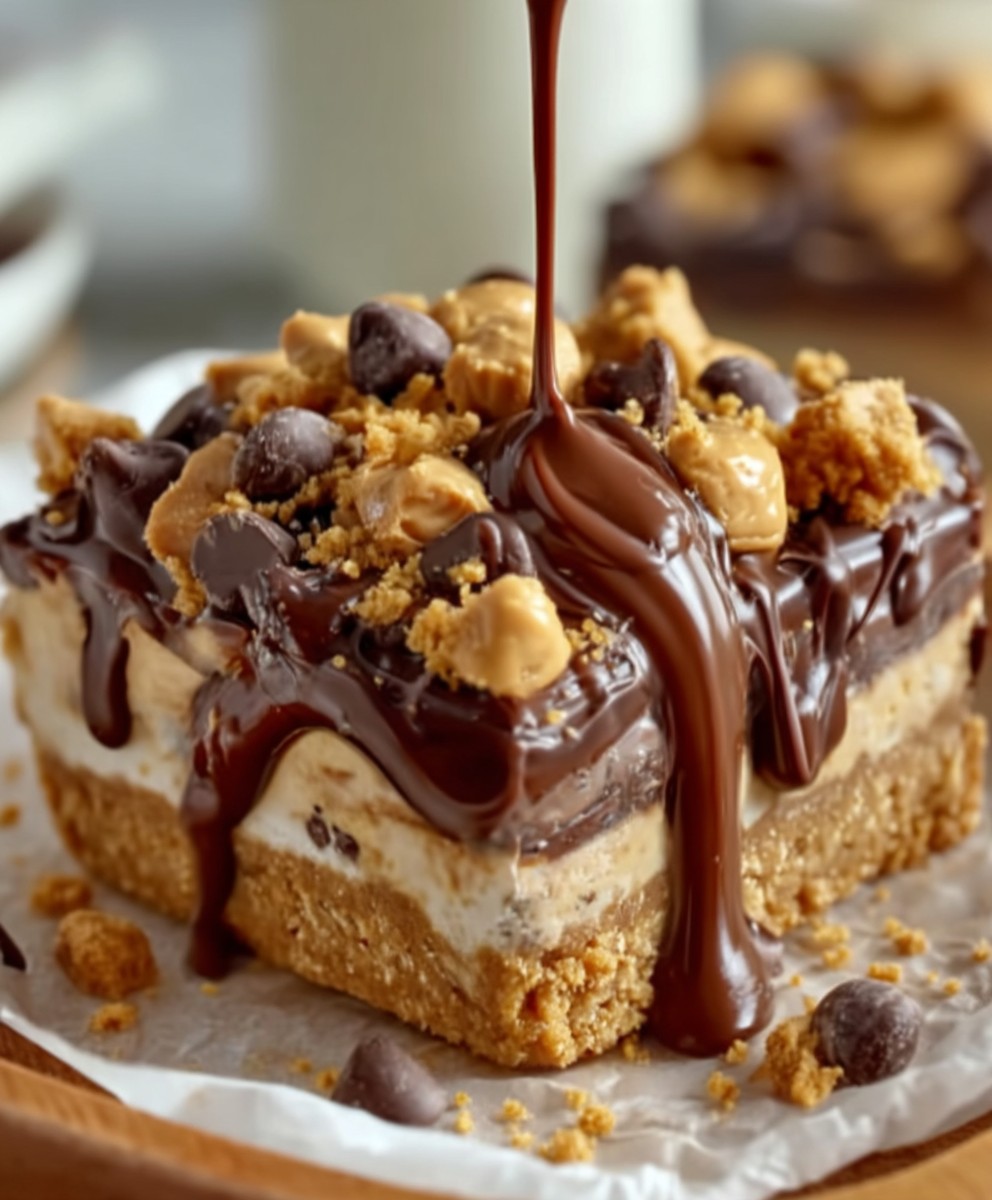
- Once the chocolate is melted and smooth, remove the pan from the refrigerator. Pour the melted chocolate evenly over the peanut butter filling. Use an offset spatula or the back of a spoon to spread the chocolate out smoothly and evenly.
- If you want to get fancy, you can create a swirl pattern in the chocolate topping. To do this, use a toothpick or a knife to drag through the chocolate in a swirling motion. This is totally optional, but it adds a nice touch!
- Now, return the pan to the refrigerator to chill for at least 2 hours, or preferably overnight. This will allow the chocolate to set completely and the bars to firm up, making them easier to cut and serve.
Cutting and Serving
- Once the bars are completely chilled and the chocolate is set, it’s time to cut them! Use a sharp knife to cut the bars into squares. I usually cut them into about 24 bars, but you can make them larger or smaller depending on your preference.
- To make cutting easier and to get clean, even cuts, you can run the knife under hot water and wipe it dry before each cut. This will help the knife glide through the chocolate and peanut butter without sticking.
- Serve the bars cold, straight from the refrigerator. They are best enjoyed when they are nice and firm.
- Store any leftover bars in an airtight container in the refrigerator. They will keep for up to a week (if they last that long!).
Tips and Variations
Peanut Butter Options:
While I recommend using a creamy peanut butter like Jif or Skippy for the best texture and flavor, you can experiment with other types of peanut butter. Natural peanut butter can be used, but it may result in a slightly drier filling. If you use natural peanut butter, make sure to stir it well before measuring it out, as the oil tends to separate. You can also try using crunchy peanut butter for a bit of added texture.
Chocolate Variations:
If you’re not a fan of semi-sweet chocolate, you can use milk chocolate or dark chocolate instead. Milk chocolate will give the bars a sweeter flavor, while dark chocolate will add a richer, more intense chocolate flavor. You can also use white chocolate for a completely different twist. For a fun variation, try swirling in some melted white chocolate over the dark chocolate topping.
Adding Extras:
Get creative and add some extra ingredients to the peanut butter filling or the chocolate topping. Some ideas include:
- Chopped peanuts: Add chopped peanuts to the peanut butter filling for extra crunch.
- Mini chocolate chips: Stir mini chocolate chips into the peanut butter filling or sprinkle them on top of the chocolate topping.
- Pretzel pieces: Add crushed pretzel pieces to the graham cracker crust for a salty-sweet flavor.
- Reese’s Pieces: Sprinkle Reese’s Pieces on top of the chocolate topping for an extra peanut butter boost.
- Sea salt: Sprinkle a pinch of sea salt on top of the chocolate topping to enhance the sweetness and add a salty-sweet contrast.
Making it Gluten-Free:
If you need to make these bars gluten-free, simply use gluten-free graham crackers. There are many gluten-free graham cracker options available at most grocery stores.
Freezing Instructions:
These bars freeze really well, making them perfect for making ahead of time. To freeze, cut the bars into squares and place them in a single layer on a baking sheet lined with parchment paper. Freeze for about 30 minutes, or until the bars are firm. Then, transfer the bars to an airtight container or freezer bag and store them in the freezer for up to 2-3 months. When you’re ready to serve, thaw the bars in the refrigerator for a few hours or overnight.
Troubleshooting:
Crust is too crumbly: If your graham cracker crust is too crumbly, it may be because you didn’t use enough butter. Try adding a little more melted butter, a tablespoon at a time, until the mixture holds together better.
Filling is too soft: If your peanut butter filling is too soft, it may be because your butter was too warm. Make sure your butter is softened but not melted. You can also try adding a little more powdered sugar to help firm it up.
Chocolate is not setting: If your chocolate topping is not setting, it may be because the chocolate was not tempered properly. Make sure you don’t overheat the chocolate when melting it. You can also try adding a little bit of shortening to the chocolate to help it set more easily.
Conclusion:
And there you have it! These Reese’s Peanut Butter No Bake Bars are truly a must-try for anyone who loves the iconic combination of peanut butter and chocolate. Seriously, if you’re looking for a dessert that’s incredibly easy to make, requires absolutely no baking, and delivers a massive dose of deliciousness, then look no further. This recipe is a guaranteed crowd-pleaser, perfect for potlucks, parties, or simply satisfying your own sweet tooth.
But what makes these bars so special? It’s the perfect balance of textures and flavors. The creamy, rich peanut butter filling, the satisfying crunch of the graham cracker crust, and the smooth, decadent chocolate topping all come together in perfect harmony. Plus, the no-bake aspect makes it ideal for those hot summer days when you don’t want to turn on the oven, or for those times when you just need a quick and easy dessert solution.
Serving Suggestions and Variations:
While these bars are amazing as is, there are plenty of ways to customize them to your liking. For a richer, more intense chocolate flavor, use dark chocolate for the topping. If you prefer a milk chocolate experience, that works beautifully too! You could even swirl in some white chocolate for a marbled effect.
Want to add some extra crunch? Mix chopped peanuts into the peanut butter filling or sprinkle them on top of the chocolate before it sets. For a salty-sweet twist, sprinkle a little sea salt on top of the finished bars.
If you’re feeling adventurous, try adding a layer of marshmallow fluff between the peanut butter filling and the chocolate topping. This will create a gooey, extra-sweet treat that’s sure to be a hit.
For a festive touch, you can decorate the bars with sprinkles or candies to match any holiday or occasion. Imagine these with red and green sprinkles for Christmas, pastel sprinkles for Easter, or orange and black sprinkles for Halloween!
These bars are also delicious served chilled, straight from the refrigerator. They’re perfect for a refreshing treat on a warm day. You can also cut them into smaller squares for bite-sized snacks or larger bars for a more substantial dessert.
Time to Get Baking (Well, No-Baking!):
I truly believe that these Reese’s Peanut Butter No Bake Bars will become a staple in your dessert repertoire. They’re so easy to make, so versatile, and so incredibly delicious that you’ll find yourself making them again and again.
So, what are you waiting for? Gather your ingredients, follow the simple steps, and get ready to indulge in a truly unforgettable treat. I’m confident that you’ll love these bars as much as I do.
And most importantly, I want to hear about your experience! Did you try the recipe? Did you make any variations? What did you think? Share your photos and comments with me – I can’t wait to see your creations and hear your feedback. Let me know if you have any questions, too! Happy no-baking! I am sure you will love this recipe.
Reeses Peanut Butter No Bake Bars: Easy Recipe & Delicious Dessert
Decadent no-bake peanut butter bars with a graham cracker crust, creamy peanut butter filling, and rich chocolate topping. Easy to make and perfect for any occasion!
Ingredients
Instructions
Recipe Notes
- For best results, use a creamy peanut butter like Jif or Skippy.
- If using natural peanut butter, stir well before measuring.
- You can substitute milk chocolate or dark chocolate for the semi-sweet chocolate chips.
- Add chopped peanuts, mini chocolate chips, pretzel pieces, Reese’s Pieces, or sea salt for variations.
- To make gluten-free, use gluten-free graham crackers.
- These bars freeze well for up to 2-3 months.
- If the crust is too crumbly, add more melted butter.
- If the filling is too soft, make sure your butter is softened but not melted. You can also try adding a little more powdered sugar to help firm it up.
- If your chocolate topping is not setting, make sure you don’t overheat the chocolate when melting it. You can also try adding a little bit of shortening to the chocolate to help it set more easily.
Leave a Comment